
So you want to start making digital art but you have no idea how or where to start? Don’t worry, you just found the right spot! Starting off your digital art adventure may feel like standing at an enormous and never-ending universe full of probabilities, tools, and techniques that appear both exciting and yet a little scary.But worry not! Just like any exciting journey it all begins with a single step. This guide will accompany you step by step in learning digital art creation, starting from the selection of appropriate hardware and software to the understanding of the basic digital art principles.
Don’t worry, you just found the right spot! Starting off your digital art adventure may feel like standing at an enormous and never-ending universe full of probabilities, tools, and techniques that appear both exciting and yet a little scary.But worry not! Just like any exciting journey it all begins with a single step. This guide will accompany you step by step in learning digital art creation, starting from the selection of appropriate hardware and software to the understanding of the basic digital art principles. Let’s get started!
What is Digital Art?
Digital art is art that is created using technology as a big part of the creative process, a lot of stuff can be made using digital art, like illustrations, animations, 3D models, etc, all of this using digital tablets and computers.
Digital art can “imitate” traditional art forms like drawing, painting and sculpting or make its own realms, only possible in the digital space.
Unlike traditional art, digital art gives the artists a fantastic flexibility allowing them to experiment with colors, styles, compositions, and make mistakes that can be corrected with a few clicks.
This art medium is used in various industries like film, TV, Video Games, etc, as well as being one of the most popular mediums for the entertainment industry, personal expression and online sharing.
Digital Art Basics
Before diving more into the digital art world, and creating your first digital art project, let’s learn some of the basic terms and concepts you’ll use with digital art:
Basic Terminology
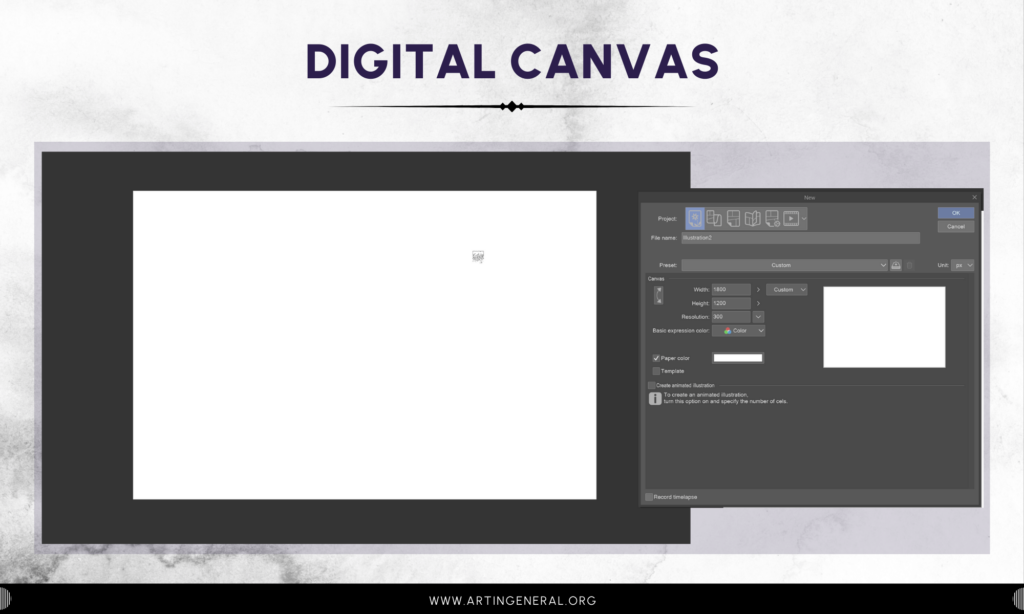
1. Digital Canvas:
Your virtual workspace, similar to a physical canvas in traditional art. The size and resolution can be adjusted according to the needs of your project.
2. Brushes:
Digital equivalents of physical brushes, used in painting software. They come in various shapes, sizes, and textures, each adding a different character to your strokes.
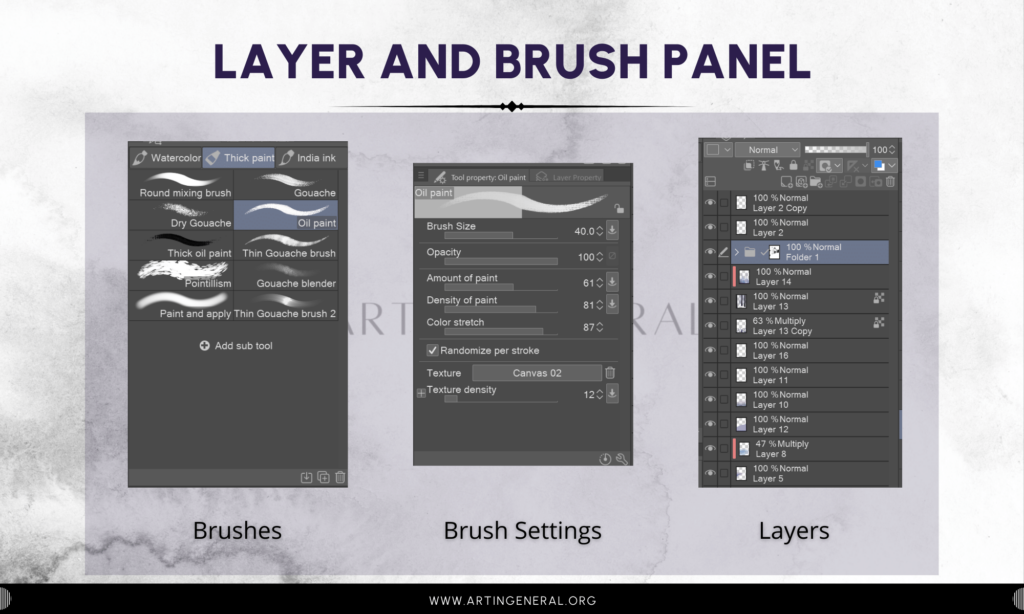
3. Layers:
Imagine stacking several transparent sheets; each layer can hold a part of your drawing. This allows for non-destructive editing, meaning you can modify or remove one element without affecting others.
4. Layer Modes/Blending Modes:
These settings change how the colors of one layer interact with those below it. Common modes include Multiply (darkens), Screen (lightens), and Overlay (a mix of both).
5. Opacity:
Refers to the transparency level of an element. An opacity of 100% is fully opaque, while 0% is completely transparent.
6. Pressure Sensitivity:
A feature of graphics tablets and styluses that allows the software to detect the pressure you apply. This can affect the thickness, opacity, or texture of your brush strokes.
7. Stylus/Pen:
A tool used with a graphics tablet to draw or paint in digital art software, offering more precision than a mouse.
8. Tablet:
A device that allows you to draw or paint digitally with a stylus. They range from simple, non-display tablets to advanced ones with built-in screens.
9. Vector Graphics:
Images created using mathematical formulas rather than pixels. This allows them to be scaled infinitely without losing quality. Software like Adobe Illustrator is focused on vector art.
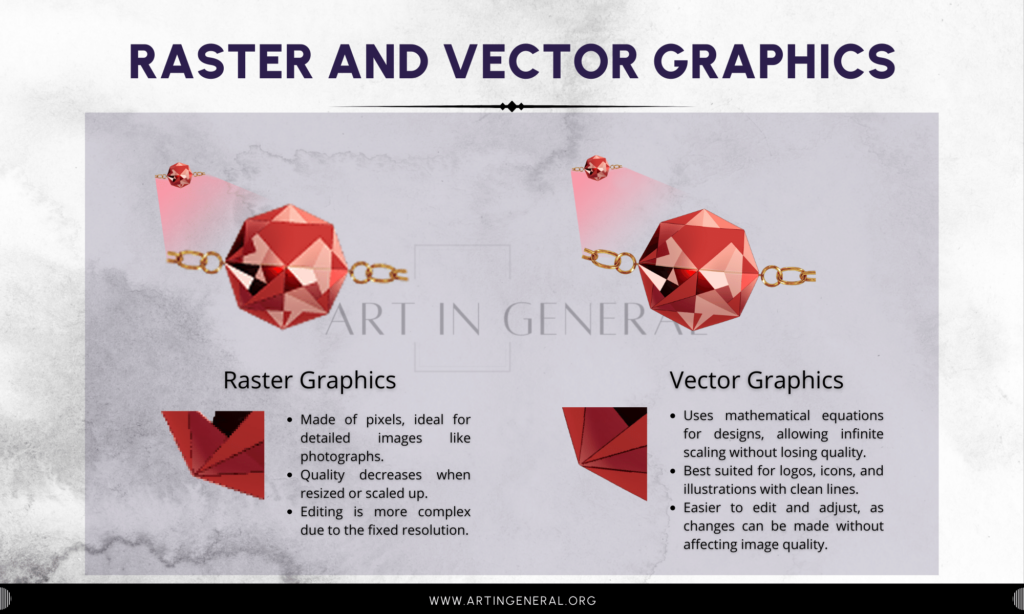
10. Raster Graphics:
Images made up of pixels, which can lose quality when resized. Photoshop is a common tool for creating and editing raster images.
11. Color Palette:
A set of colors chosen for a particular artwork. Digital art programs often allow artists to save custom palettes for consistency across projects.
12. Filters and Effects:
Pre-set operations that can be applied to layers or entire images to quickly change their appearance. Examples include blurring, sharpening, and color adjustments.
13. File Formats:
Different ways to save your digital art, each with its own use. Common formats include JPEG (lossy, good for web), PNG (lossless, supports transparency), and PSD (Photoshop Document, preserves layers).
14. Undo and Redo:
Commands that allow you to revert or reapply actions, an essential feature for experimenting and correcting mistakes in digital art.
Basic Brushes

1. Round Brush:
The most versatile brush, perfect for sketching, detailing, and even painting. The pressure sensitivity can vary the line weight, making it ideal for dynamic strokes.
2. Flat Brush:
Great for blocking in colors and creating sharp edges. It can mimic traditional flat brushes used in painting, useful for broader strokes.
3. Soft Airbrush:
Ideal for gradients and soft shading. It’s often used for creating gentle transitions between colors and adding atmosphere to backgrounds.
4. Pencil Brush:
Mimics the look and feel of drawing with a traditional pencil. Excellent for sketching and adding fine details with a textured edge.
5. Textured Brush:
Adds texture to your work, such as the roughness of paper or fabric, giving your art a more organic feel.
6. Eraser:
Not just for correcting mistakes, but also for refining shapes and creating highlights. Having a soft and hard version is beneficial.
Essential Tools
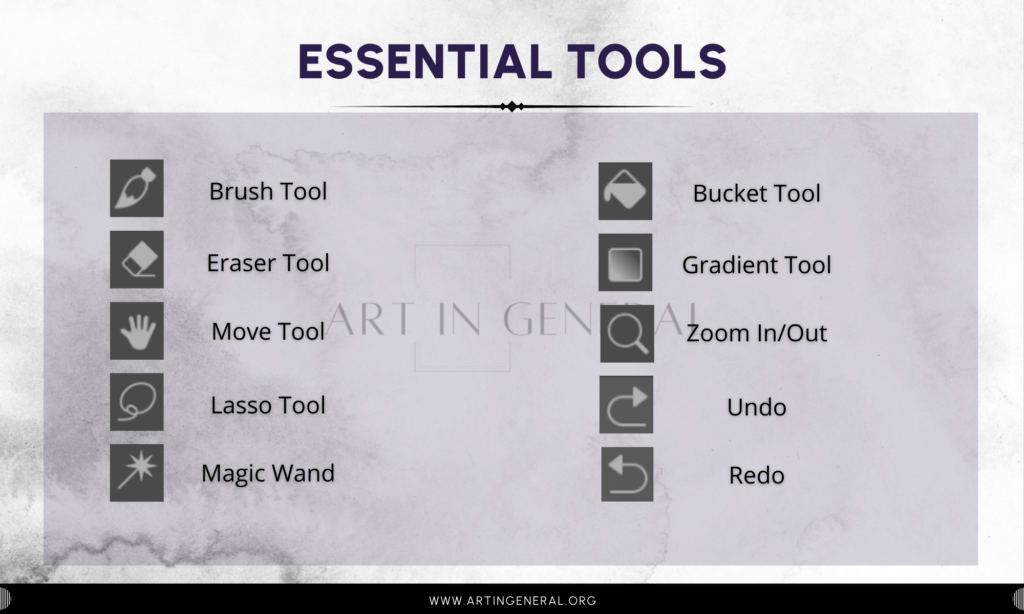
1. Brush Tool:
Allows you to draw and paint on the canvas. The basic tool you’ll use to apply your brushes.
2. Eraser Tool:
Removes pixels on the layer you’re working on. Can often be adjusted like brushes for varied effects.
3. Move Tool:
Lets you reposition selected elements or layers within your artwork.
4. Lasso Tool:
Enables freehand, polygonal, or magnetic selections. Useful for isolating, editing, or moving specific parts of your art.
5. Magic Wand Tool:
Selects areas of similar color with a single click, making it easy to separate elements based on color.
6. Fill Tool (Bucket):
Fills selected areas or layers with a solid color or pattern. Great for quickly adding base colors.
7. Gradient Tool:
Creates a smooth transition between colors. Perfect for backgrounds, skies, or adding depth.
8. Layer Panel:
Not a tool per se, but essential for managing the different components of your artwork, like sketches, colors, and effects.
9. Undo/Redo Commands:
Absolutely crucial for experimenting and correcting as you go. Typically accessed with shortcut keys (Ctrl+Z for undo, Ctrl+Y or Ctrl+Shift+Z for redo).
10. Zoom Tool:
Allows you to magnify or reduce your view of the artwork, enabling detailed work or a broader view for composition.
Your First Digital Art Project Step-by-Step
After learning all you need to know about digital art, let’s make your first digital art project step by step. For this project we’re going to make a snowy piece for a postcard you’ll be able to print later on using Clip Studio Paint.
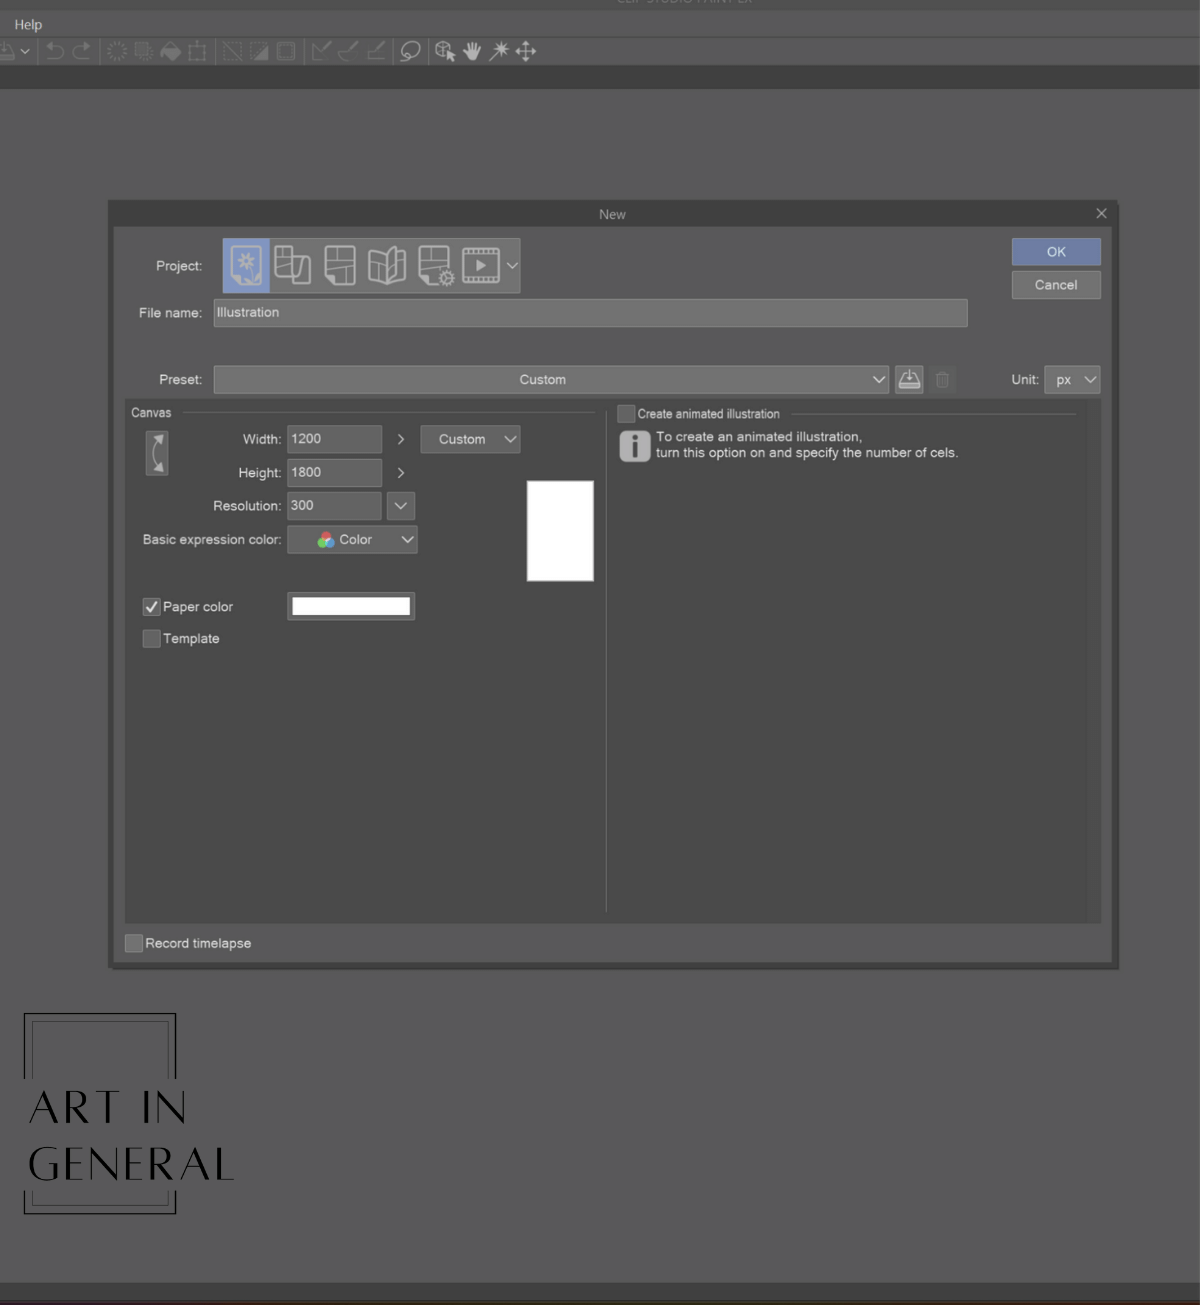
Step 1 — Setting Up Your Workspace
Let’s start by creating a new canvas, since the postcard we’re going to make will be printed to a 4 x 6 inches, then our canvas should be 1200 x 1800 pixels.
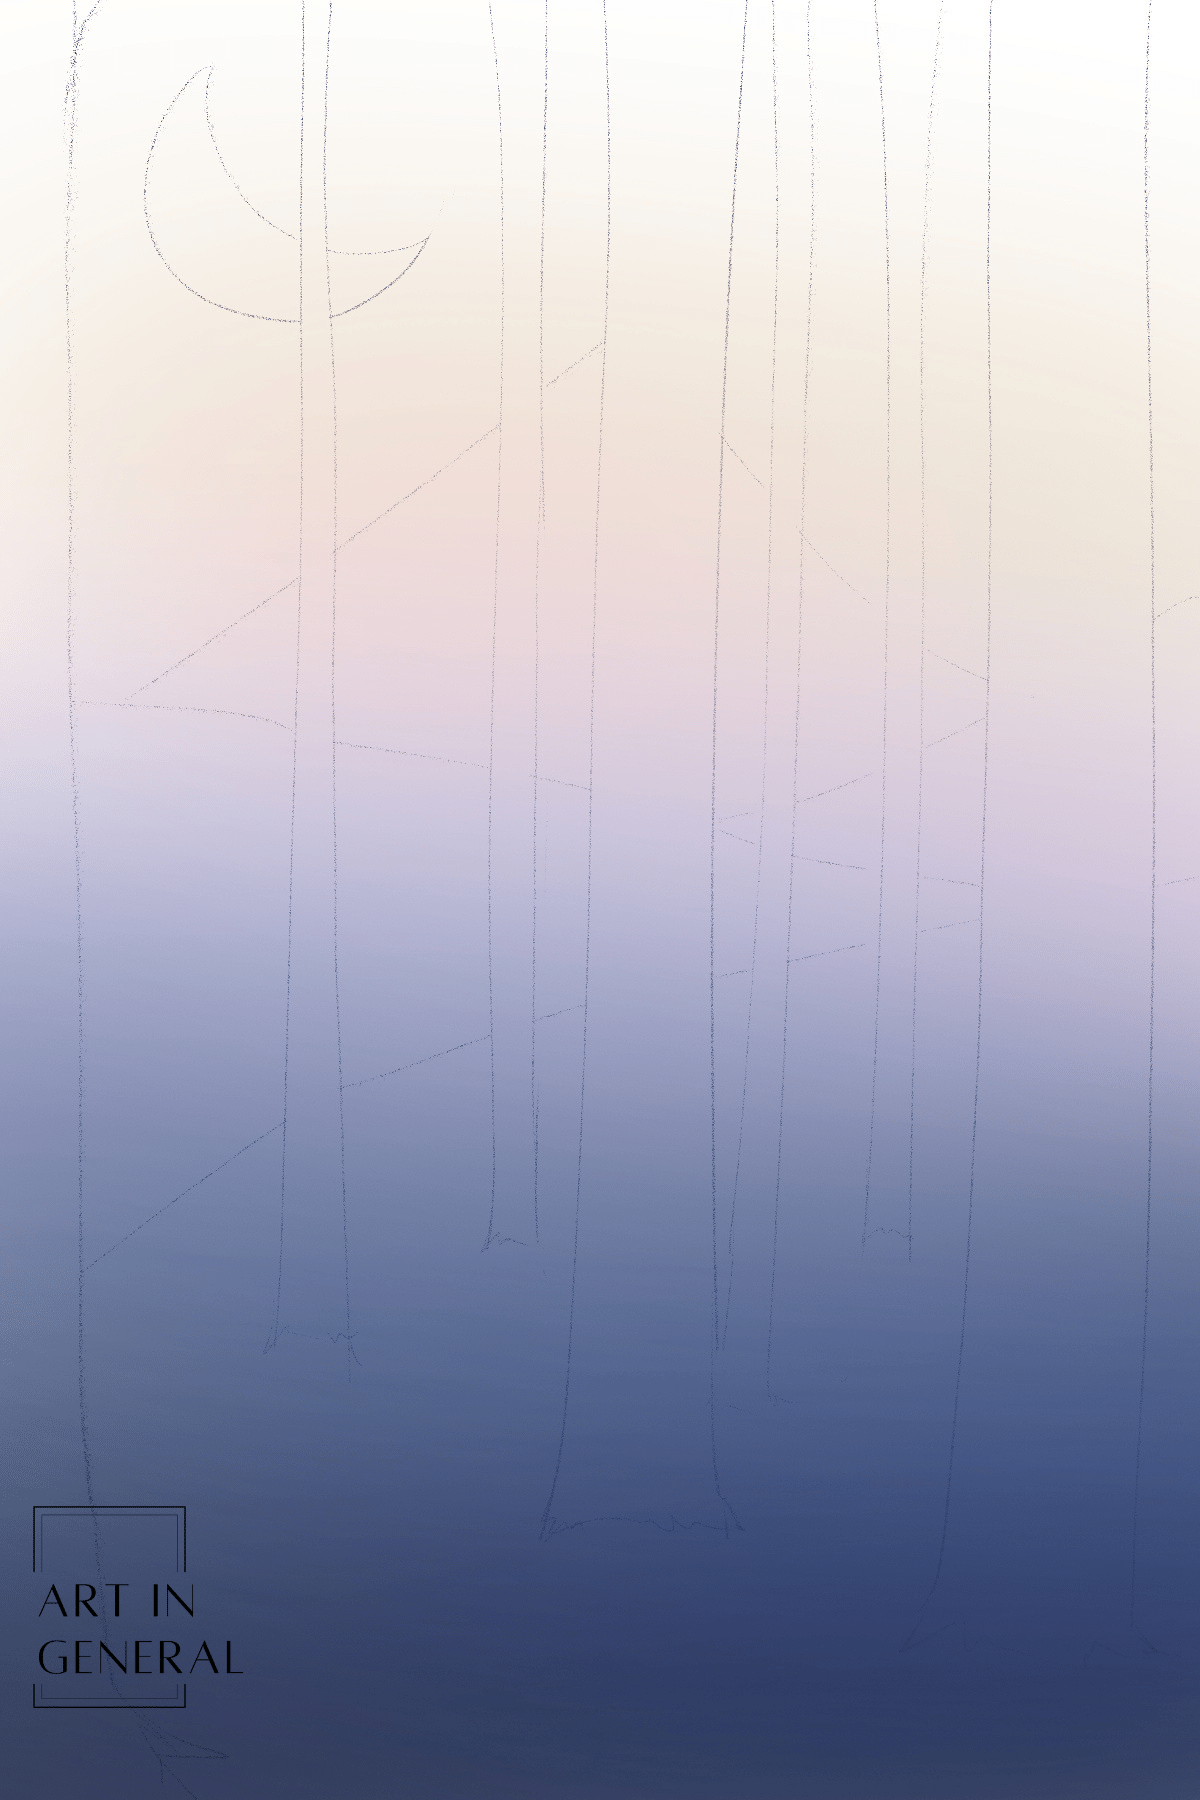
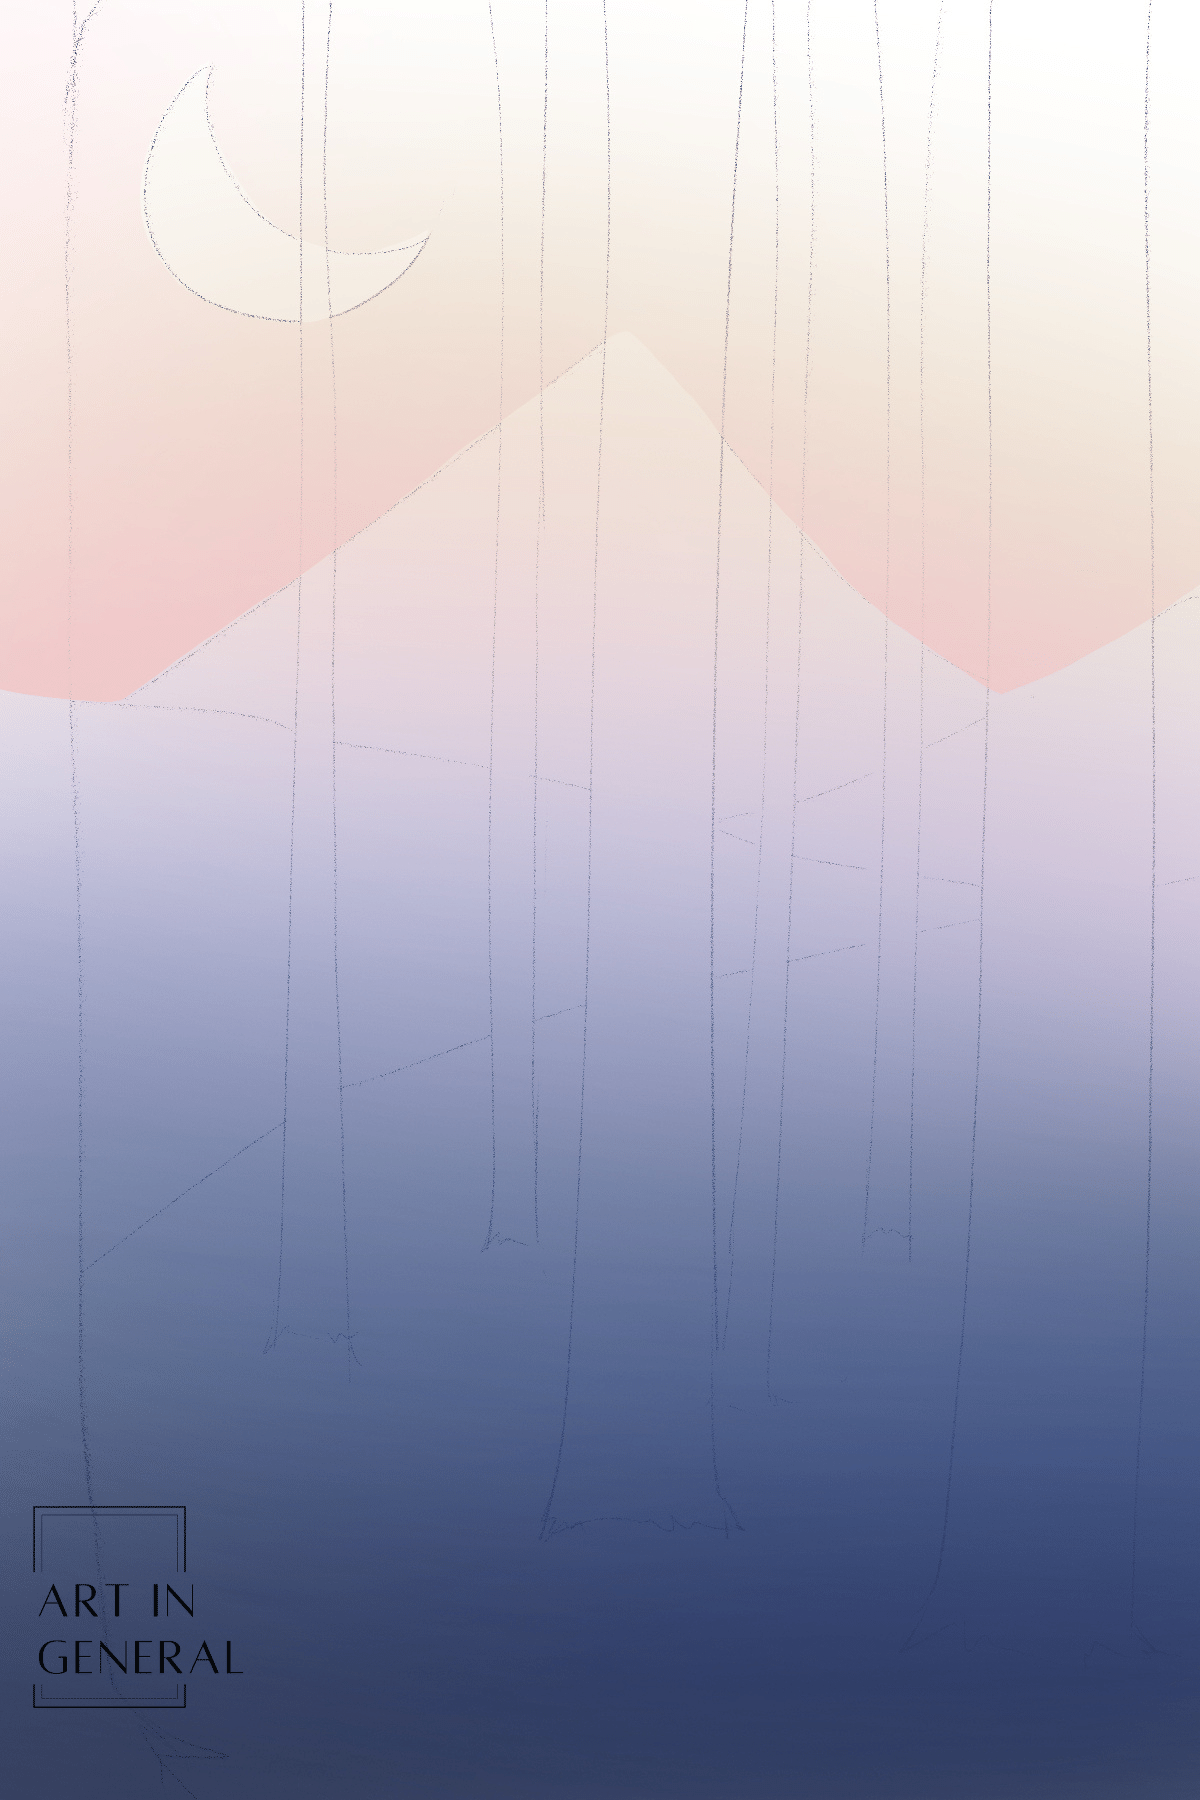
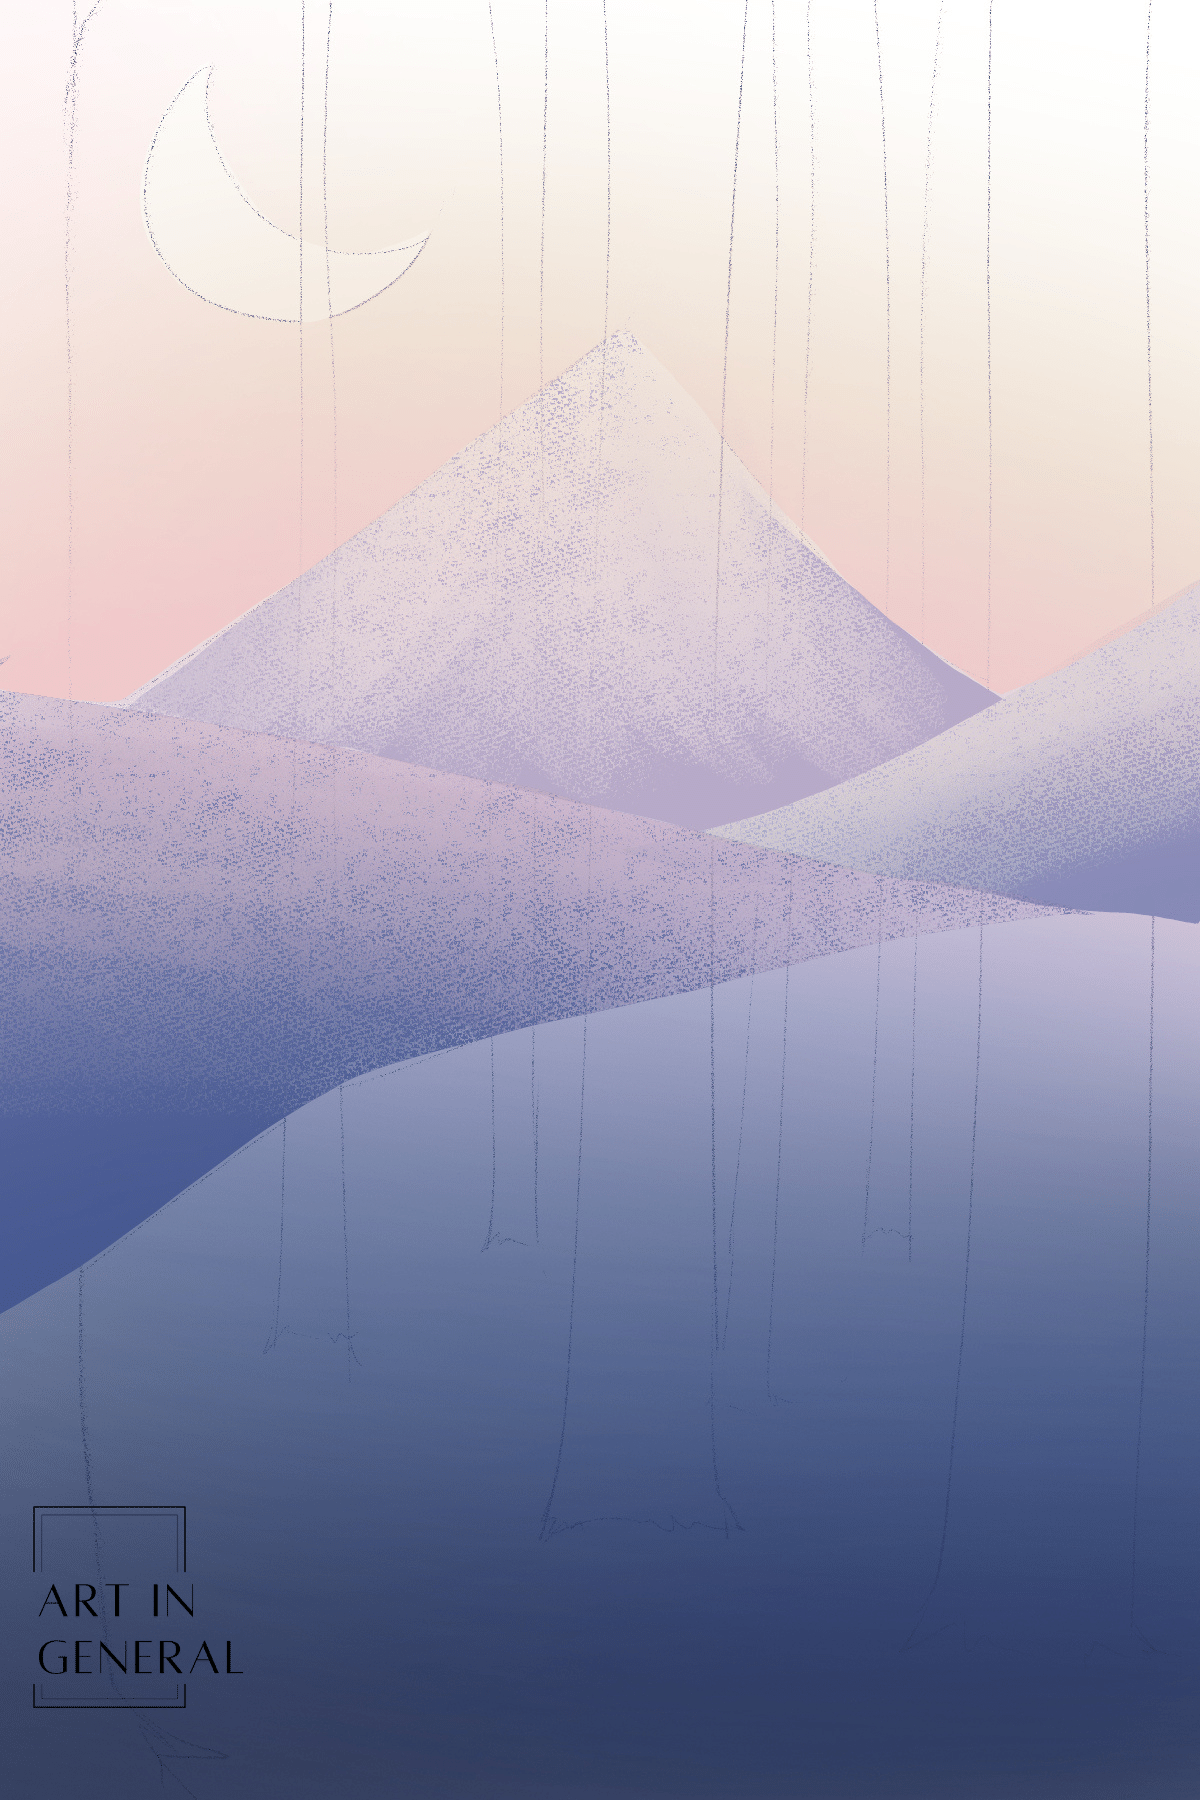
Step 2 — Make Your Sketch
Sketch some trees, some mountains for the background and make some of them closer to the viewer by making them bigger than the others.

Step 3 — Pick Your Color Palette
Since we’re going for a simple project for your first time, we’re also picking a limited color palette. There’s a simple trick for this, using the airbrush, choose colors that go well together to create a “mood” and go from there.
Step 4 — Start Coloring
We’re going to start from the areas in the back, so using the selection too, select the sky behind the mountain and color it with pink and light yellow.
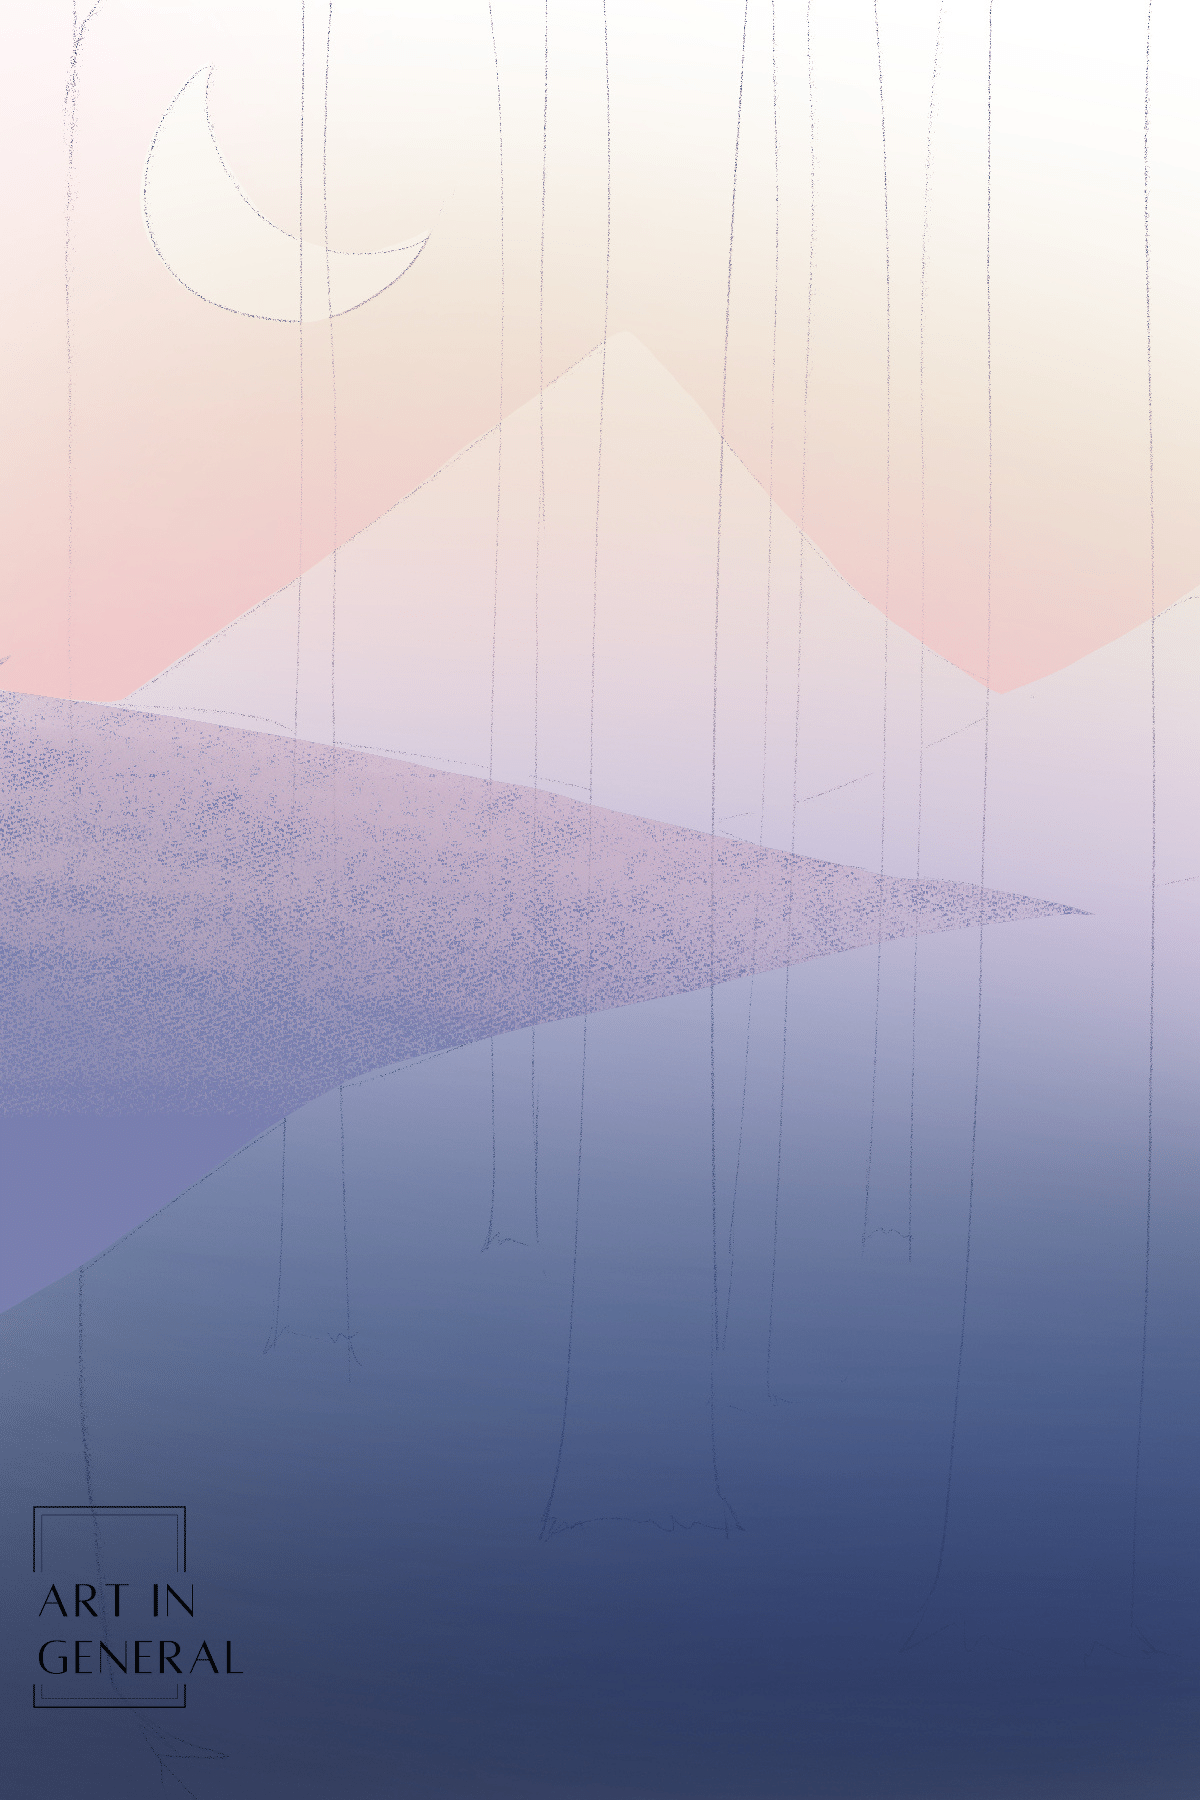
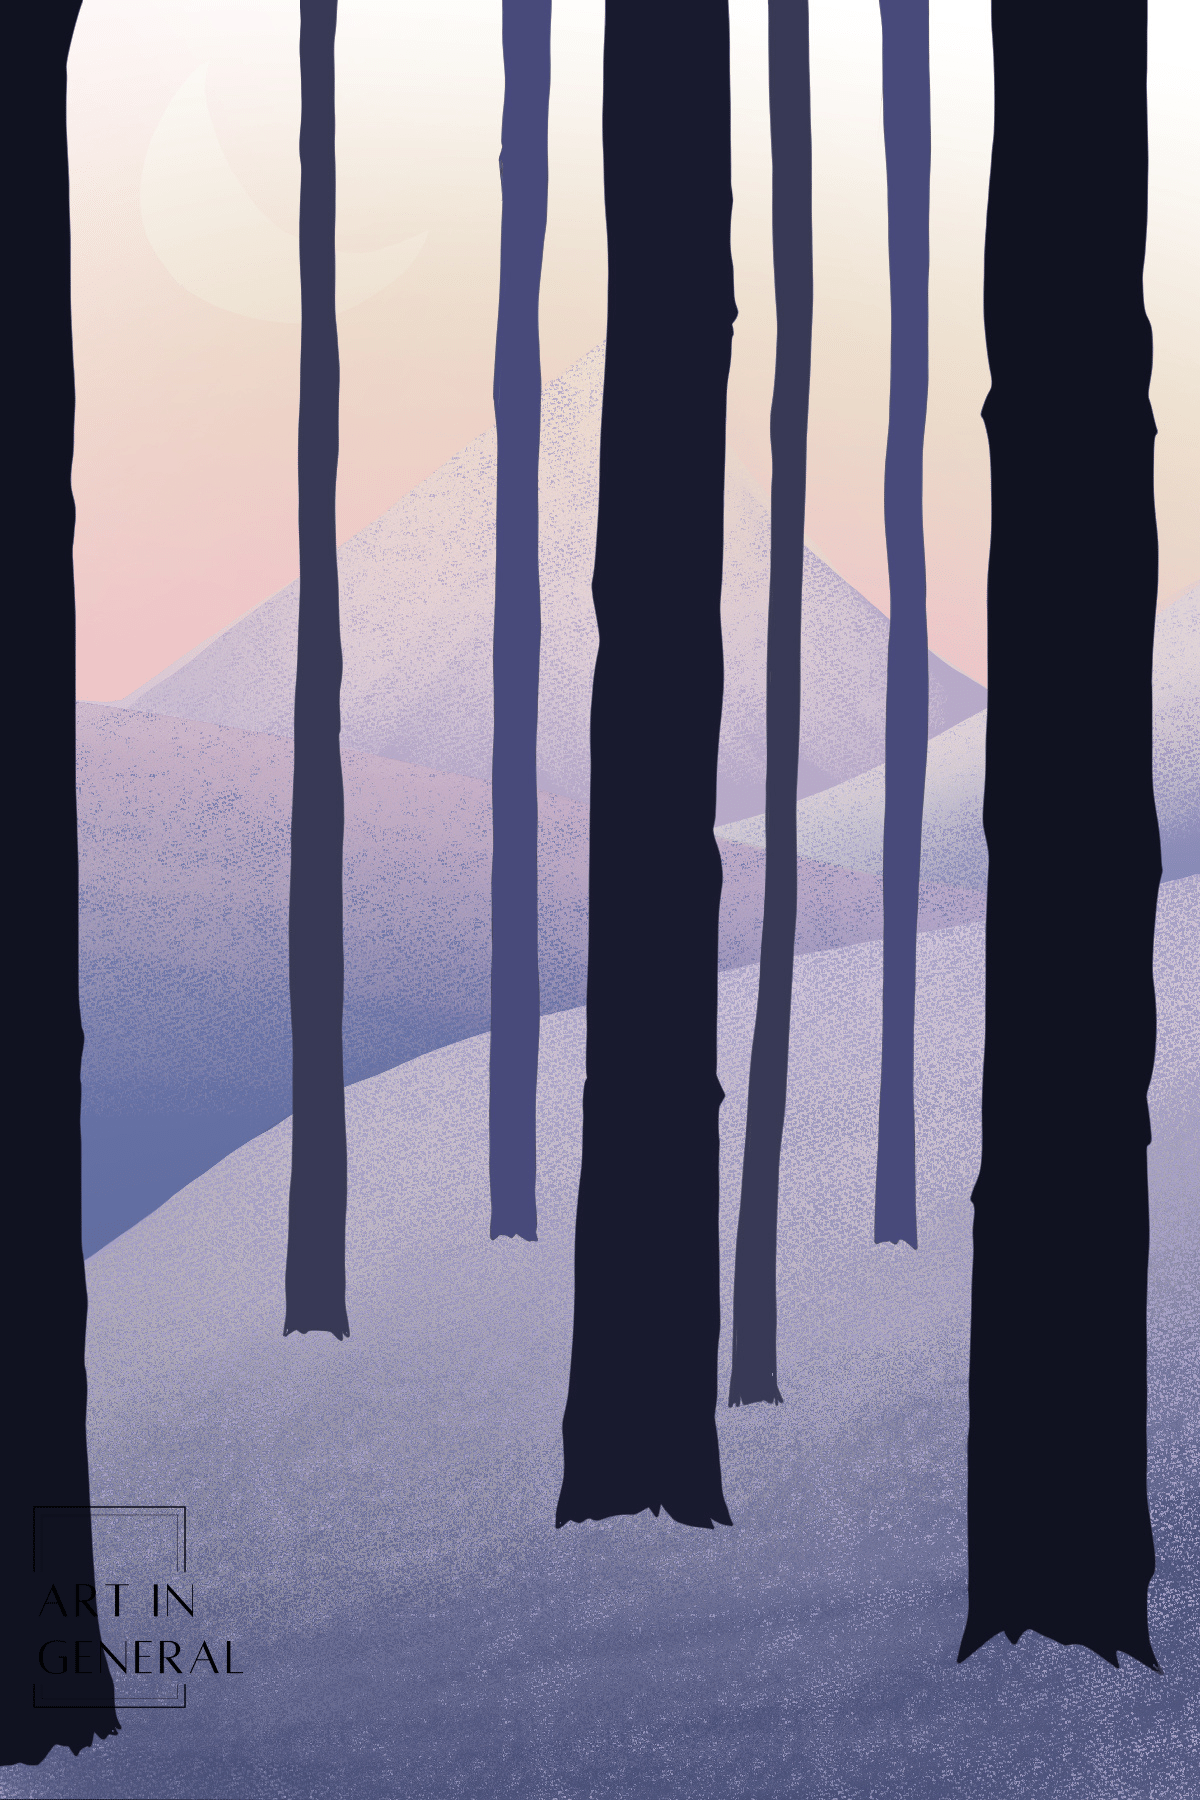
Step 5 — Color the First -mountain
Using the selection tool, select a mountain and in a new layer, color it using a color from the background. Give it some texture by picking a lighter color and using the gouache brush.
Step 6 — Repeat
Repeat the previous step for the mountain in the back, use the colors form the background as a guide.
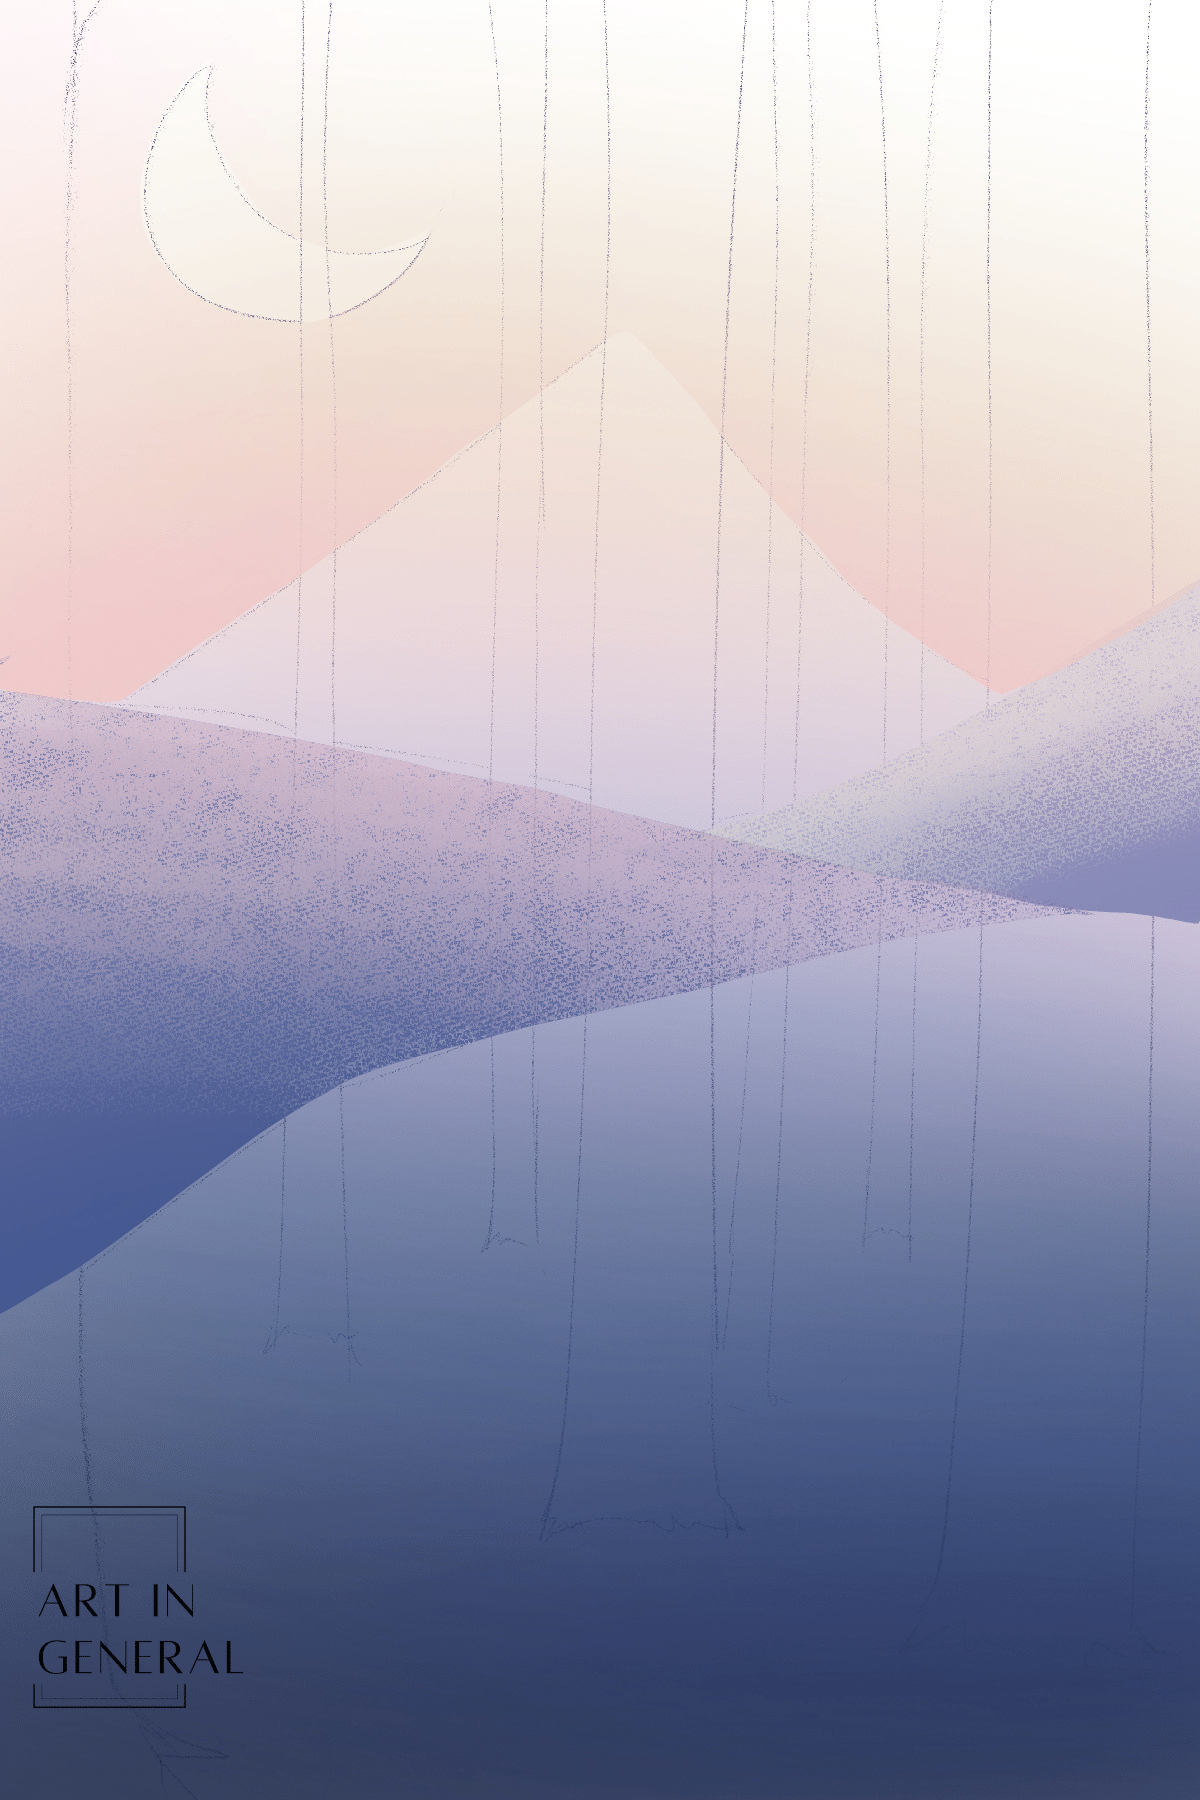
Step 7 — Change the Layer Mode
Create a new layer on top of the layer of your first mountain, using the clipping mask, set the new layer to “multiply and airbrush a light blue on the base of the mountain. Repeat this step for the second mountain with a darker shade of blue.
Step 8 — Repeat
Repeat the same process for the mountain on the back, always in a new layer.
Step 9 — Fill Your Trees
Outline your trees with the pen tool and fill them with the fill tool, make sure the trunks on the back are painted of a lighter shade of blue than the trunks on the front. You can hide your sketch layer at this point.
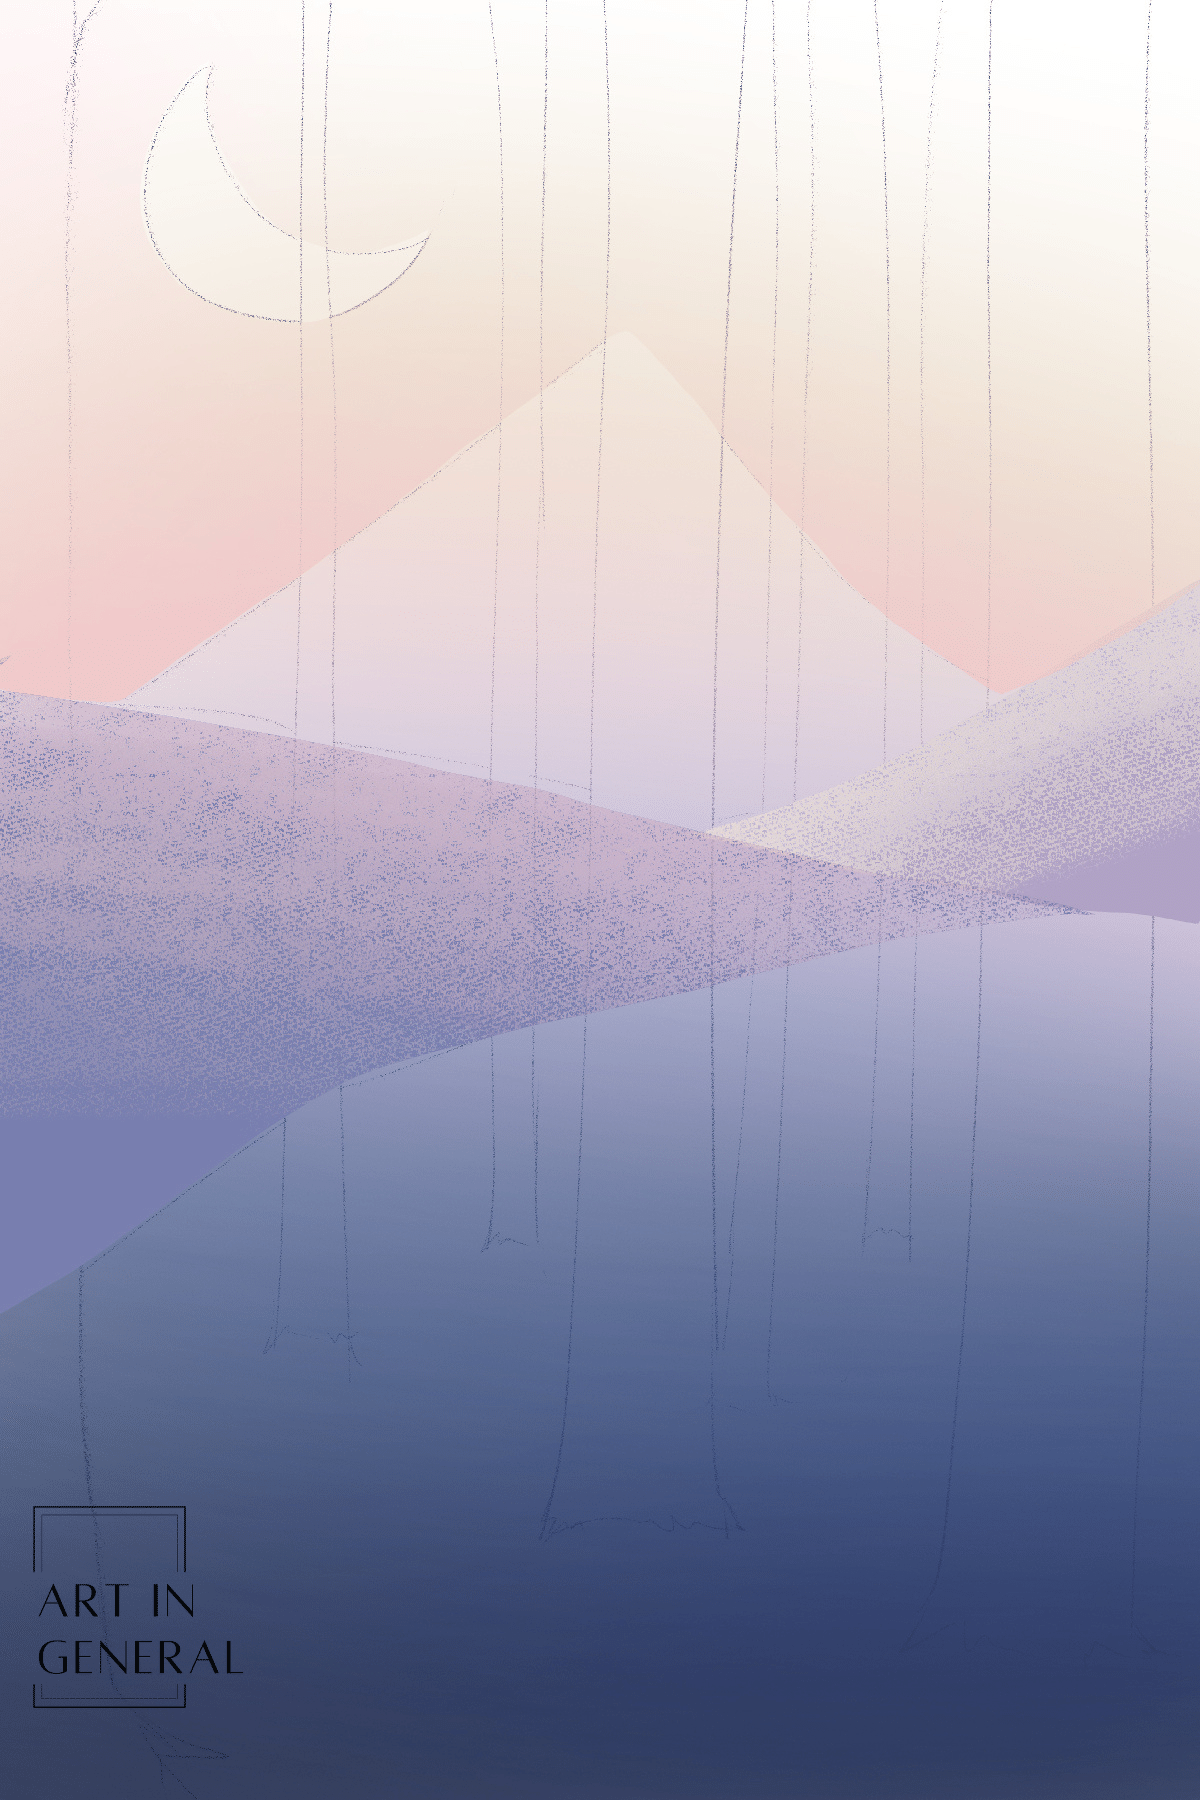
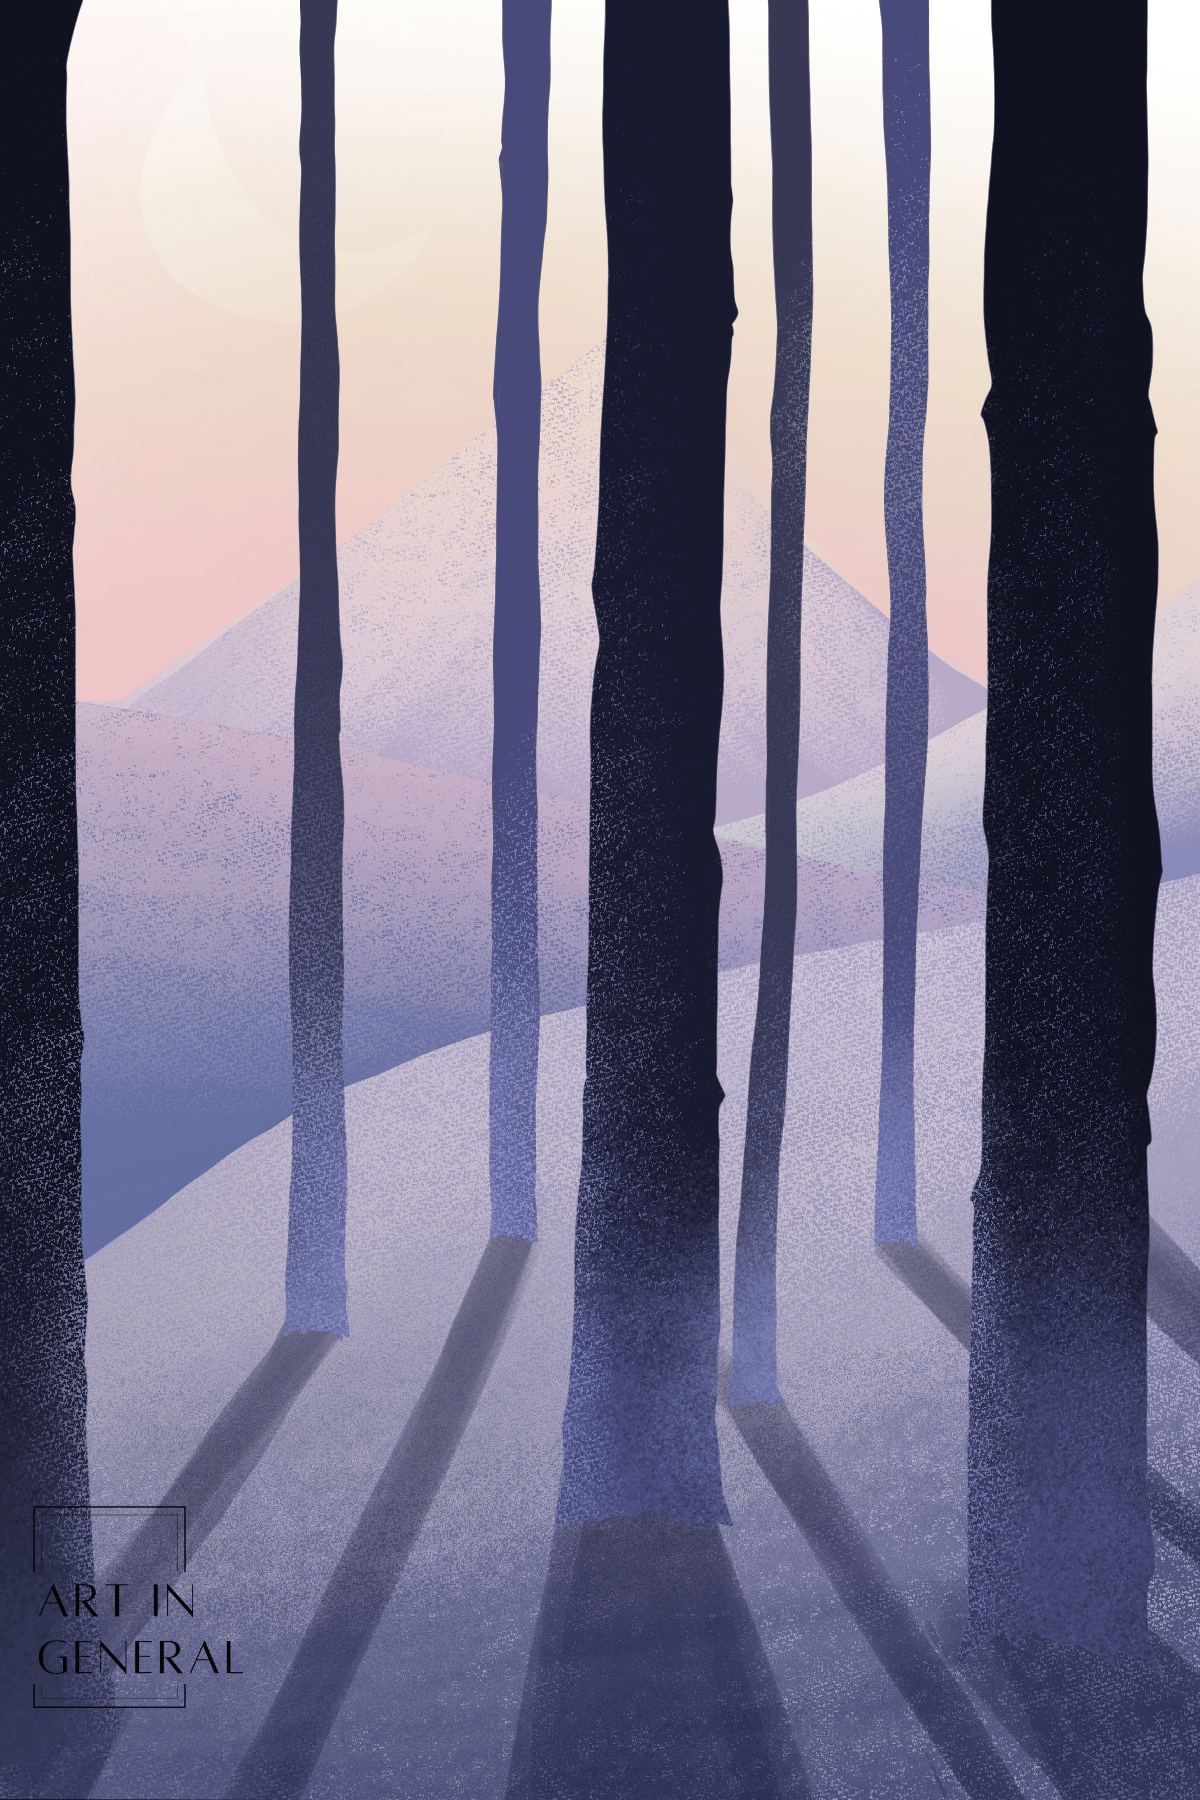
Step 10 — Add Texture and Shadows
Add texture to the base of the trees with the gouache and dry gouache brush using colors from the base. For this make sure the color picker is set to “pick from image”. In a new multiply layer, add shadows with a dark blue color and the round mixing brush. They don’t have to be perfect but make sure to follow the direction of the light.
Step 11 — Add Details
On your background layer, select the moon and fill it with white, then using the “charcoal” brush softly outline the mountains for a snowy effect. And that’s it. Pretty easy and very pretty.
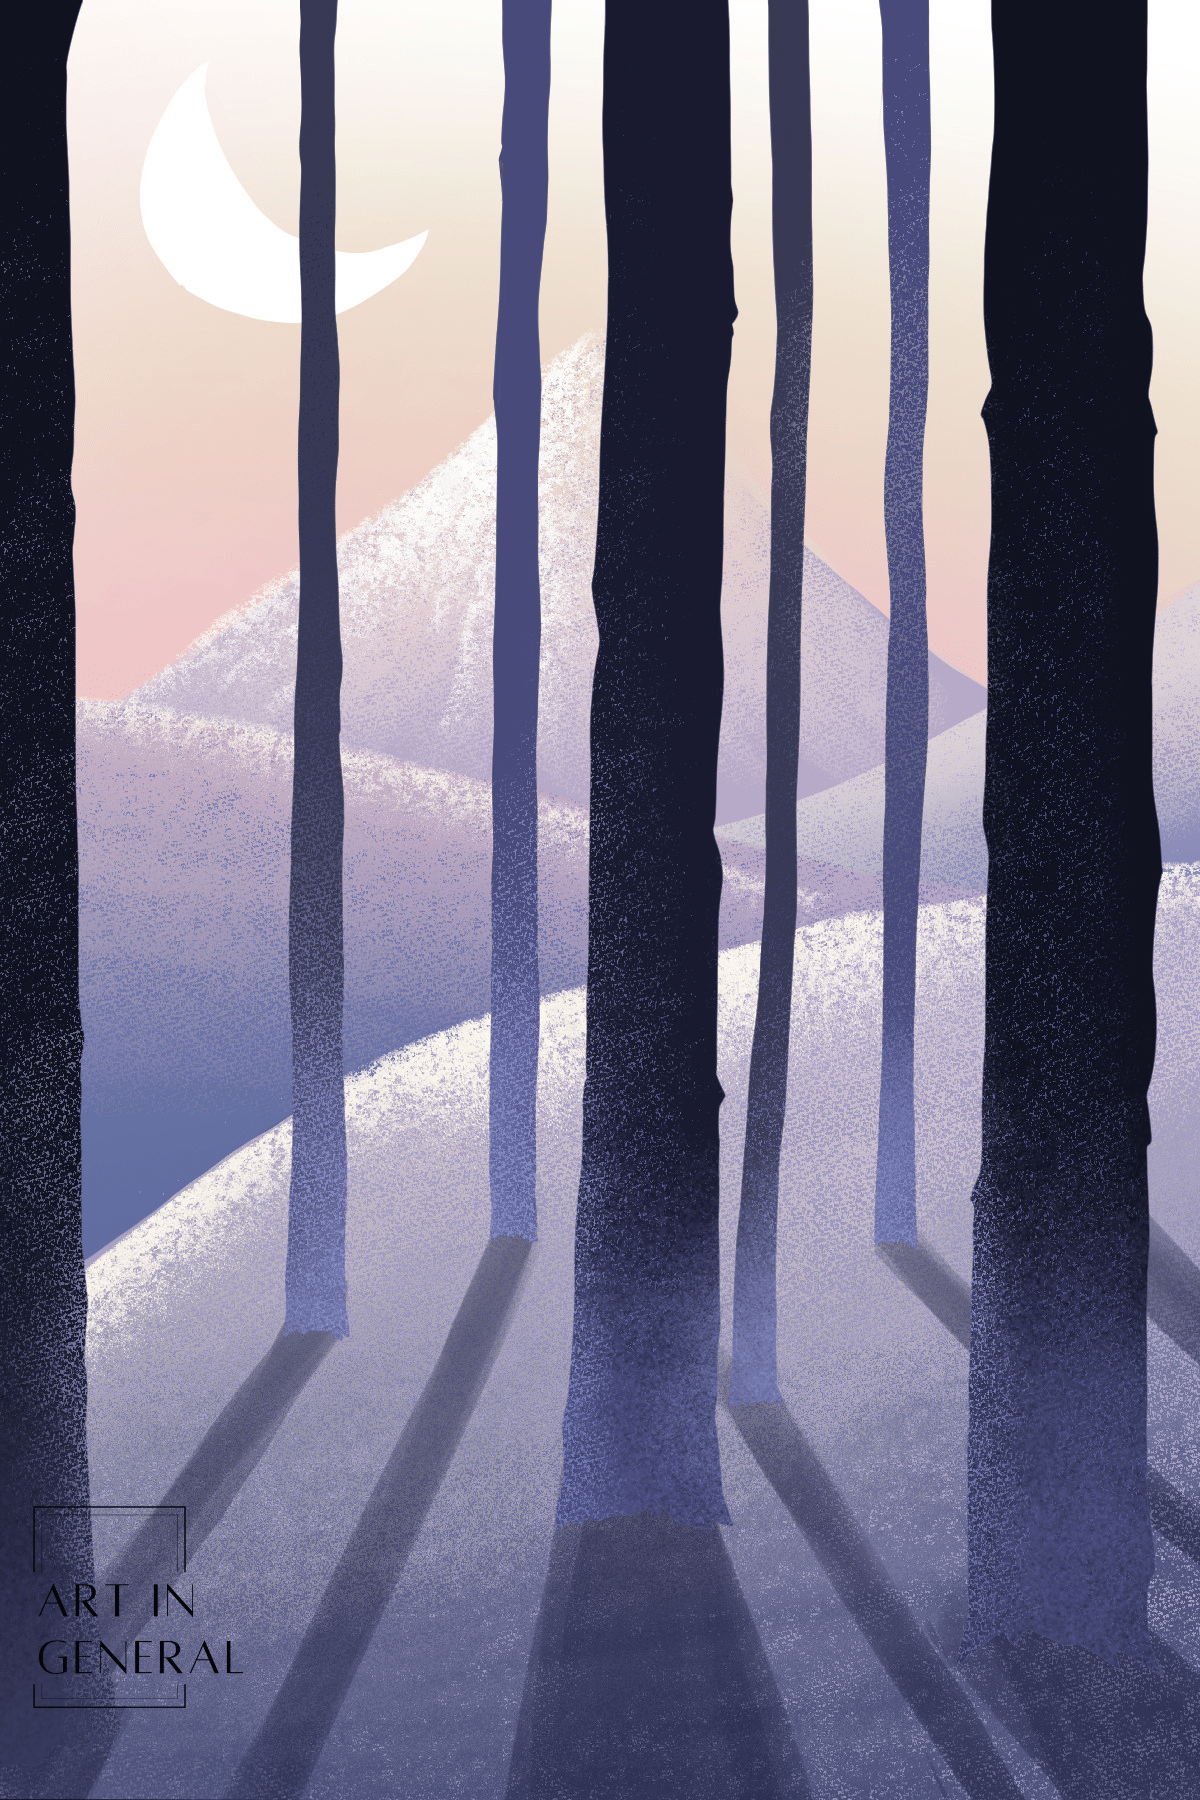
Of course you can work it more and add more details to it, but since this tutorial is made for absolute beginners, we figured we’d make it as easy and simple as we could.
Common Beginner Issues
Choosing Colors
- The Challenge: Picking colors that look good together is hard.
- A Simpler Way: Start with just a few colors. Look at nature for inspiration, like the colors in a sunset or a flower and use them as a base.
Fixing Proportions
- The Challenge: Getting the size and shape of things right can be tricky.
- A Simpler Way: Use pictures as a guide. You can also draw your picture in simple shapes first to help get the proportions right.
Avoiding Overworking Your Piece
- The Challenge: Sometimes, you can do too much to a drawing or painting, and it doesn’t look as good.
- A Simpler Way: Have a clear idea of what you want to do before you start. Take breaks to see how it’s going, and don’t be afraid to stop when you think it’s done.
Remember:
- It’s okay to make mistakes; that’s how you learn.
- Practice makes perfect. Keep trying, and you’ll get better!
Choosing Your Hardware
You probably already know you need more than just your computer to make digital art, and while choosing a tool for the beginning of your journey might not seem too important, it will impact how you learn and where your art takes you in the future, so buckle up because we’re going to speed-learn everything you need to know about hardware and equipment for digital art.
Your options:
A Computer and a Graphics Tablet (with or without a display)
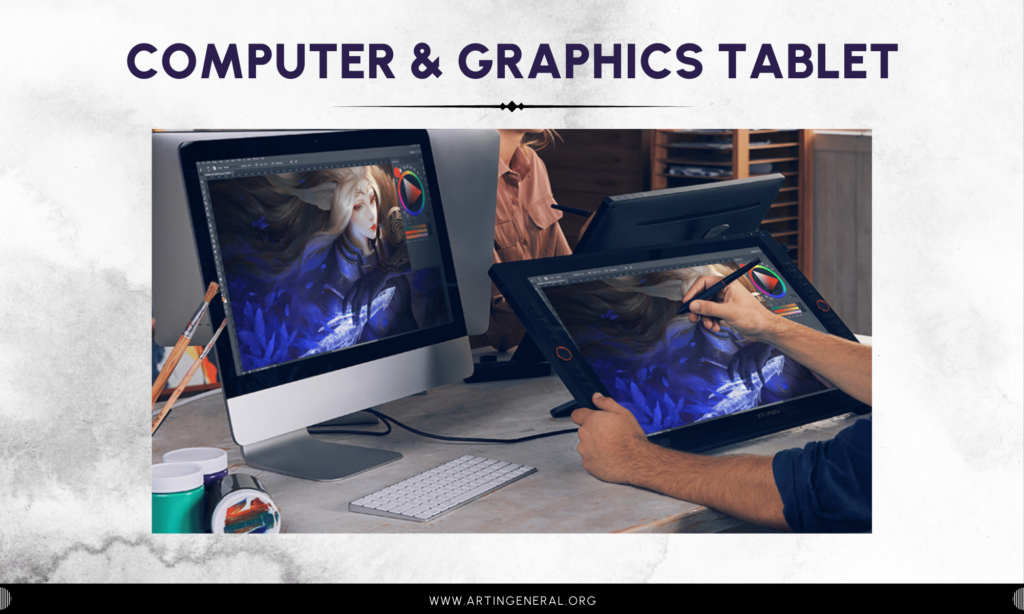
This is the traditional way, might not be the easiest but is the fastest way to the professional path of this line of work, so if that is what you’re after then you might want to consider this as your first alternative.
This hardware combo involves a computer (a PC, Laptop) and a graphics tablet with or without a display, the laptop or PC will handle all the processing power needed by the software of your preference, besides the regular use you give it, of course, and the graphics tablet will act as an input device, along with a stylus that will help your computer translate your traces into data and process them as pixels you can see on your screen.
Using a computer with a desktop OS has its advantages and disadvantages, and while it might be the easy route for many of us that already own a computer, for those who don’t, then it can get costly and represent a steep learning curve. Additionally, the less expensive option would be getting a graphics tablet without a screen, which has an even steeper learning curve, so consider your budget, needs and resources before rushing into a decision.
The Pros:
- You’ll get to learn professional software from the start.
- You’ll have all the processing power you need.
- You’ll get to use your PC for other digital art forms like animation, 3D modeling and AR art.
- You’ll have a reliable setup that will last you for years and years.
The Cons:
- The learning curve is much steeper than what mobile apps offer
- It’s a costly option
- Portability in most cases is not an option
- Some apps are not available for desktop OS
A Tablet-Computer (the OS matters a lot!)
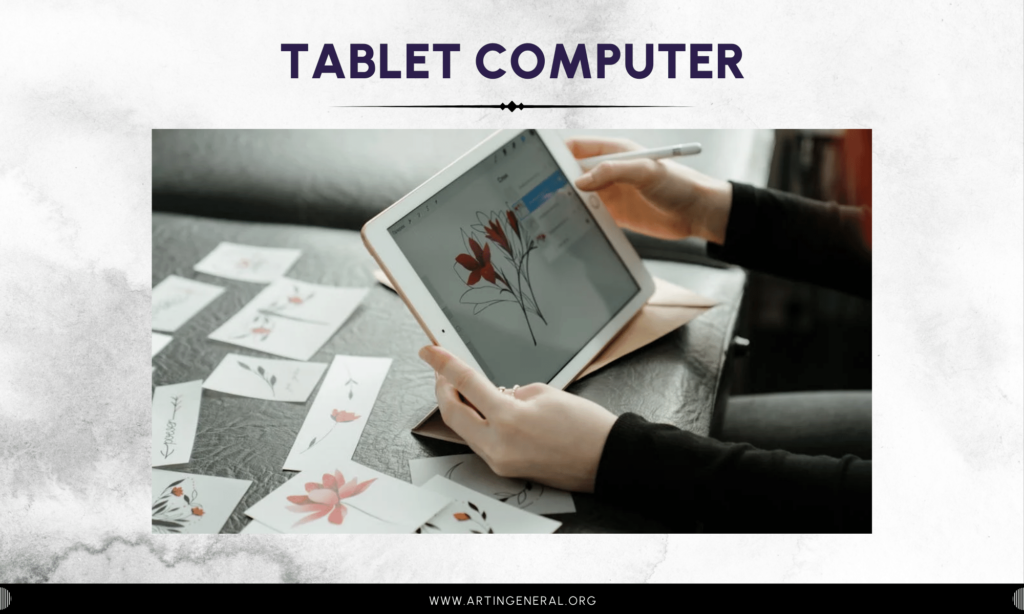
The second alternative is one of the easiest to use and the one that has gained insane popularity the past decade: using a mobile tablet. The iPad was the first one to come up with the idea of adding a stylus (and a pretty good one) that worked with their iPads as if it were a real pen. Apple developers came up with digital software that got the most out of it years later with Procreate and that changed that way digital was made for good.
Tablet computers have mobile OS, which have a lot of limitations but are getting closer and closer to desktop OS. One of these limitations is the software compatibility, since given most drawing software originally made for desktop haven’t adapted to mobile yet, there are only a few options available in app stores that are not exactly complete professional digital drawing and painting software like the options you have on desktop. Another limitation is the processing power, mobile devices don’t have nor the CPU or GPU to handle heavy canvases, animation or 3D modeling.
While getting one of these devices might seem like the perfect option for a beginner ,you have to carefully consider the path you’re going to take and how much of a limitation your tablet is going to be.
The Pros:
- Great portability, you’ll be able to draw from anywhere.
- Super easy to use, mobile drawing apps have a simpler user interface than professional software.
- You can use your tablet for note-taking and gaming if you’re a student.
The Cons:
- The processing power will limit you a lot further in your journey.
- The tablet will only last you a few years.
- For advanced options that do offer professional software compatibility, like the Microsoft surface, the price range is much higher.
Your Phone and Your Finger or An Android-Compatible Tablet (the hardest way)
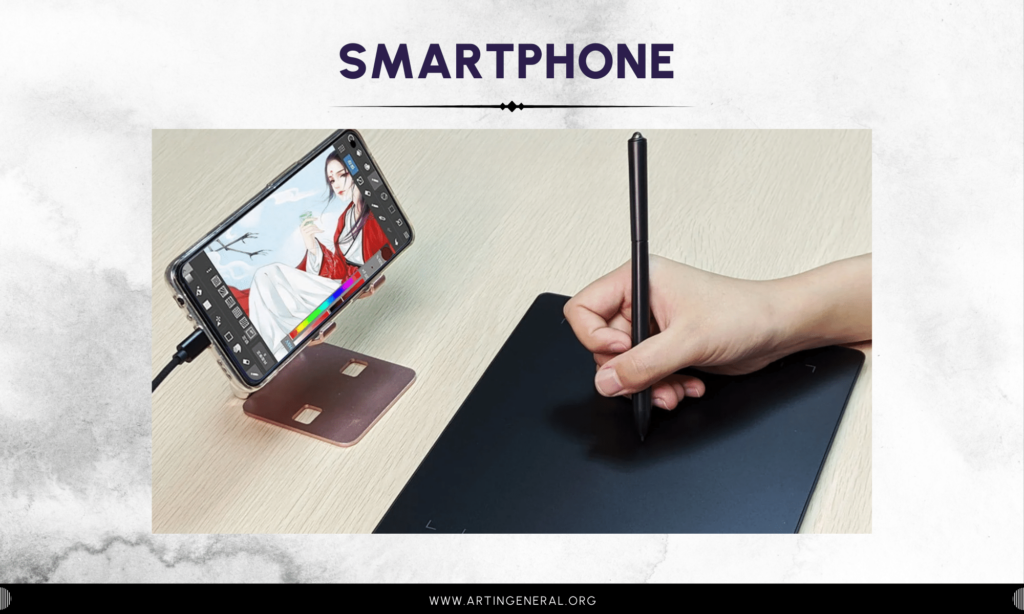
If there’s a will, there’s a way right? Digital art is for everybody, so if you have a smartphone, you can make digital art. Probably.
Being completely honest, this is the hardest option, however it has become so popular that even professional drawing software companies have released smartphone-compatible versions for the artists that use their phone and fingers to create beautiful masterpieces.
Drawing tablet companies have also made some of their tablet models compatible with mobile OS which speaks volumes of the use of smartphones for digital art, because in this day and age, who doesn’t have a smartphone?
The limitations are higher than with a mobile tablet since smartphones don’t have enough RAM or processing power to handle heavy drawing software, however there are drawing apps that rely on cloud storage and have low resource consumption which makes digital art a possibility.
Using your finger on a non-pressure sensitive screen will always be a challenge, however it is possible to create art even with that limitation, and for less than $100 you can get a drawing tablet that is compatible with android so that the pressure sensitivity issue is solved.
Software Selection
Now onto the software. As mentioned above, there is desktop-compatible software and mobile apps, some of them are free (or have ads) and some of them are paid (upfront or have a subscription), and while deciding which one to use is not an easy task, getting to know them all will always benefit you in the long run. While not everything is made with beginners in mind, there are a lot of resources and tutorials that help you learn everything about them, and most of these apps and software offer a trial period that will allow you to experiment and play around with them for about a month or so, before deciding to purchase them for good.
Software Selection: Mobile apps
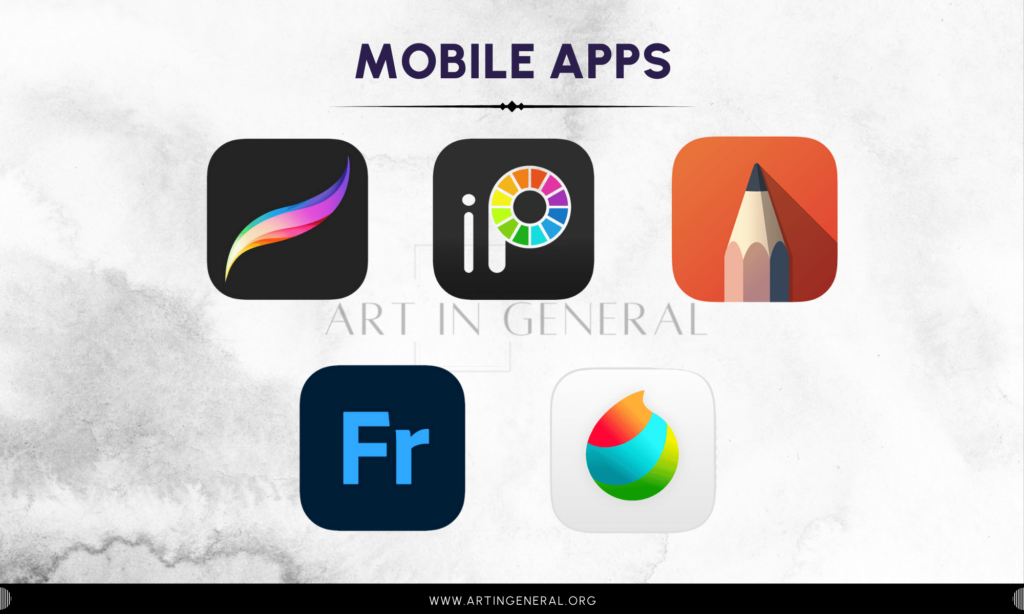
Procreate
For those embarking on their digital art journey with an iPad, Procreate often comes highly recommended. Its intuitive interface belies a deep reservoir of features, from a broad selection of brushes to advanced layering and blending modes. Users appreciate the seamless experience of translating ideas into digital strokes, finding the app’s blend of simplicity and power particularly conducive to creativity. Whether for professional work or personal projects, Procreate supports artists at every level, making it a cornerstone of many digital art workflows.
Ibis Paint X
Ibis Paint X shines as a platform not just for creating art but for sharing the creative process. It’s especially popular among artists who value community and learning from peers. With an impressive library of brushes and tools, alongside features that allow users to record their drawing sessions, it fosters a space for growth and inspiration. Beginners find the app accessible, offering a less intimidating entry point into digital art. Its emphasis on social connectivity and learning makes it a unique tool in the digital artist’s arsenal.
Sketchbook
Sketchbook is lauded for its straightforward yet powerful toolset, appealing to both beginners and seasoned artists. The app’s clean design and responsive tools create an environment where creativity isn’t hampered by technical barriers. Users often cite its ease of use and the ability to quickly bring ideas to life as key reasons for their loyalty. Sketchbook serves as a reliable digital sketchpad, ready to capture concepts with minimal fuss, making it an essential part of the creative process for many.
Adobe Fresco
Adobe Fresco addresses the needs of artists transitioning from traditional mediums to digital canvases, with its standout feature being the live brushes that mimic real-life painting techniques. The app’s integration with Adobe Creative Cloud enhances its appeal, offering a familiar ecosystem for those already entrenched in Adobe’s software suite. Its ability to blend digital convenience with traditional artistry makes it a favorite for illustrators and graphic designers seeking to infuse their digital work with a natural, tactile feel.
Medibang Paint
Medibang Paint is celebrated for its combination of comprehensive features and accessibility. Tailored for illustrators and comic creators, it provides an extensive selection of tools without overwhelming newcomers. The cloud-based workflow and collaboration features stand out, enabling artists to work across devices and with others easily. Its lightweight nature ensures that it’s approachable for artists working on a variety of devices, making professional-quality digital art accessible without a steep learning curve or high costs.
Software Selection: Professional Software
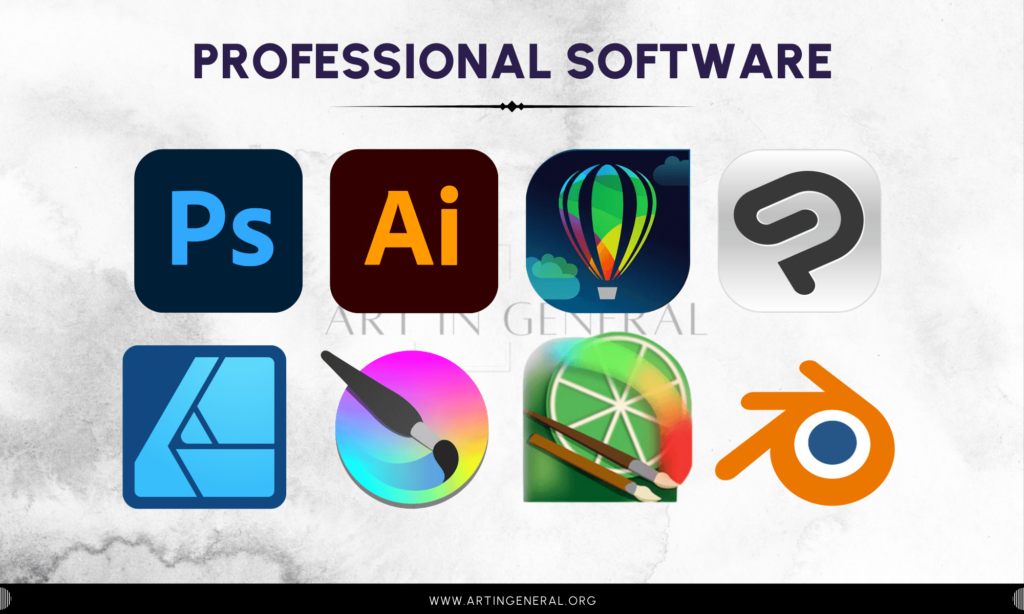
Adobe Photoshop
Adobe Photoshop reigns as the go-to software for a myriad of professionals in digital art, photography, and design. Its comprehensive toolkit supports everything from photo editing to complex digital painting and 3D modeling. Photoshop’s versatility and depth make it a staple in the digital art world, enabling artists to push the boundaries of creativity. With features that cater to both raster graphics and digital painting, it provides an unmatched level of precision and flexibility, making it indispensable for professionals looking to refine their work to the highest standards.
Adobe Illustrator
Adobe Illustrator sets the standard for vector graphic design, offering precision and scalability that raster-based programs can’t match. It’s the backbone of logo and icon design, typography, and complex illustrations that require clean lines and curves. Illustrator’s robust toolset, including path editing and color management, allows for intricate design work that remains crisp and clear at any size. This software is essential for graphic designers and illustrators who demand accuracy and efficiency in their workflow.
CorelDRAW
CorelDRAW excels in vector graphic creation and layout, making it a favorite among graphic designers and digital artists who specialize in vector imagery. Its comprehensive suite of tools supports a wide range of design tasks, from logo creation to multi-page layout projects. CorelDRAW stands out for its user-friendly interface and powerful vector editing capabilities, offering professionals a competitive alternative to other design software. Its versatility across print and web design, along with advanced typography and color management features, ensures that designs stand out in any medium.
Clip Studio Paint
Clip Studio Paint is celebrated for its natural drawing experience, particularly favored by comic and manga artists for its specialized tools for panel layout, inking, and coloring. Its brush engine is designed to mimic traditional media closely, offering a digital platform that feels familiar to traditional artists. The software also includes animation features, making it a versatile choice for creators looking to explore the world of digital storytelling. With robust support for pen tablets and an intuitive interface, it bridges the gap between traditional and digital art forms seamlessly.
Affinity Designer
Affinity Designer merges the worlds of vector and raster design, offering a fluid transition between the two within a single application. This flexibility is particularly appealing to designers who work across different mediums, requiring both the precision of vector graphics and the richness of raster textures. With its modern interface and efficient performance, Affinity Designer stands as a strong contender against more established design software, offering a cost-effective solution without compromising on features or quality.
Krita
Krita specializes in digital painting and 2D animation, offering a free, open-source alternative that rivals paid software in functionality and performance. Its brush engine, designed for artists by artists, provides a wide range of textures and effects, mimicking traditional media with exceptional fidelity. Krita’s commitment to the creative community is evident in its frequent updates and enhancements, making it a popular choice among digital painters, illustrators, and animators looking for a comprehensive and accessible tool.
PaintTool SAI
PaintTool SAI offers a focused and efficient painting experience, known for its simplicity and the quality of its brush engine. It’s particularly loved by artists who prioritize a smooth drawing experience, with minimal lag and precise control over brush strokes. Despite its more basic interface and feature set compared to other software, SAI remains a favorite for its reliability and ease of use, making it ideal for artists who want to focus on the fundamentals of digital painting without the overhead of more complex software.
Blender
Blender breaks the mold by being primarily a 3D creation suite, yet it offers unique 2D drawing and animation tools through its Grease Pencil feature. This versatility makes Blender an intriguing choice for artists exploring the intersection of 2D and 3D art. Its comprehensive set of features for modeling, texturing, and animating 3D content, combined with robust support for 2D art, positions Blender as a powerful tool for artists and creators looking to push the boundaries of digital art into the third dimension.
The Digital Art Community
One of the most fun and endearing aspects of digital art is the community built around it. It’s like a big, welcoming family where everyone from beginners to pros shares their love for creating art. People in the digital art community are super supportive, they cheer each other on, share tips, and offer constructive feedback. There’s always something new to learn, and in the digital art community, everyone learns together, whether it’s a new drawing app or a painting technique, people love sharing tutorials and learning resources.
Among the most popular platforms we have:
- Instagram: Perfect for those looking to grow a following.
- Twitter: Perfect for engaging with other artists and joining challenges.
- DeviantArt: One of the oldest and most diverse platforms.
- ArtStation: A polished portfolio window to the professional digital world.
- Behance: Perfect for graphic designers to showcase their work and portfolios.
- Reddit: A place to learn, teach, ask and get answers. Check the r/Art and r/DigitalArt subreddits.
- Tumblr: The blog-style art diary, perfect for personal expressions and sharing more than just art.
- Pinterest: For collecting and sharing what inspires you and to inspire others.
You can choose your favorite platform to share your art on ro share on all of them, make friends all around and participate in challenges, events and all kinds of fun stuff that happens in the community.
Conclusion
In conclusion, digital art is a blend of tradition and innovation where each brushstroke and every idea has space to flourish. It’s all about experimenting with layers, blending modes, effects that can turn a simple sketch into a masterpiece in a few strokes.
As you step into the digital art world, you’ll find yourself among a vibrant community that shares, learns and grows together, and has space for everyone, no matter if you’re a beginner or a pro.
We hope this article has shed some light into what digital art is, how to make it and that you enjoyed making your first digital art project. Until next time!
Leave a Reply