

Materials Needed
For this tutorial you’ll need:
- An HB Pencil
- A 2B Pencil
- A 4B Pencil
- A Piece of Paper or a Sketchbook
- A Kneaded Eraser
- A Normal Eraser
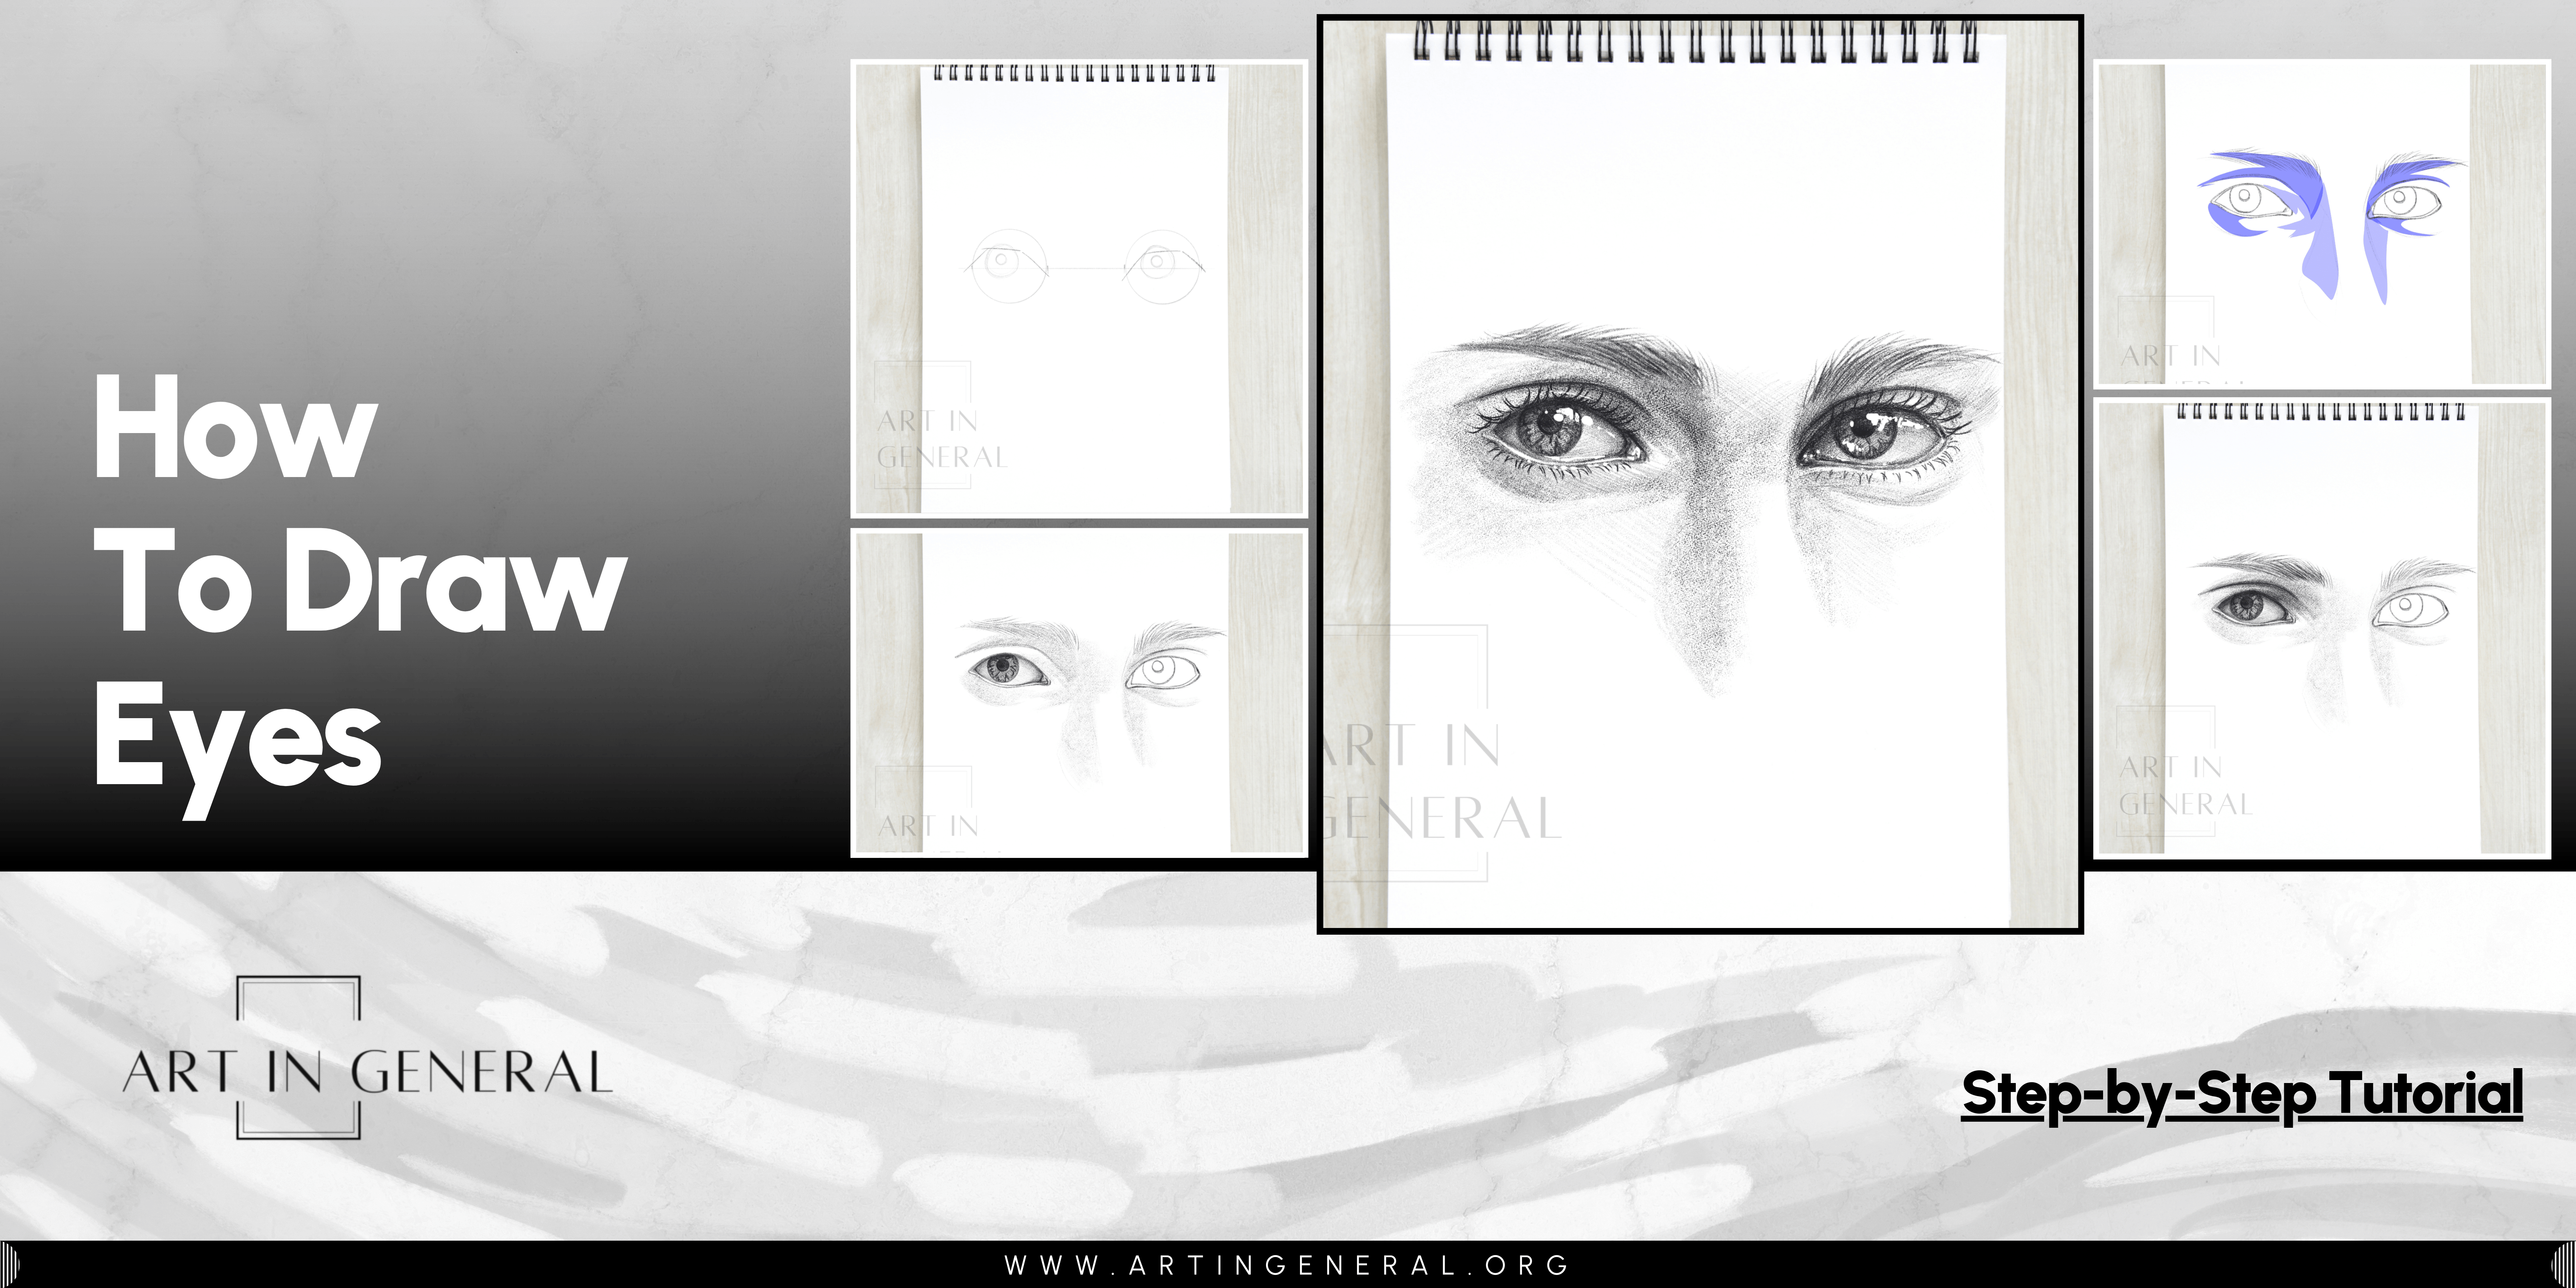
Eyes Drawing Process
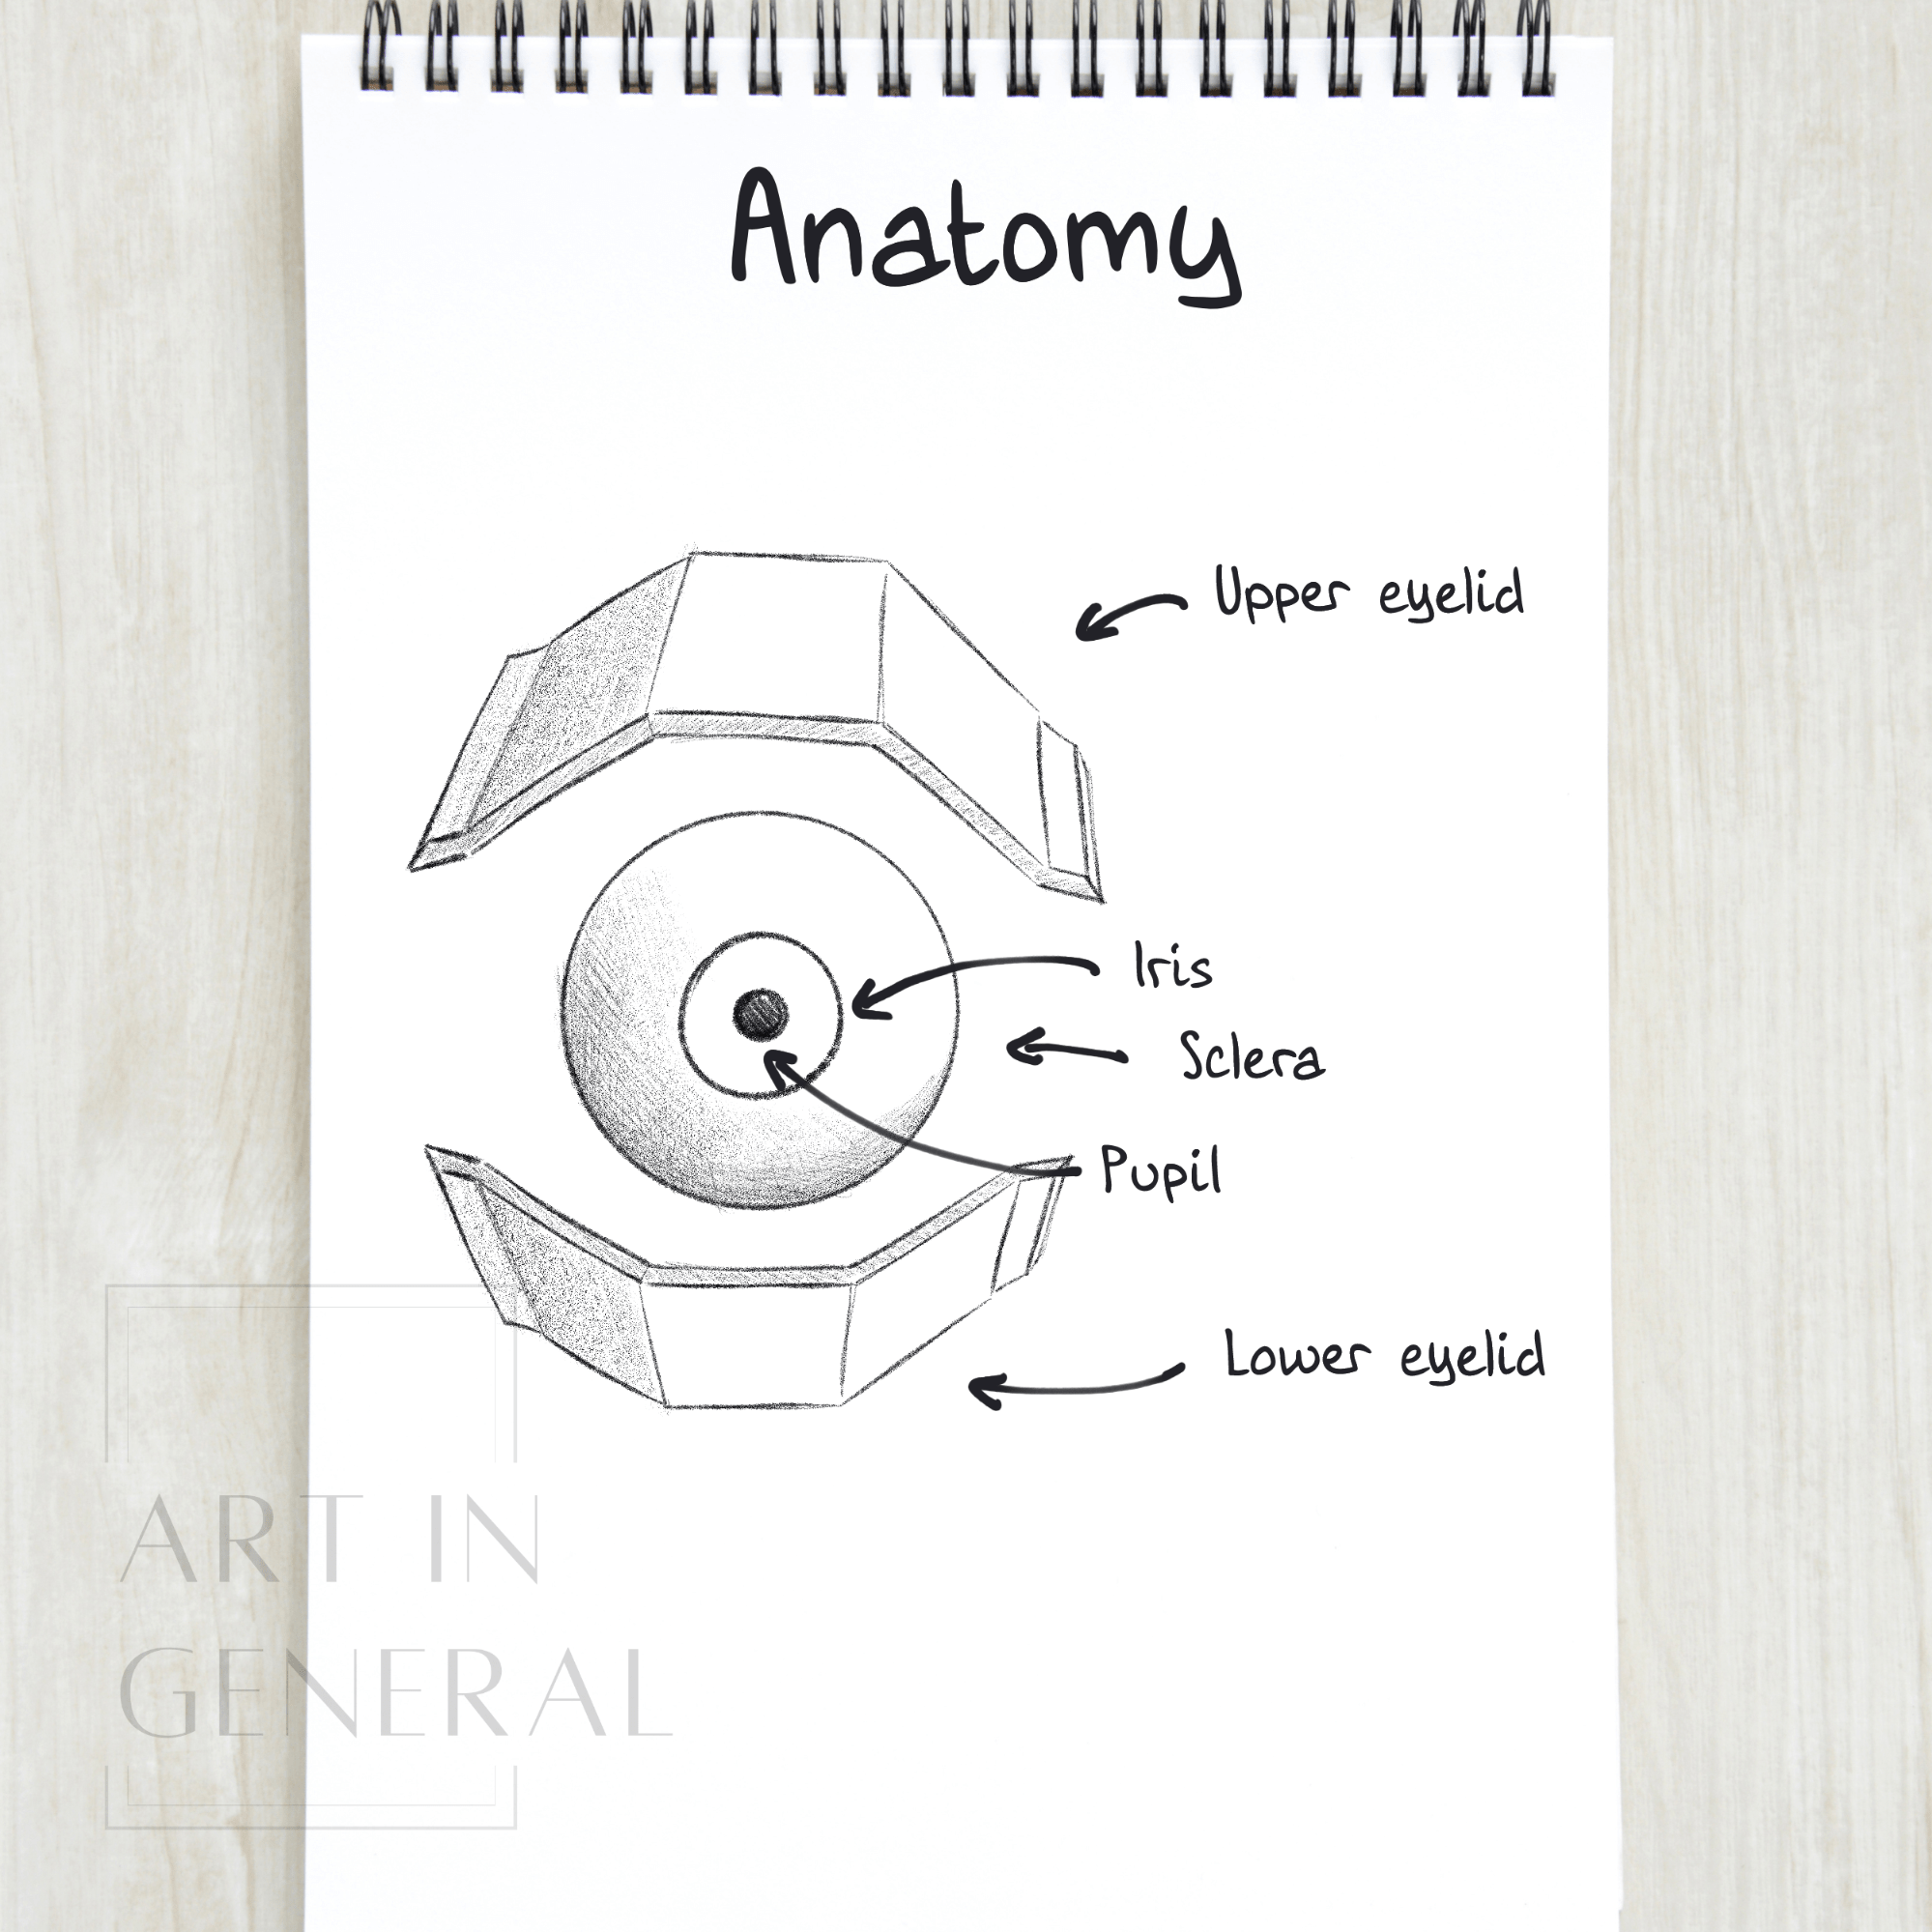
Eyes Anatomy for Drawing
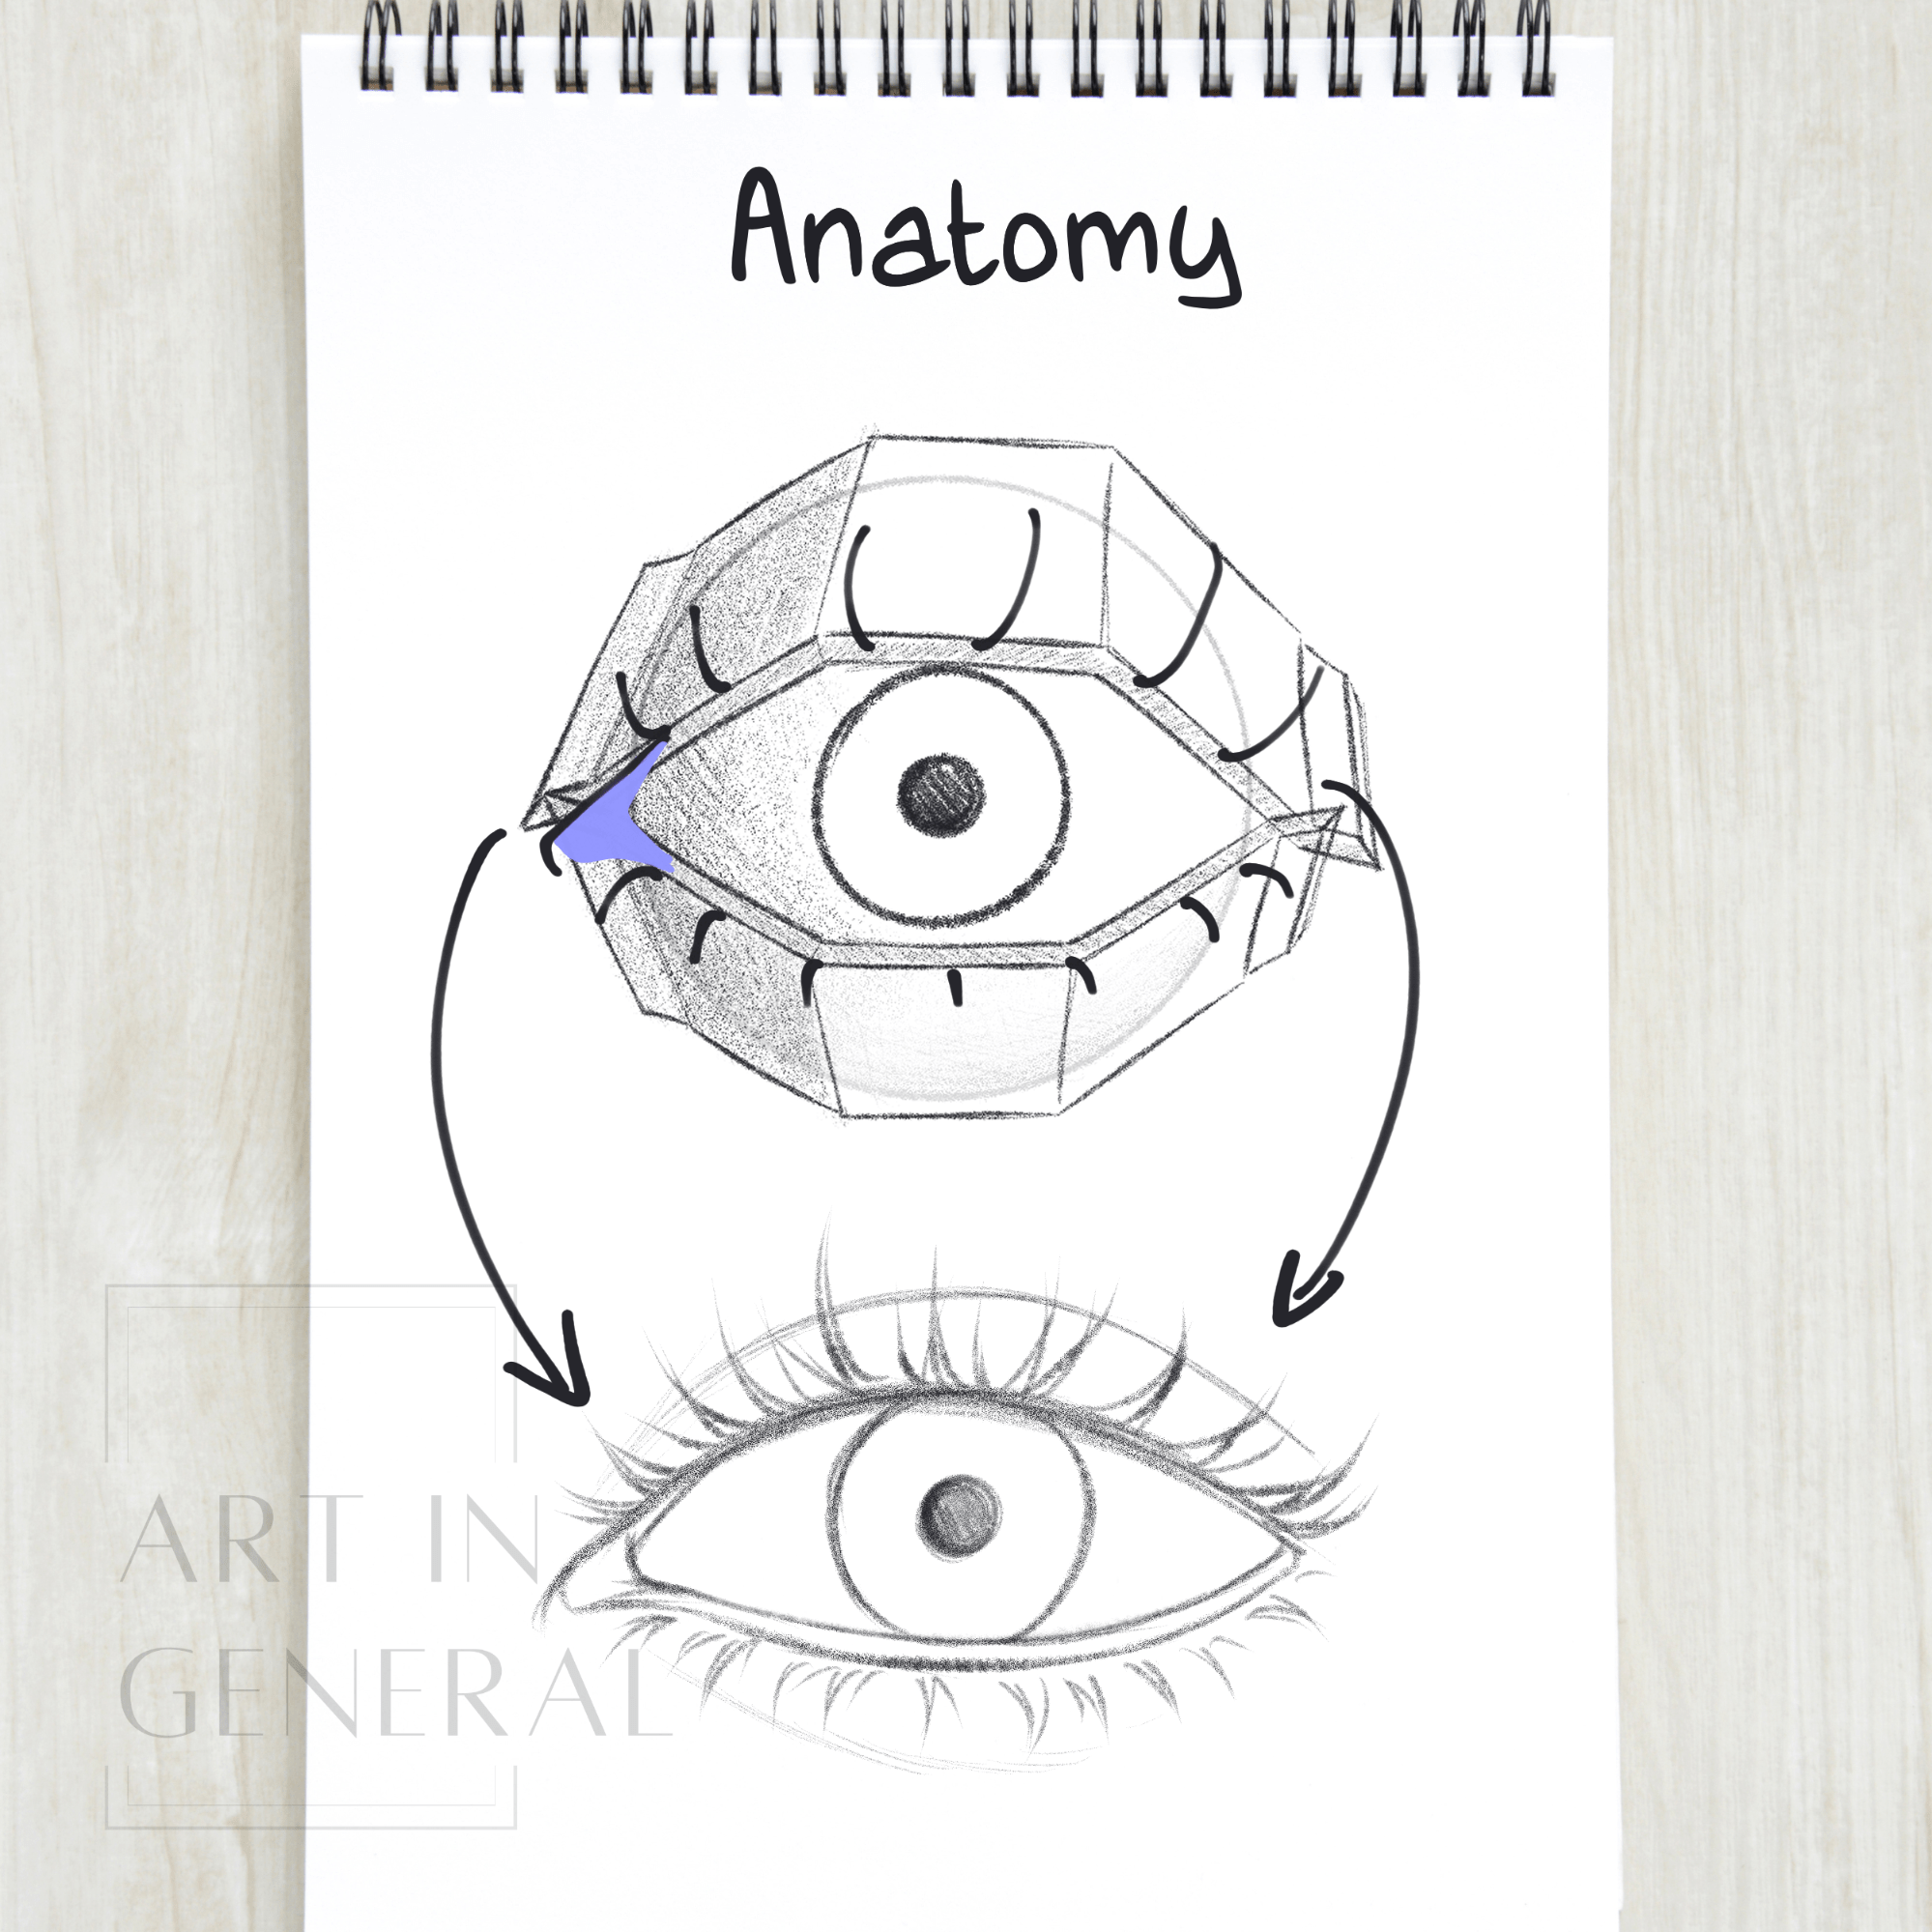
Before we start drawing, we have to first learn about the anatomy of the eye. We can break down the eye into three main parts, the upper eyelid, the eye sphere and the lower eyelid. The eye sphere contains the sclera (eye white), the iris and pupil.
When we join the upper and lower eyelids, they wrap around the eye sphere, the tissue connecting the face’s skin with the eye sphere forms the tear duct, which will be more visible on the inner corner of the eye. The upper and lower eyelids have an outer and inner side, the visible part of the inner side is called the waterline, which is where the eyelashes are born from and is more visible in the lower eyelid.
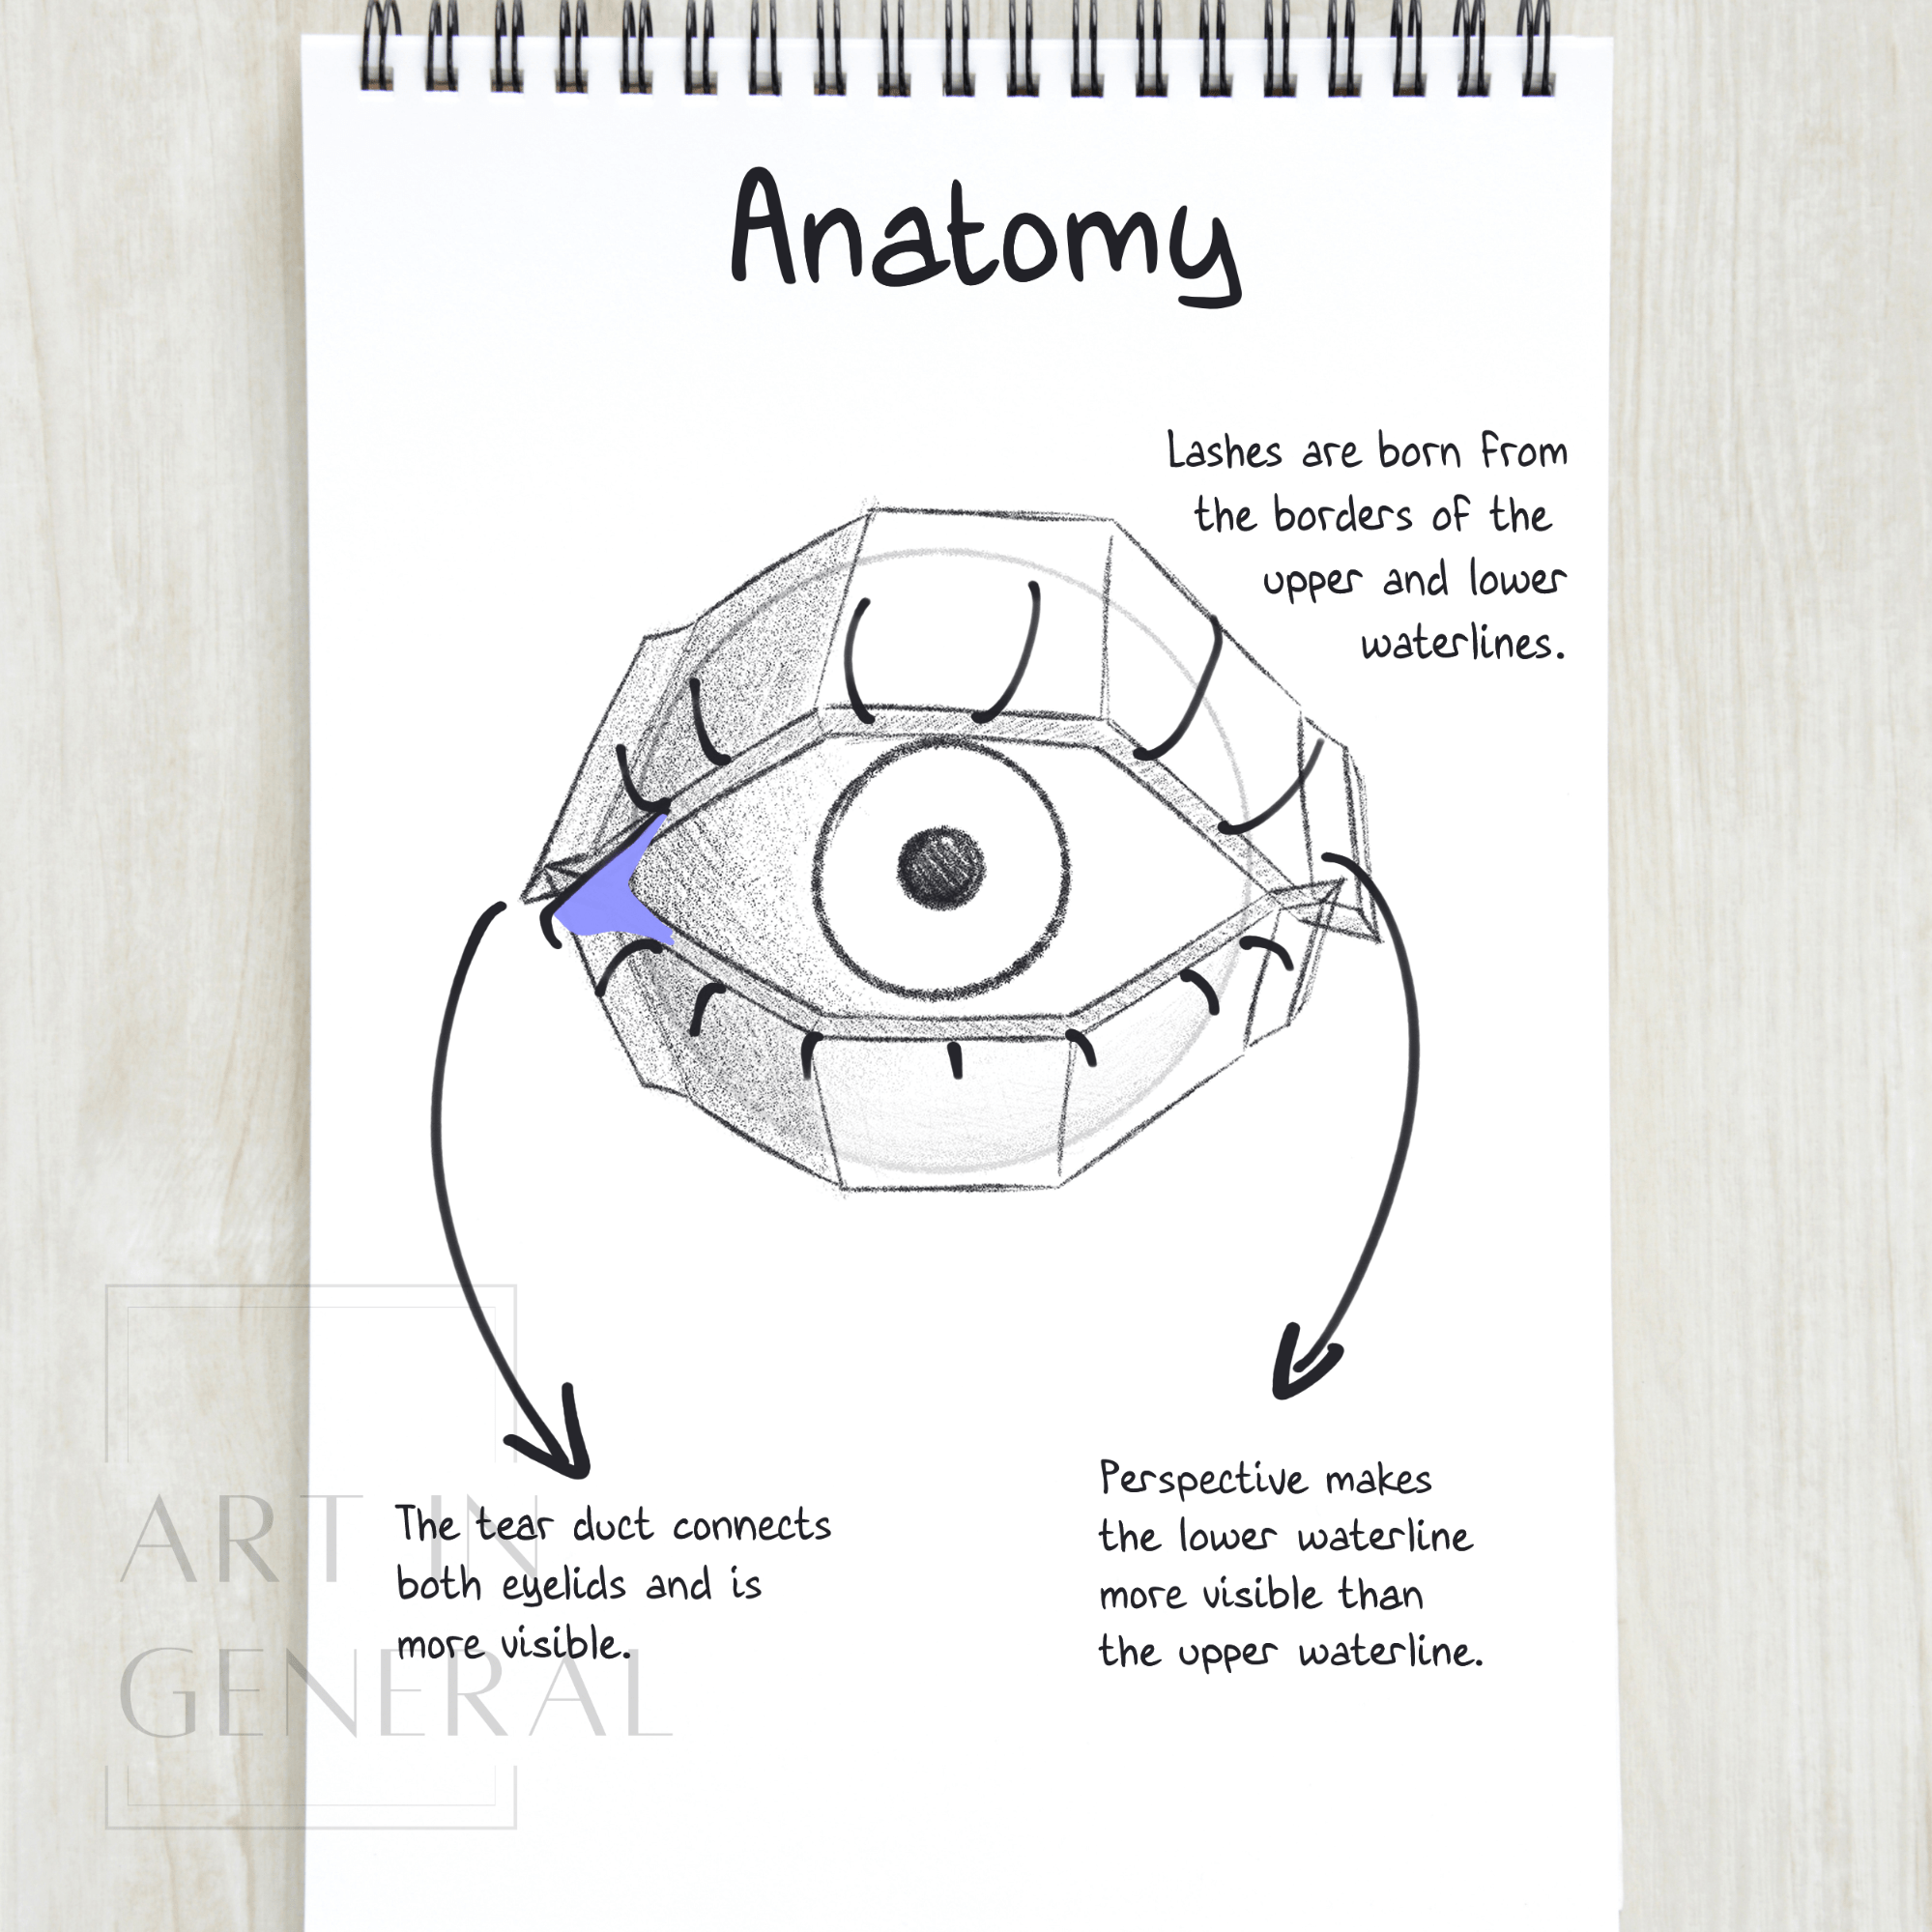
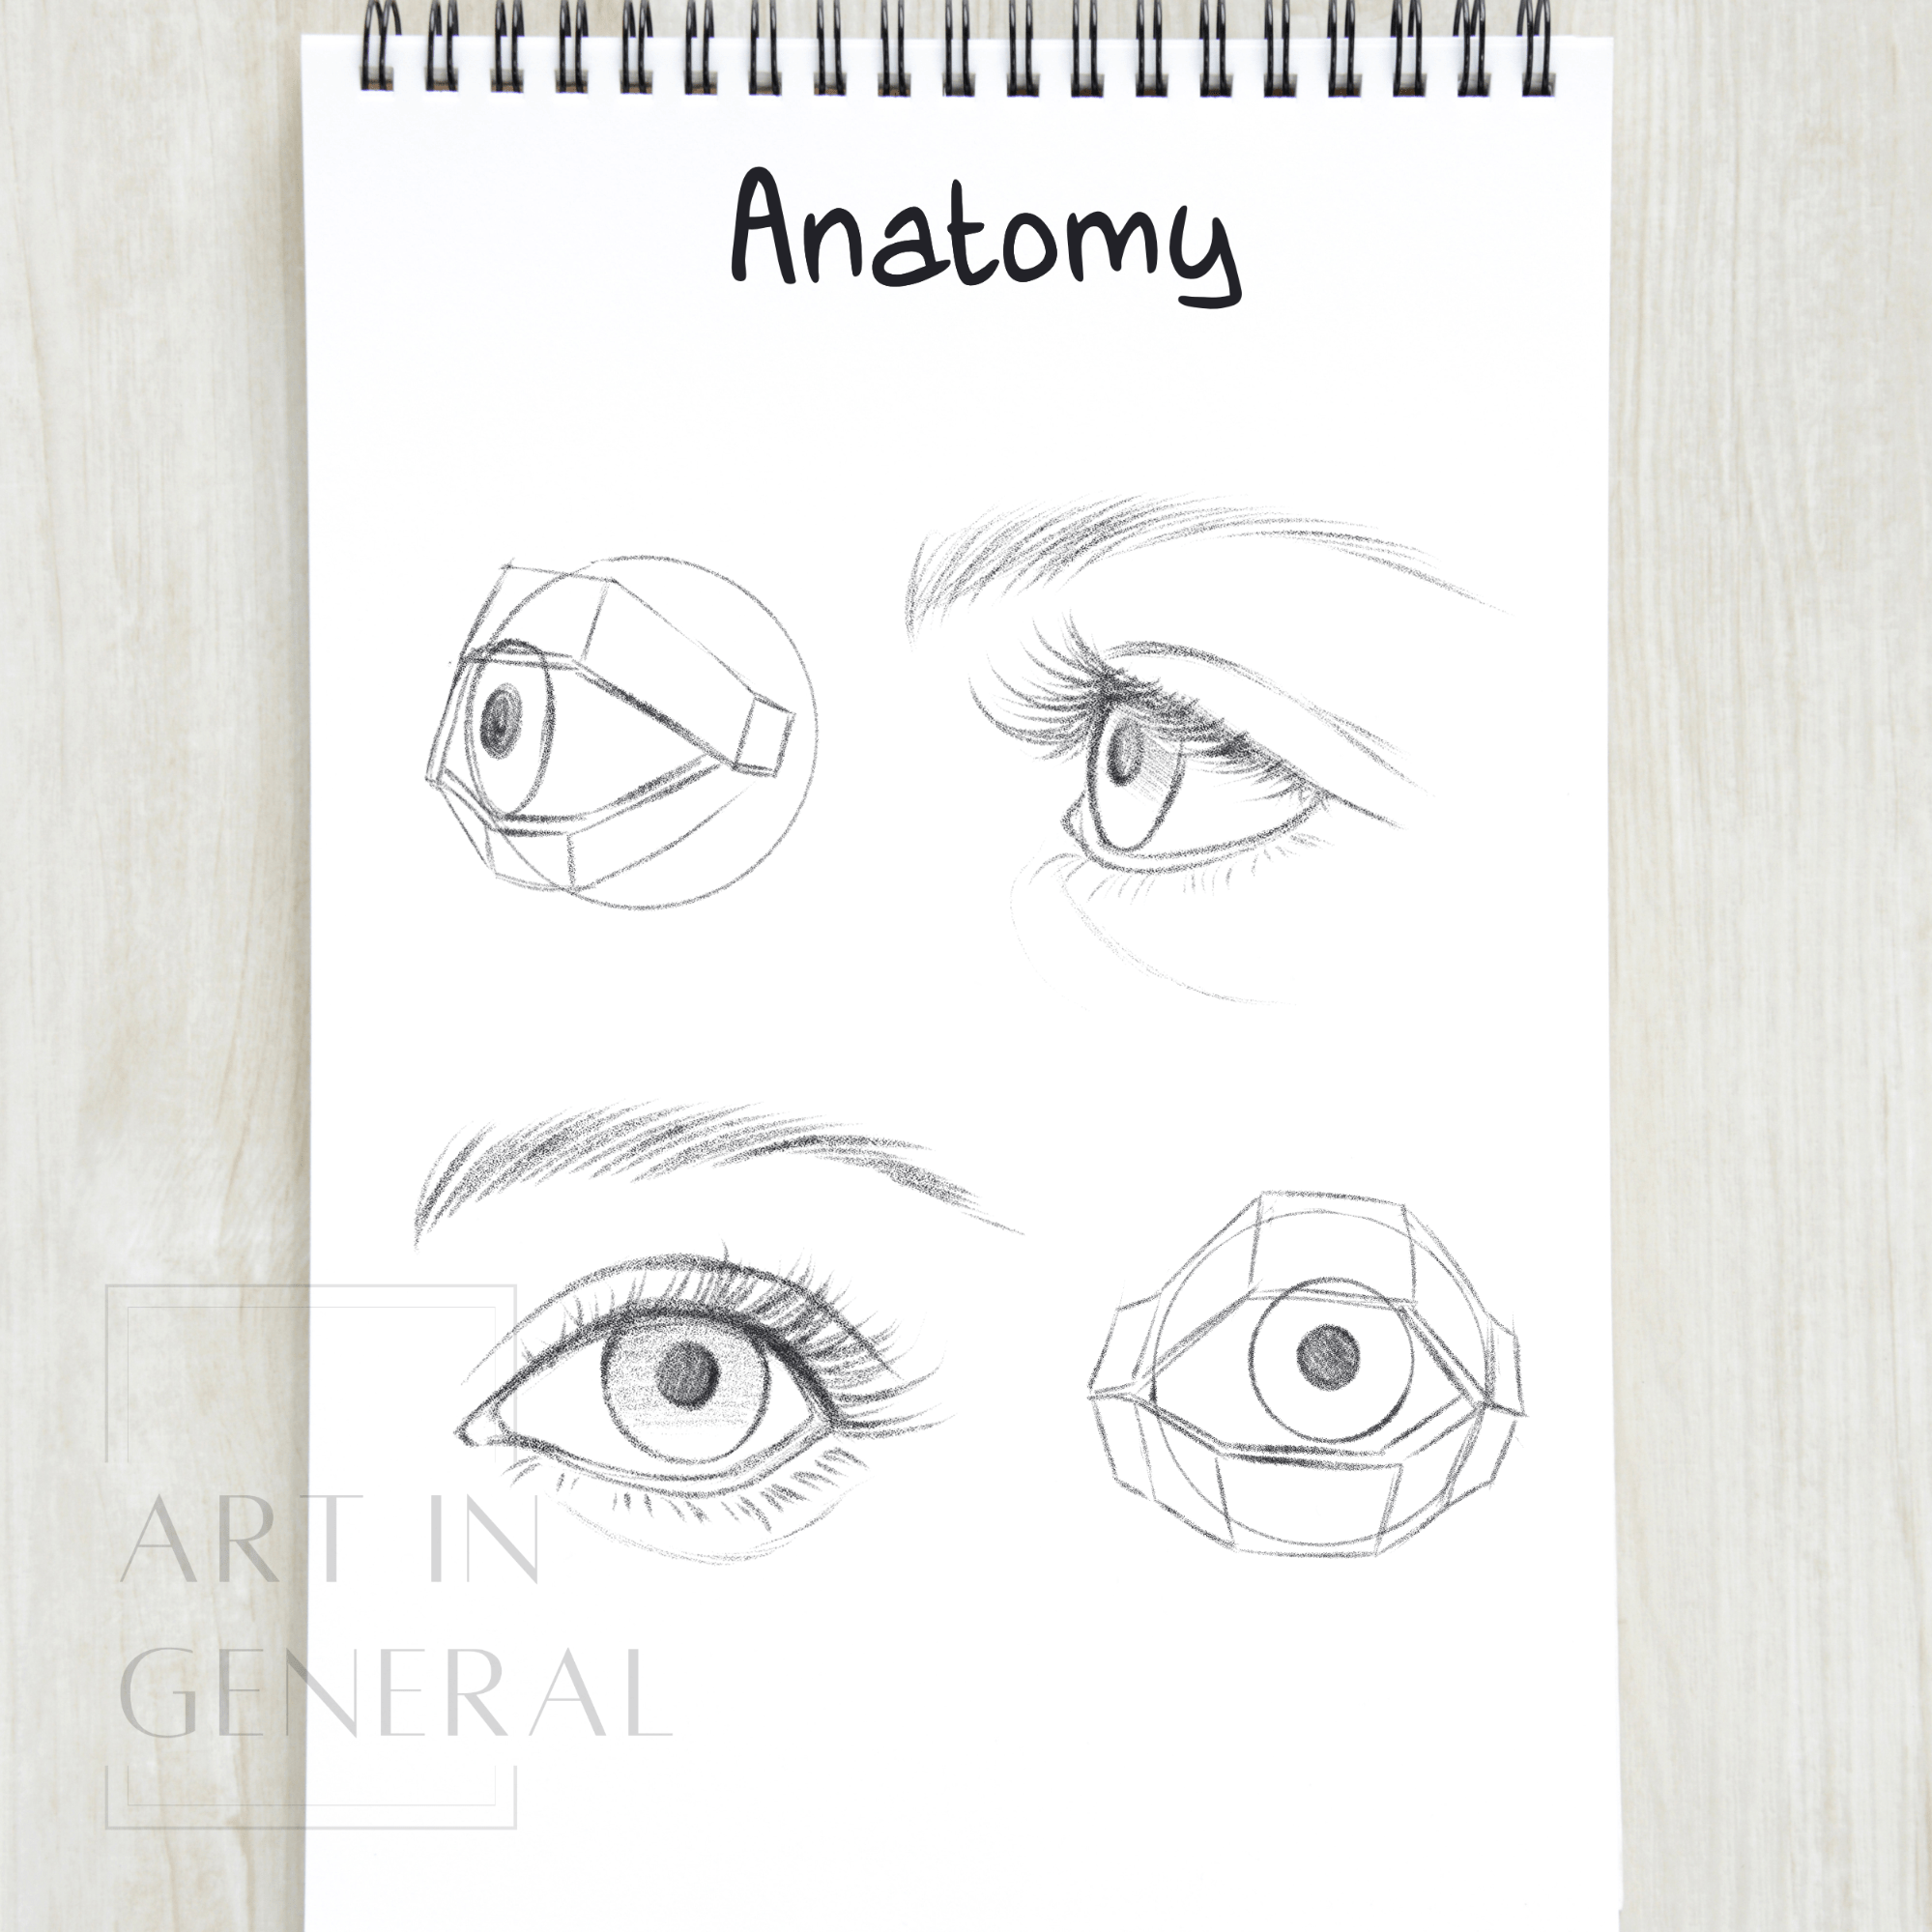
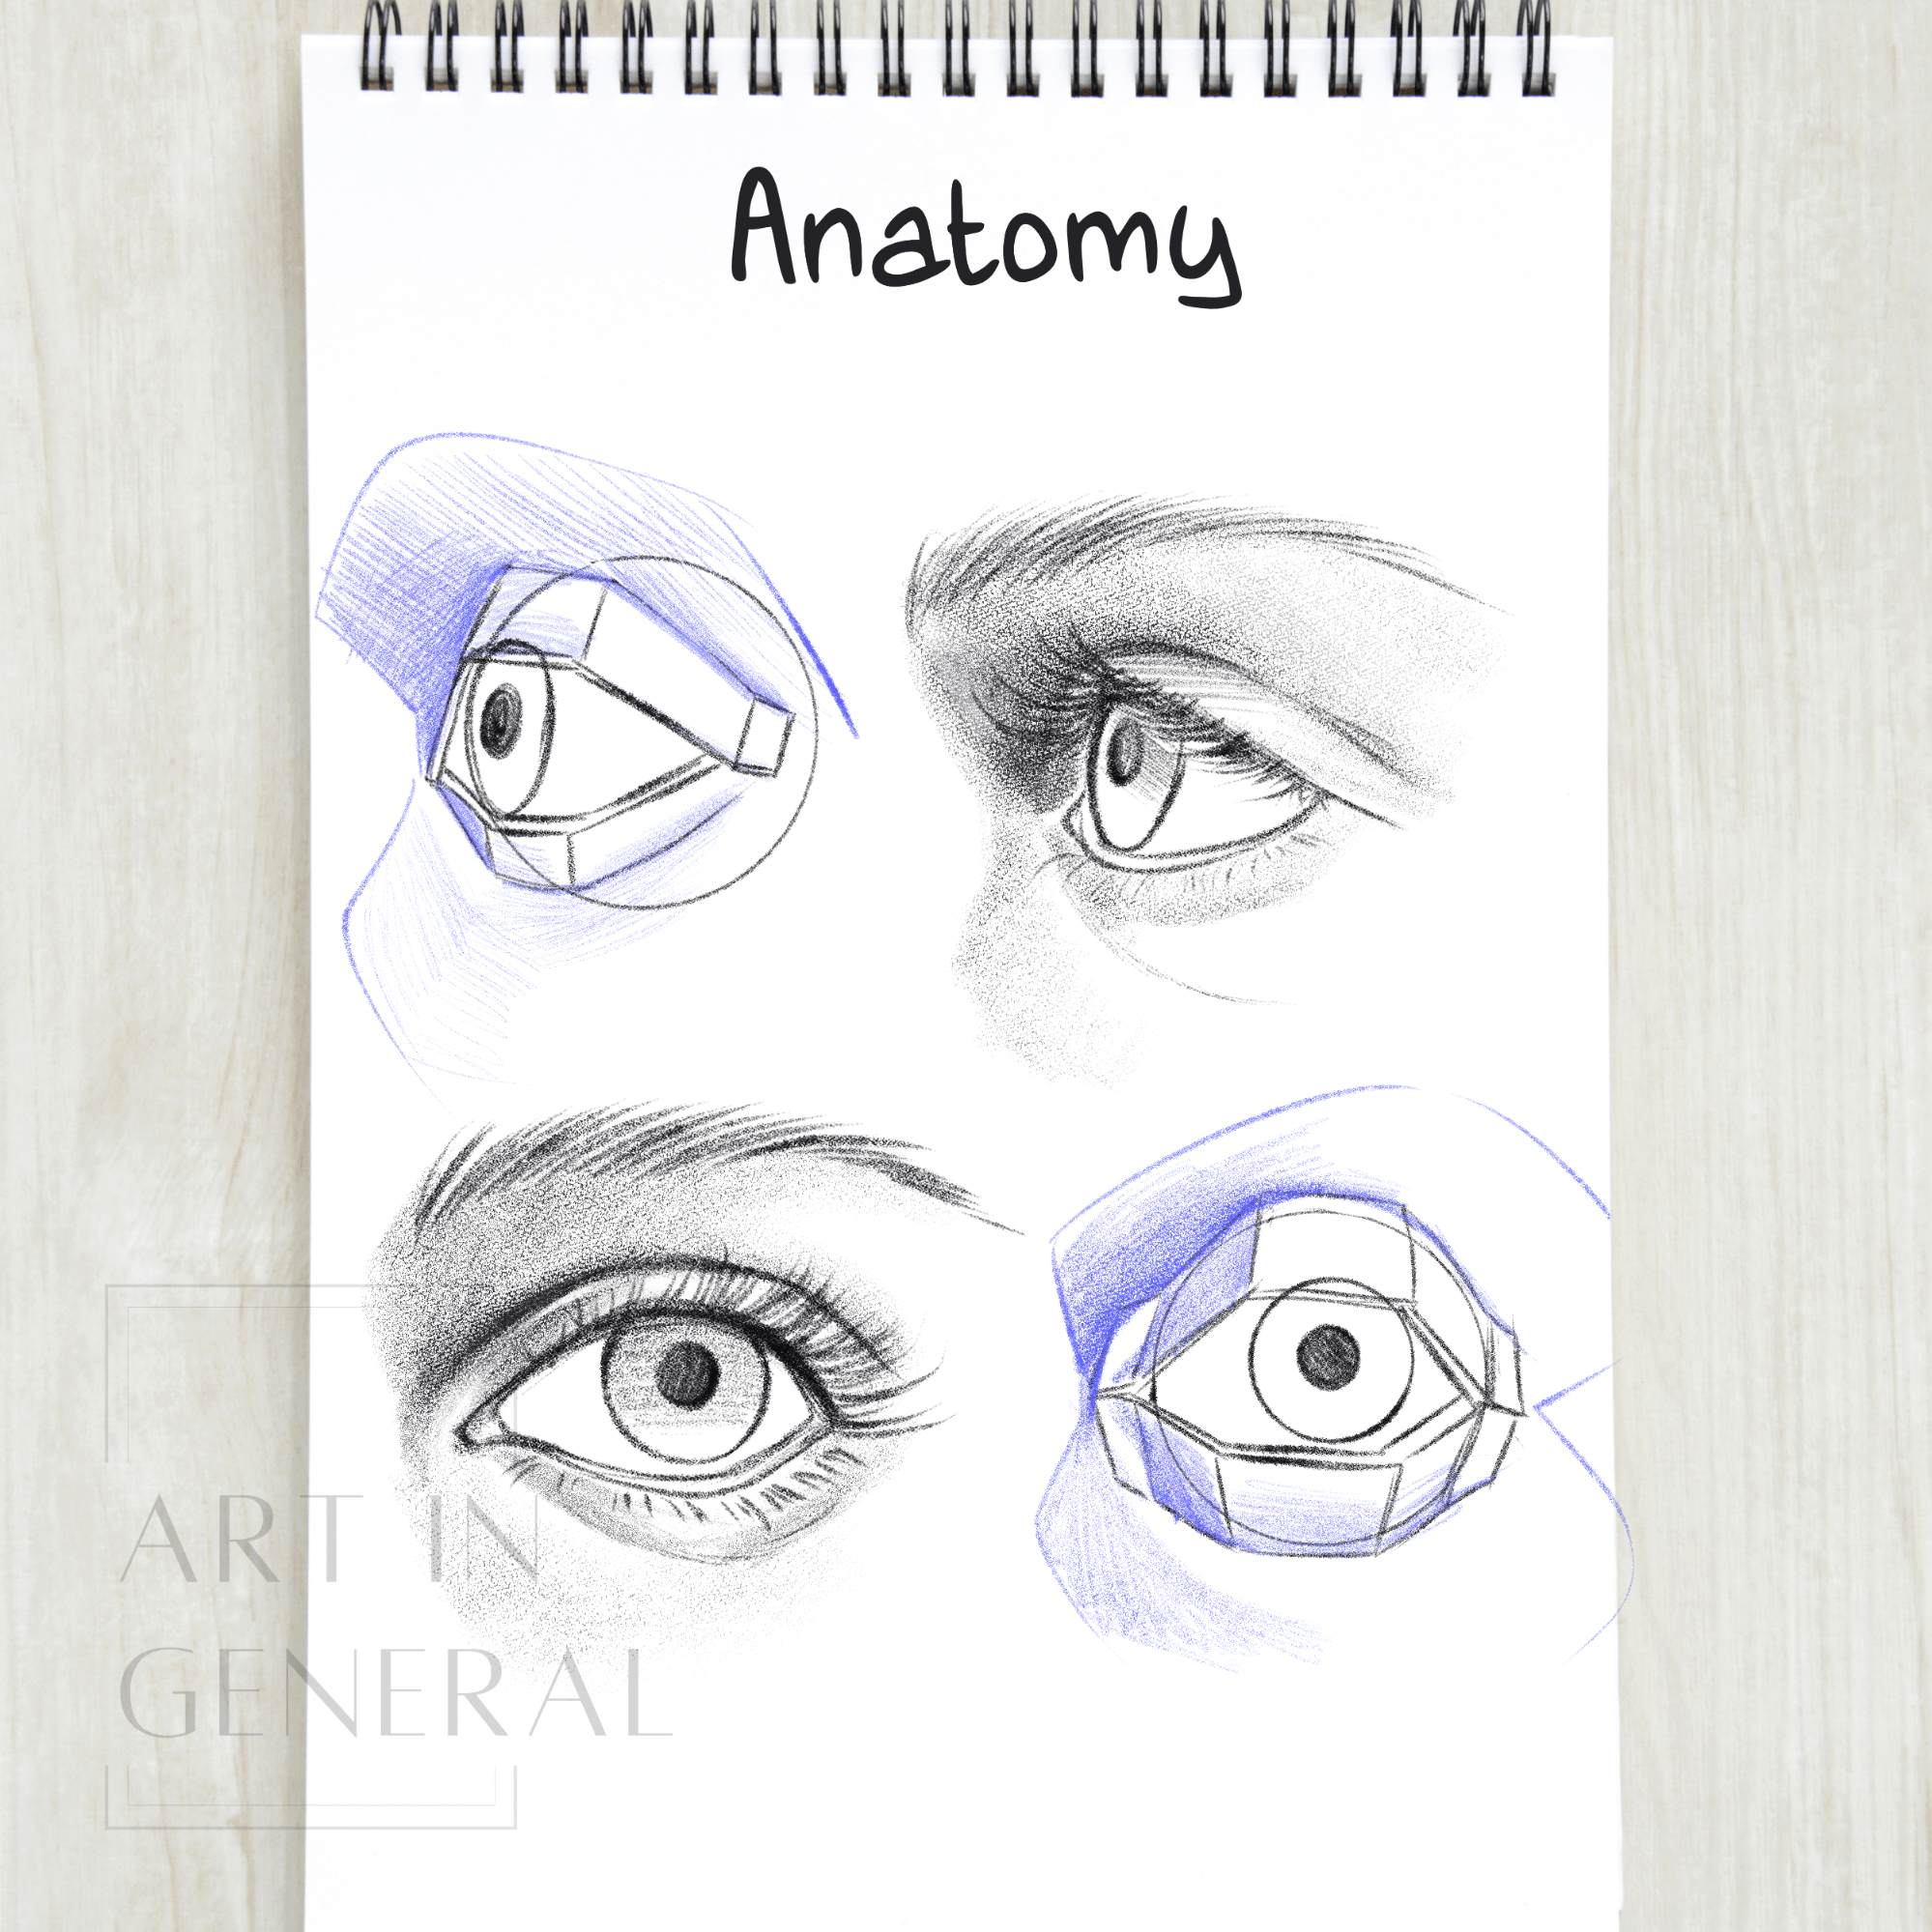
We can simplify the eye into these shapes and play with angles, positions and expressions.
This will help identify the eye and face planes for drawing and shading. You can play with light setting and angles and use them to learn.
How to Draw Eyes
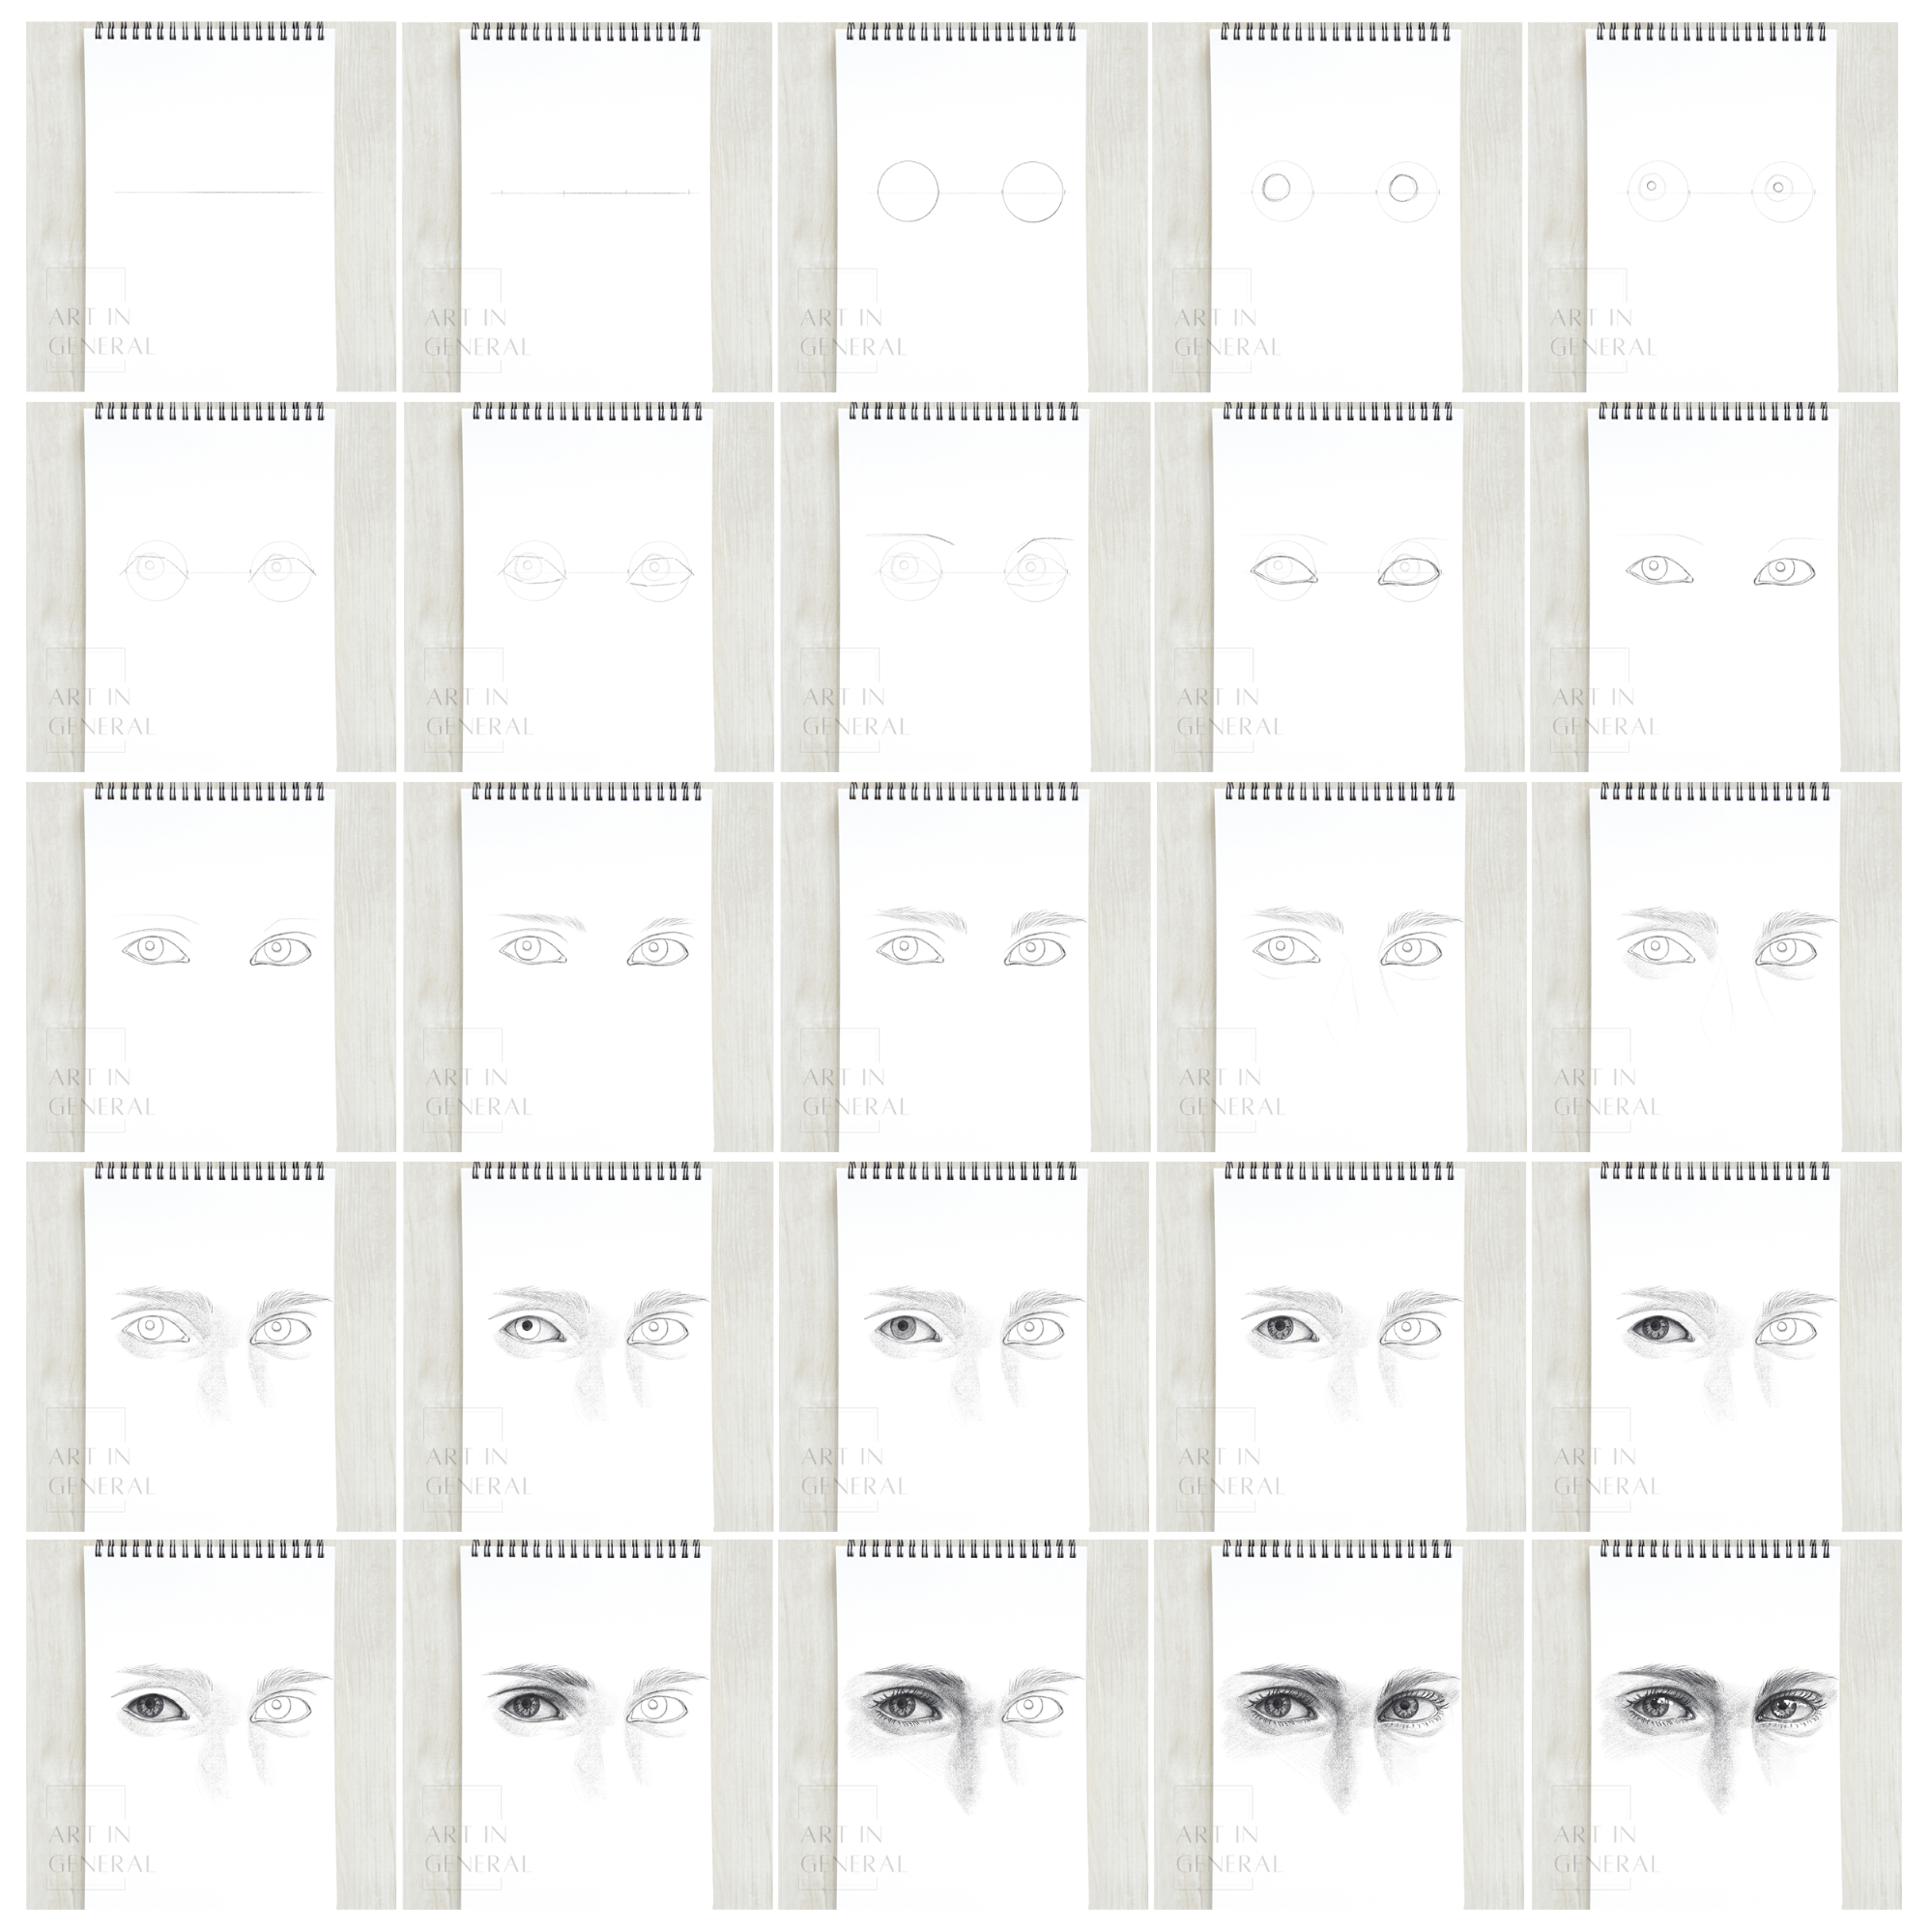
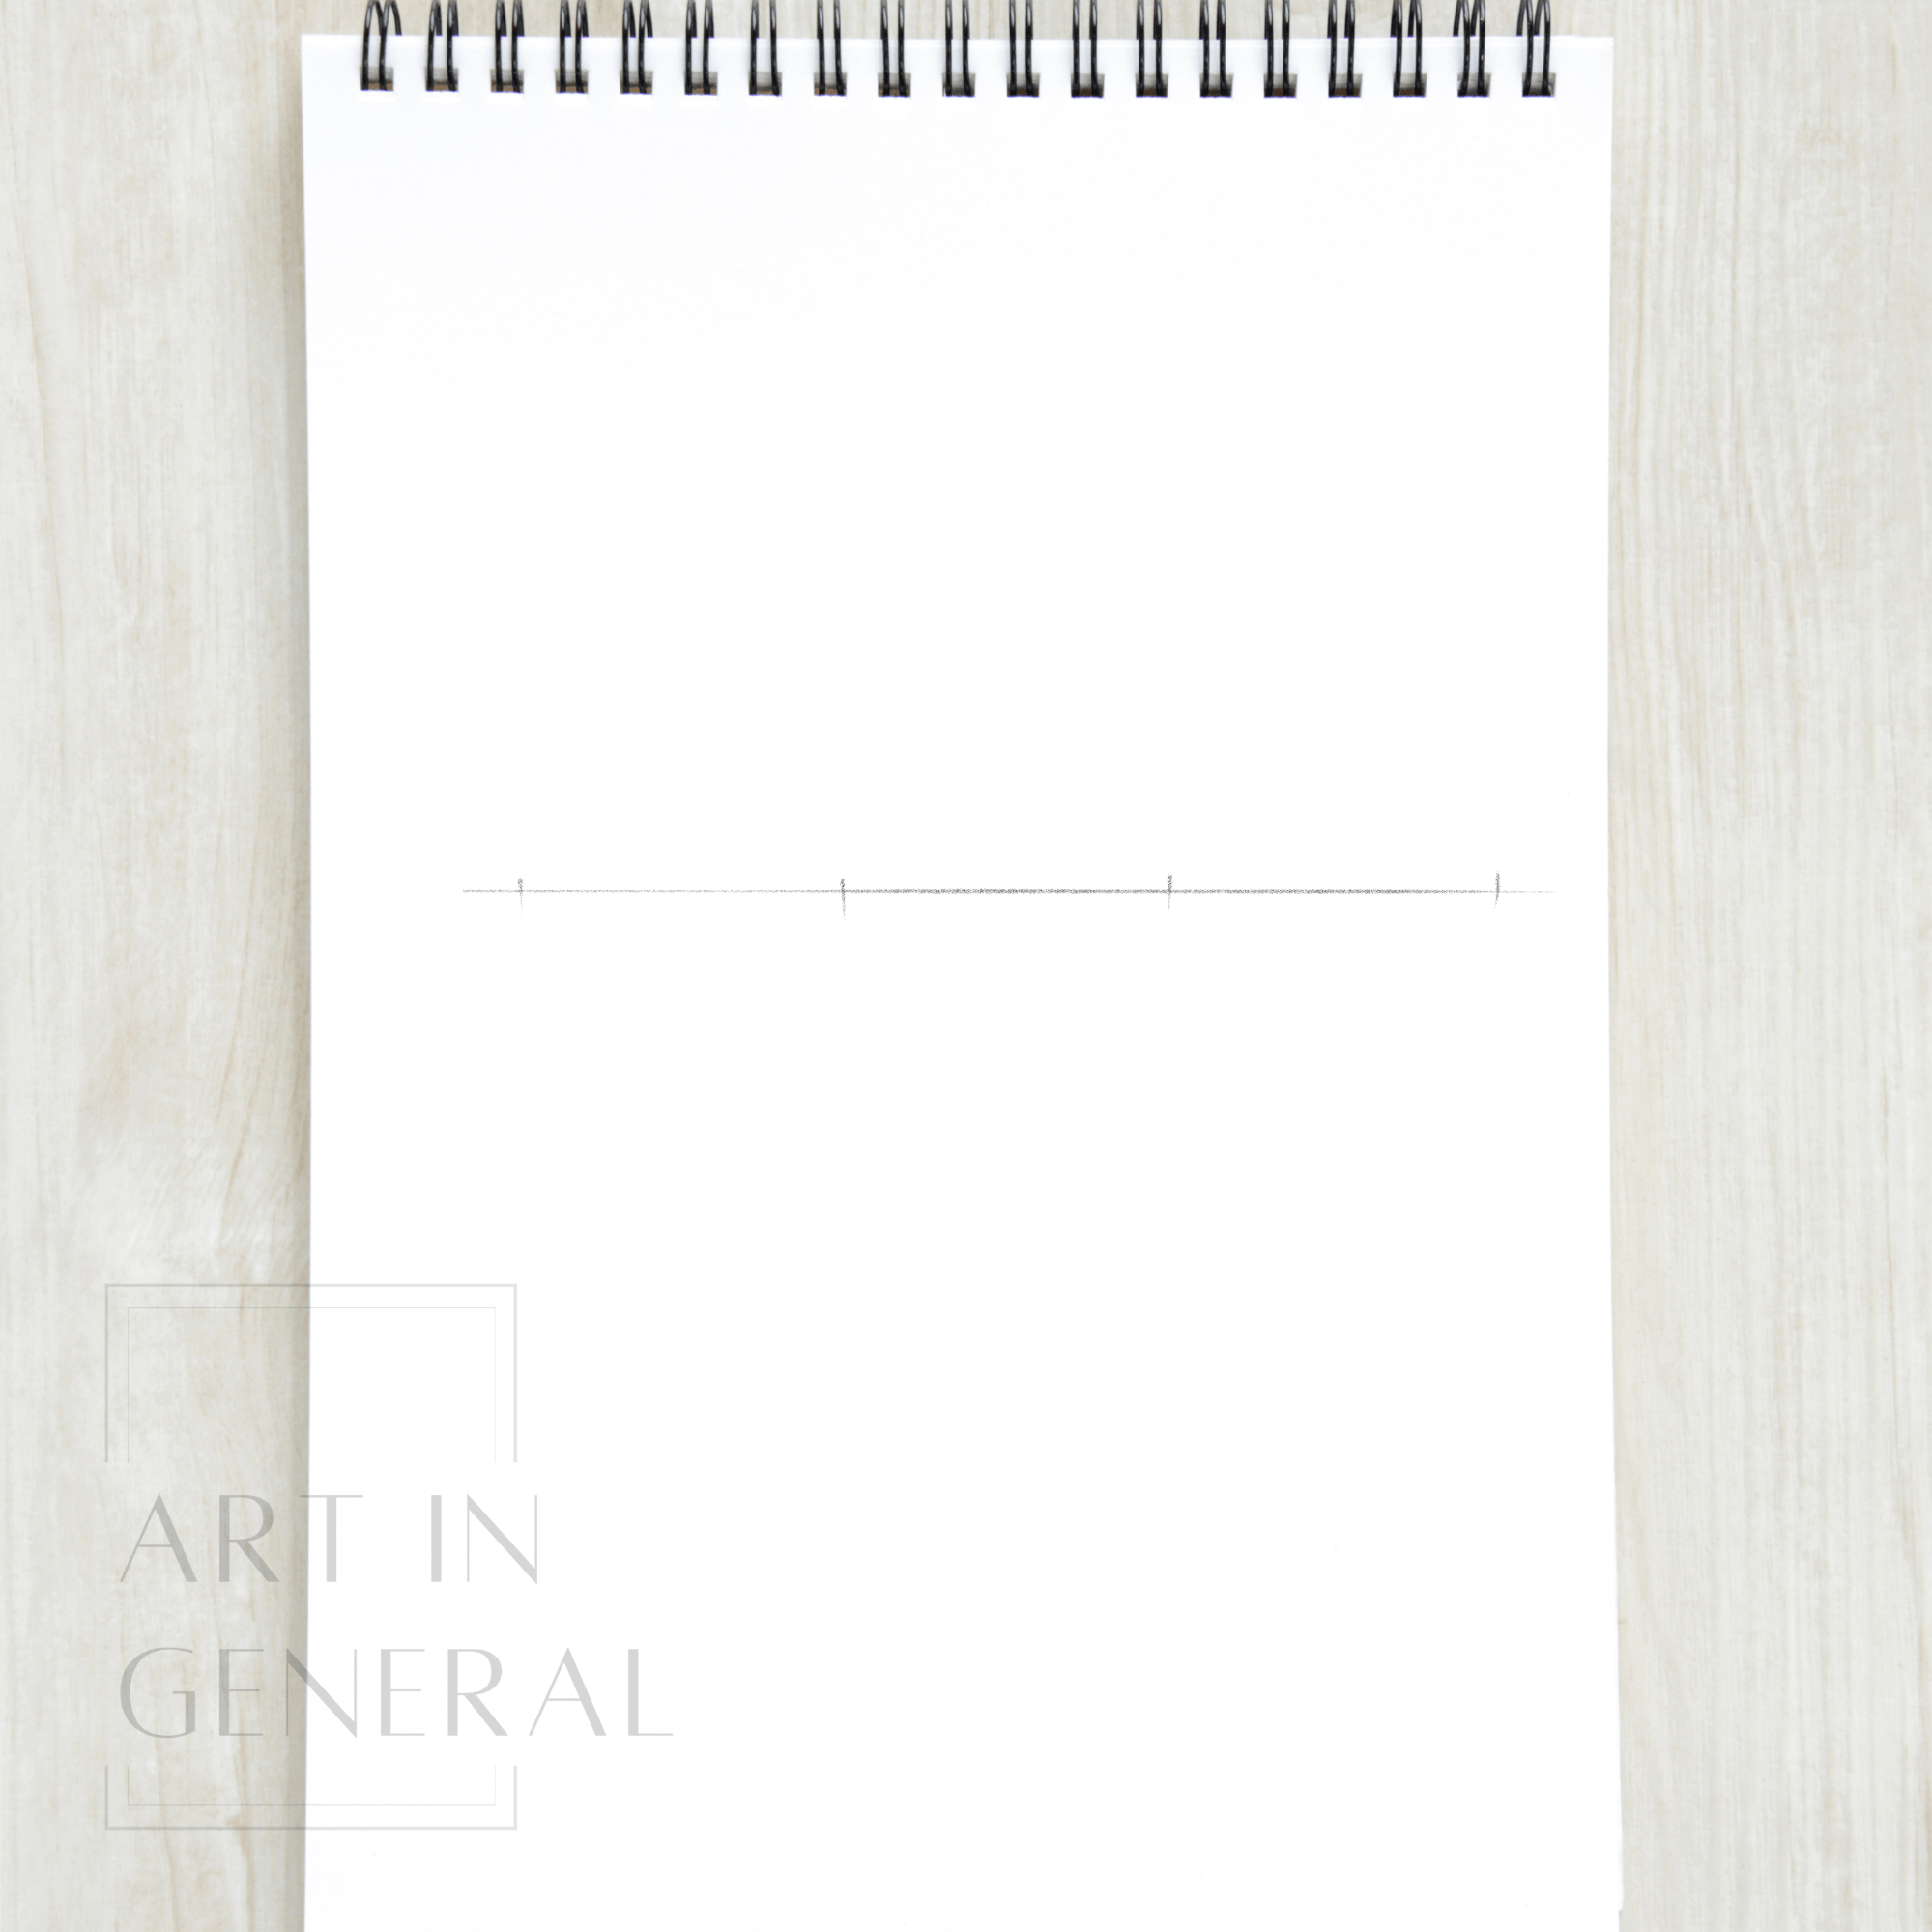
Step 1 — Draw a Line
We’re gonna make it simple for this drawing, so we’re going to draw our eyes perfectly aligned. Not all eyes are like that, it mostly depends on the face’s angle and perspective, but we’ll see about that on a later tutorial. For now, draw a line.
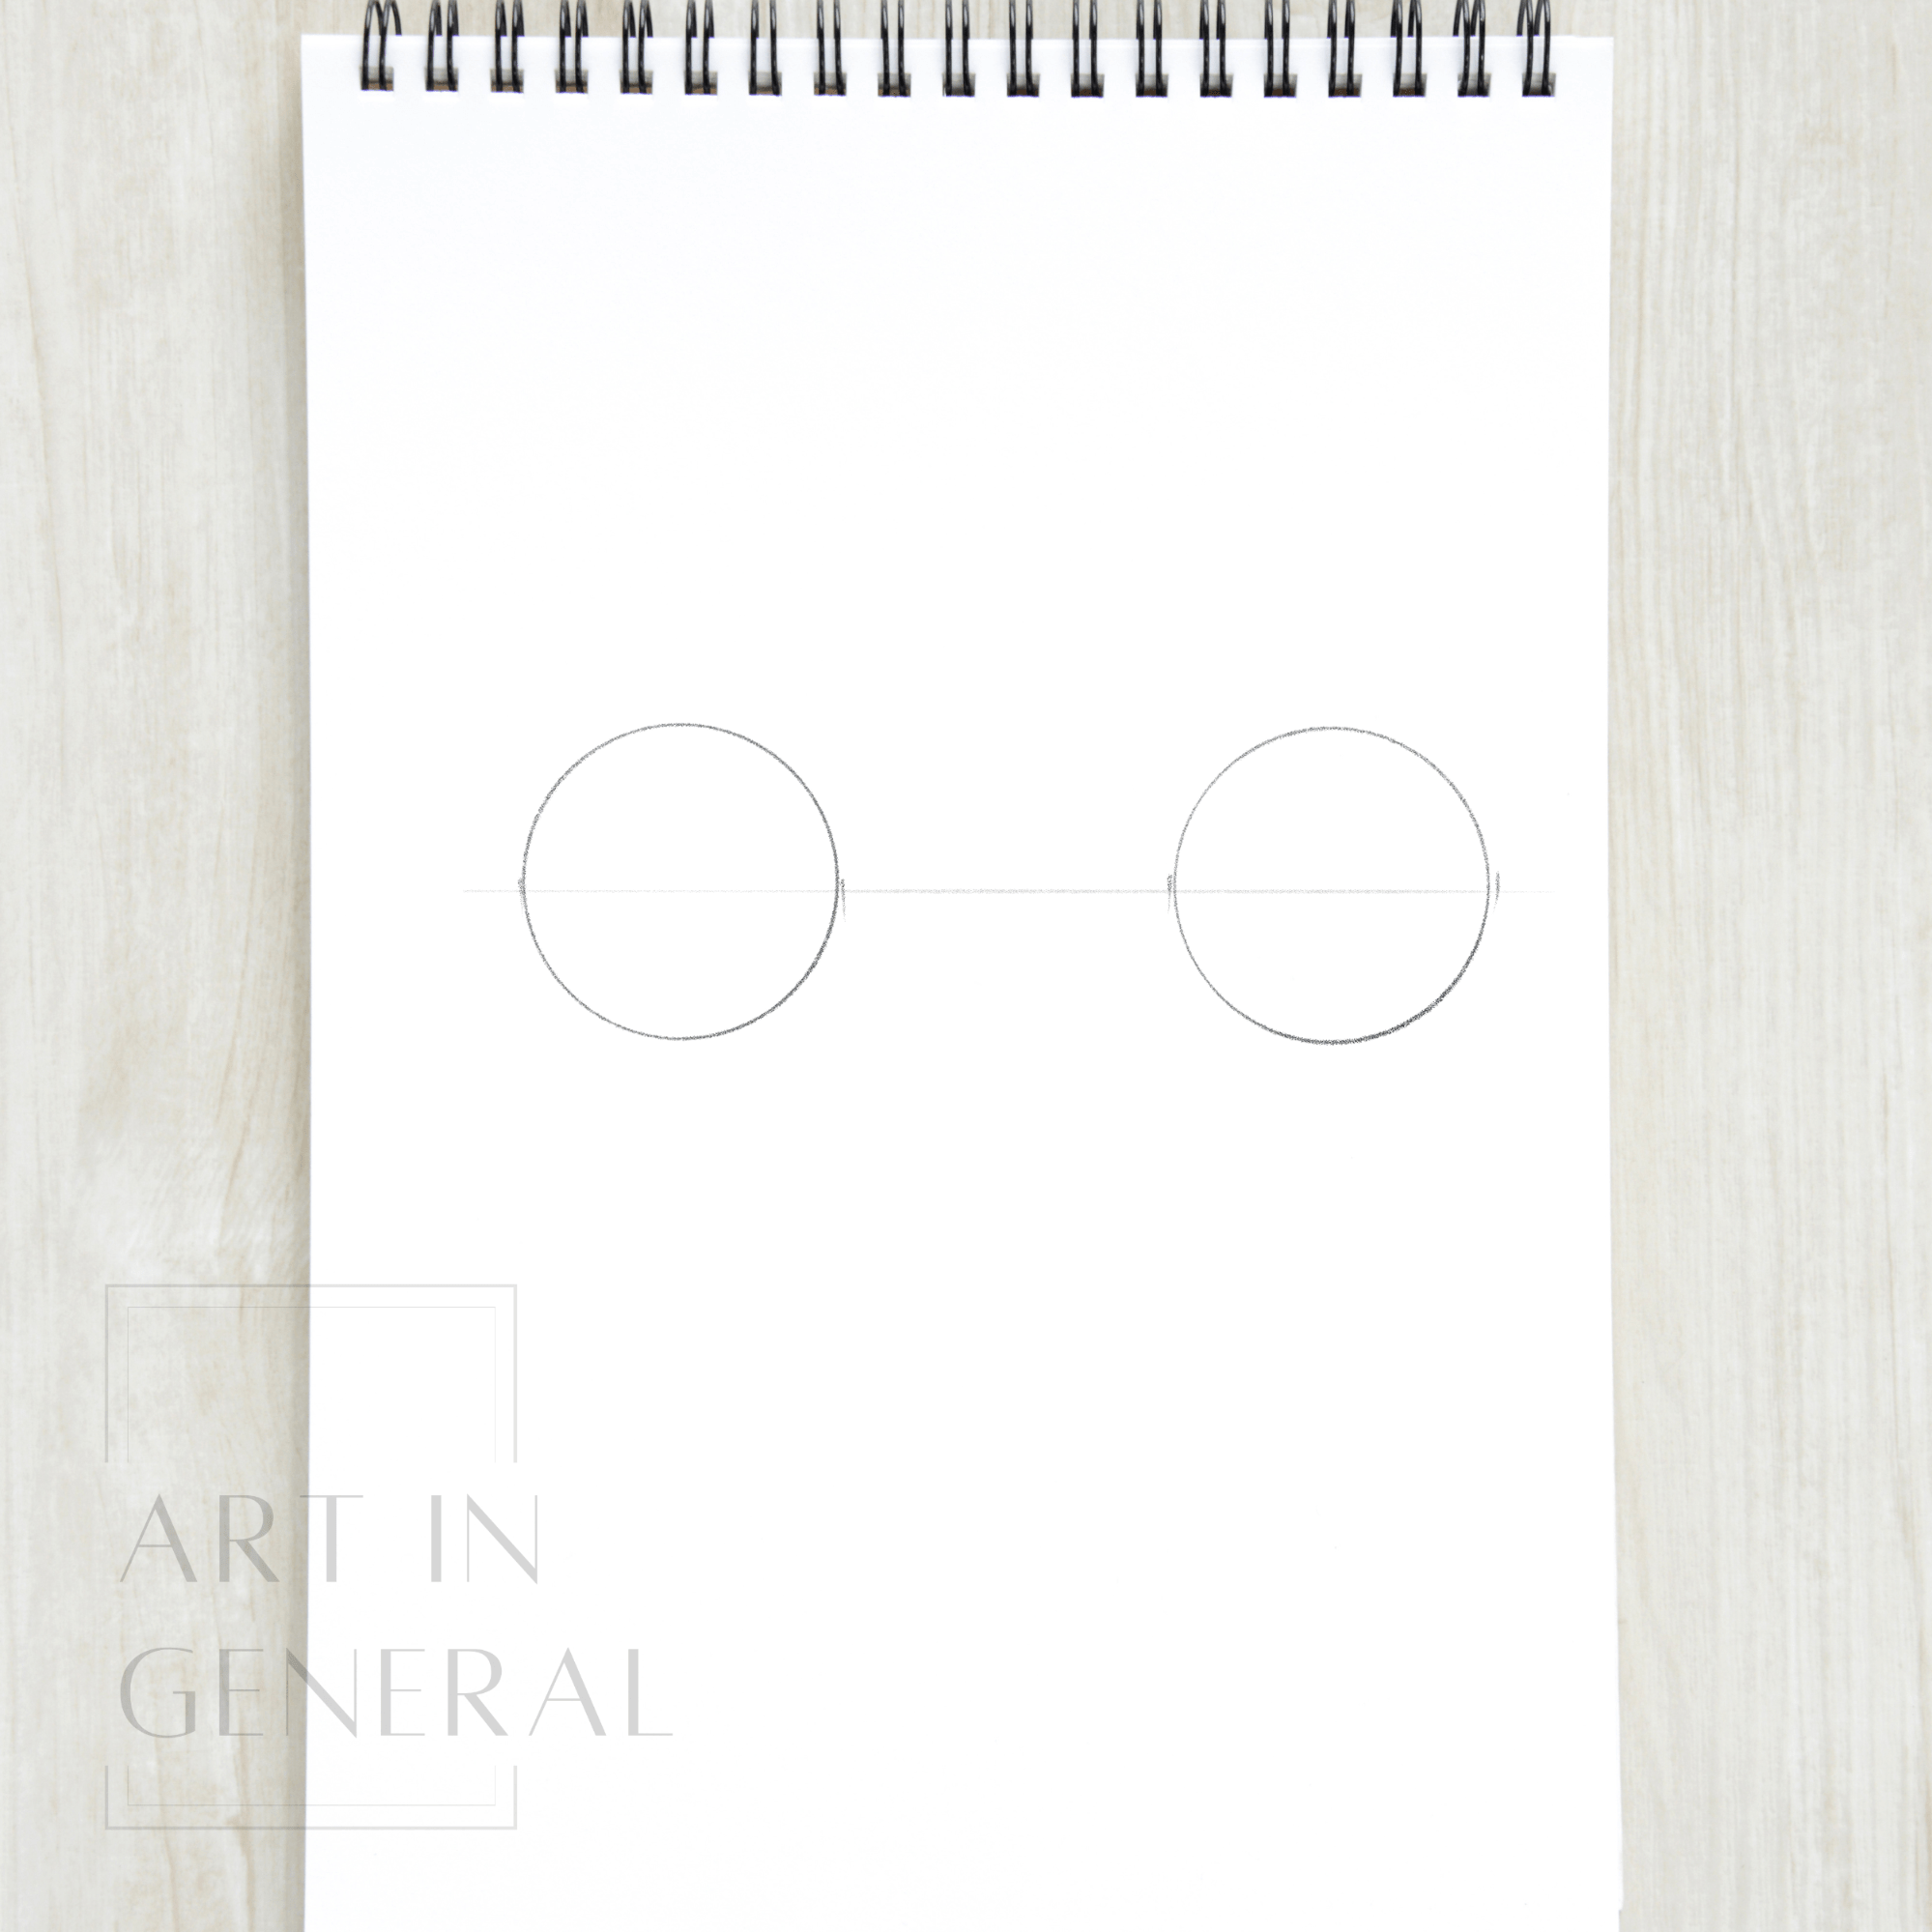
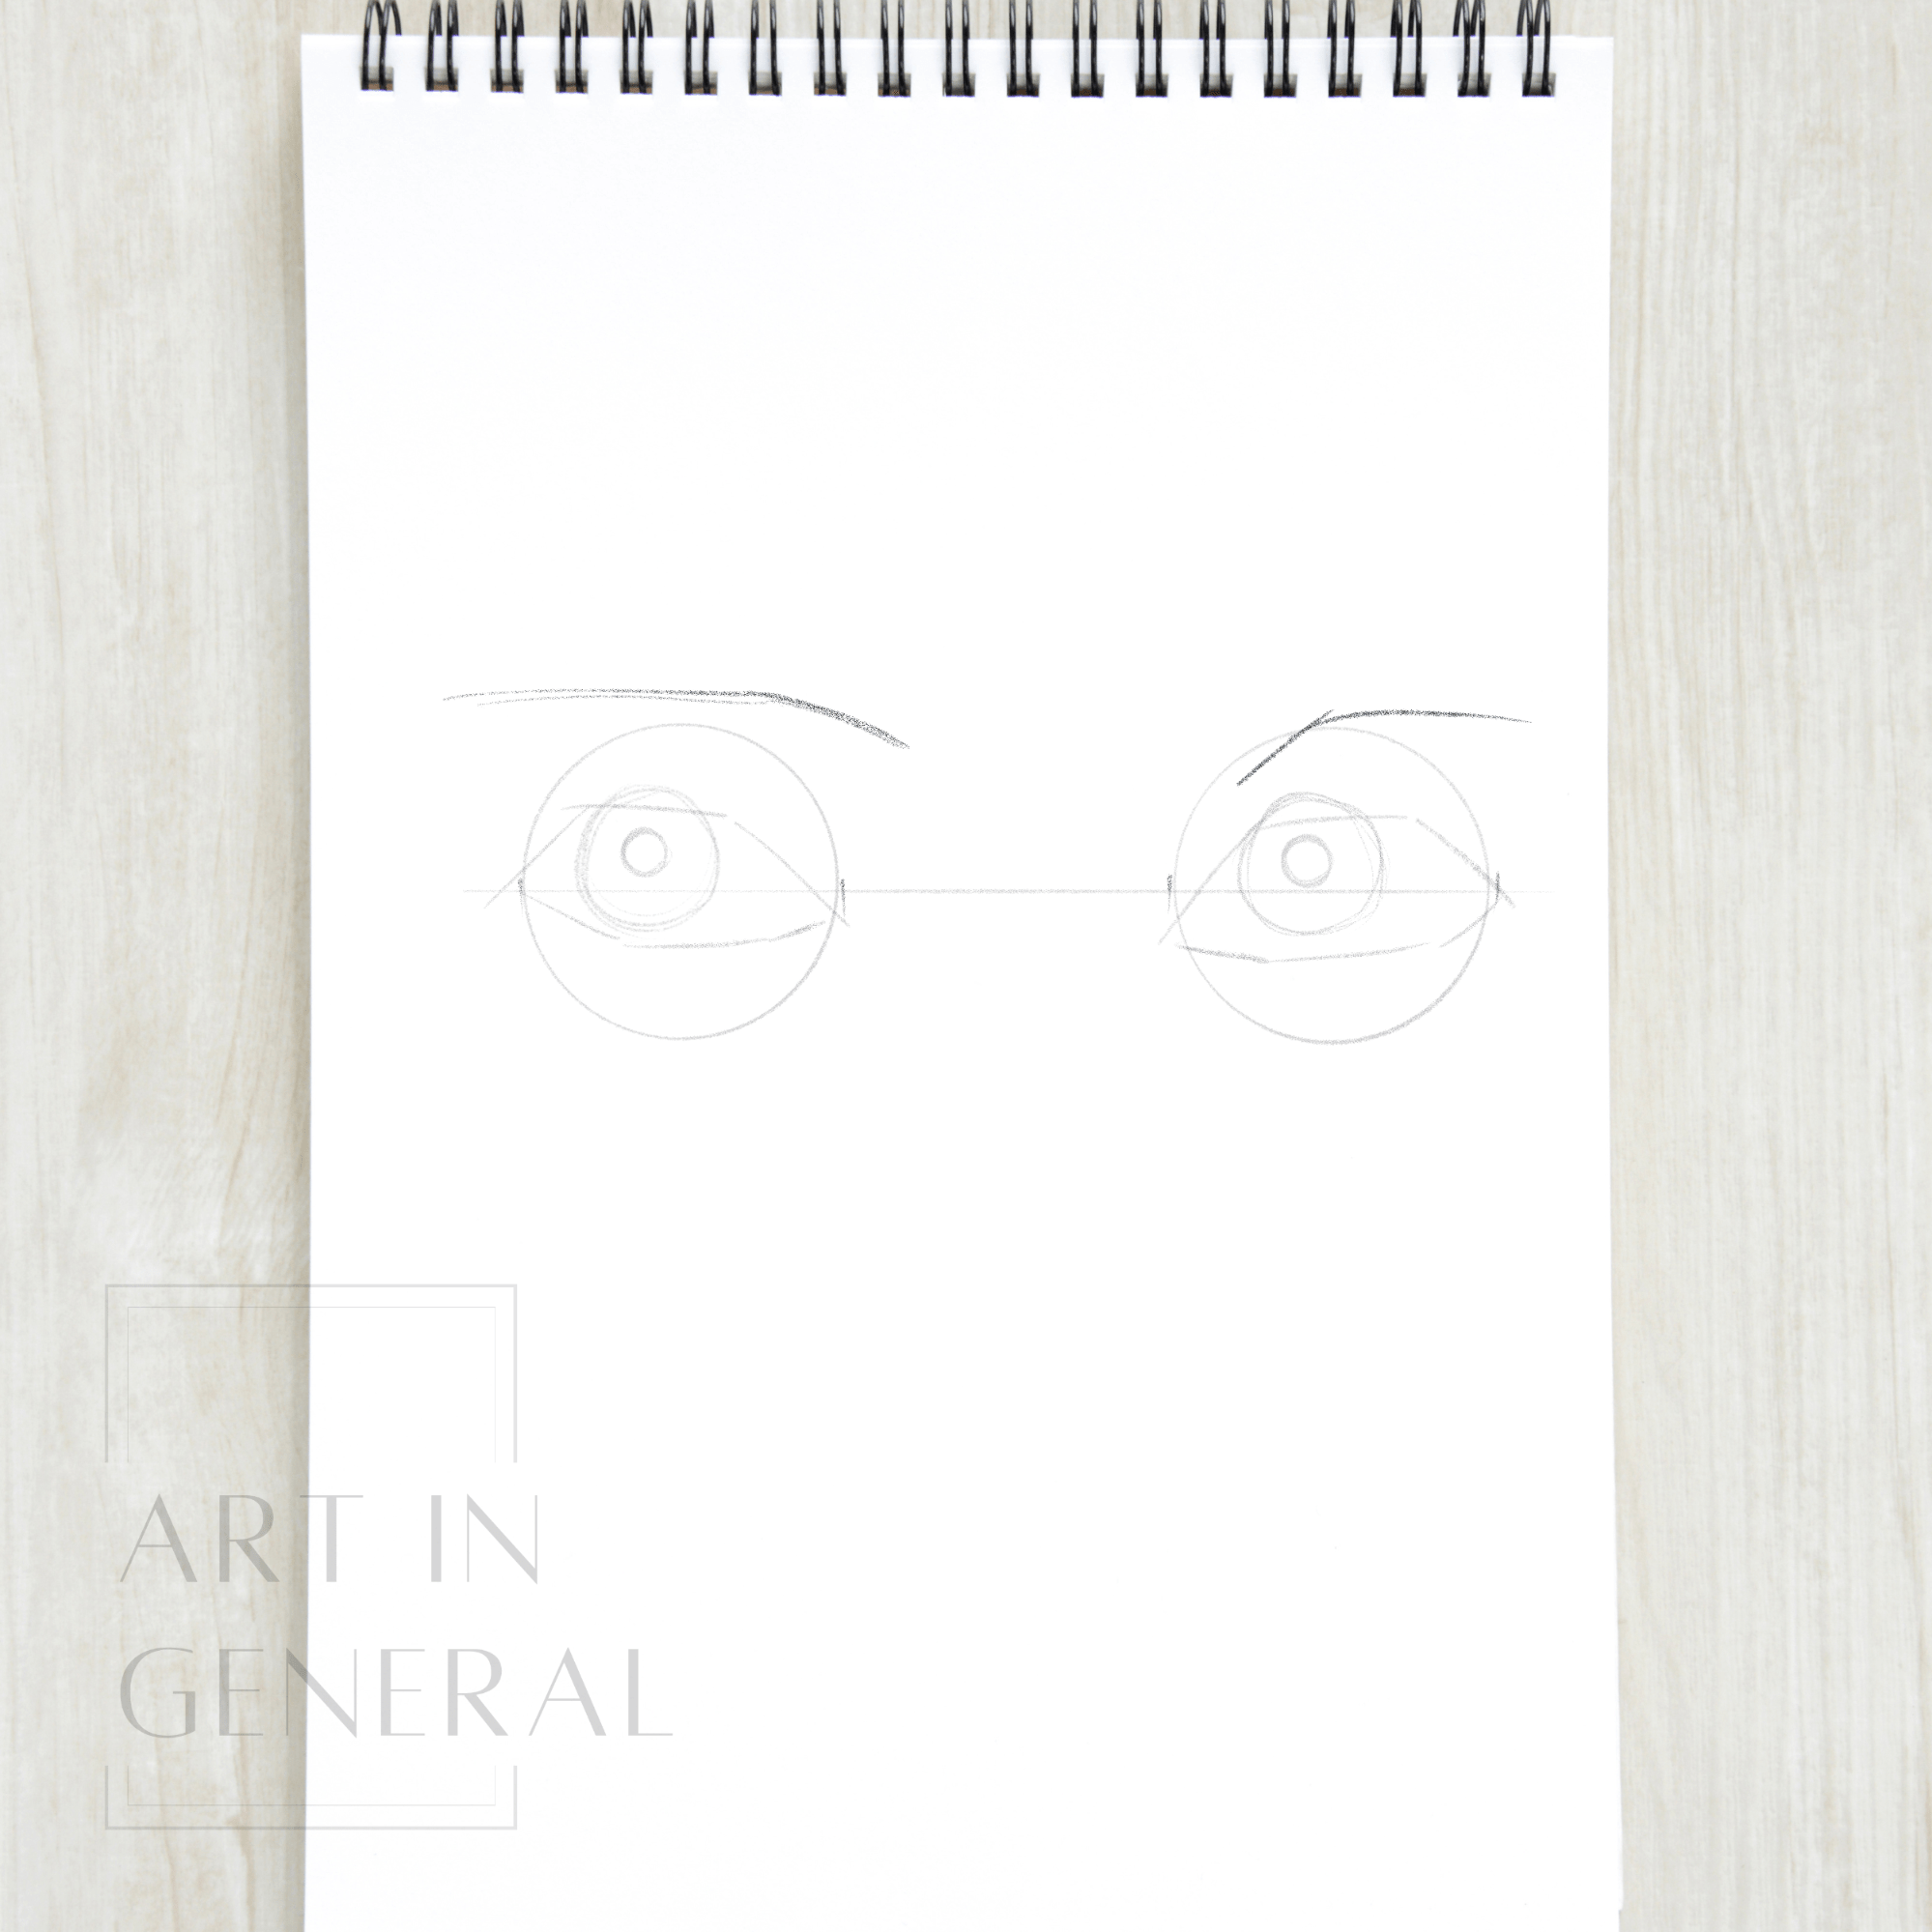
Step 2 — Split the line and draw two circles
Split the line in three equal parts and draw two circles on each side.
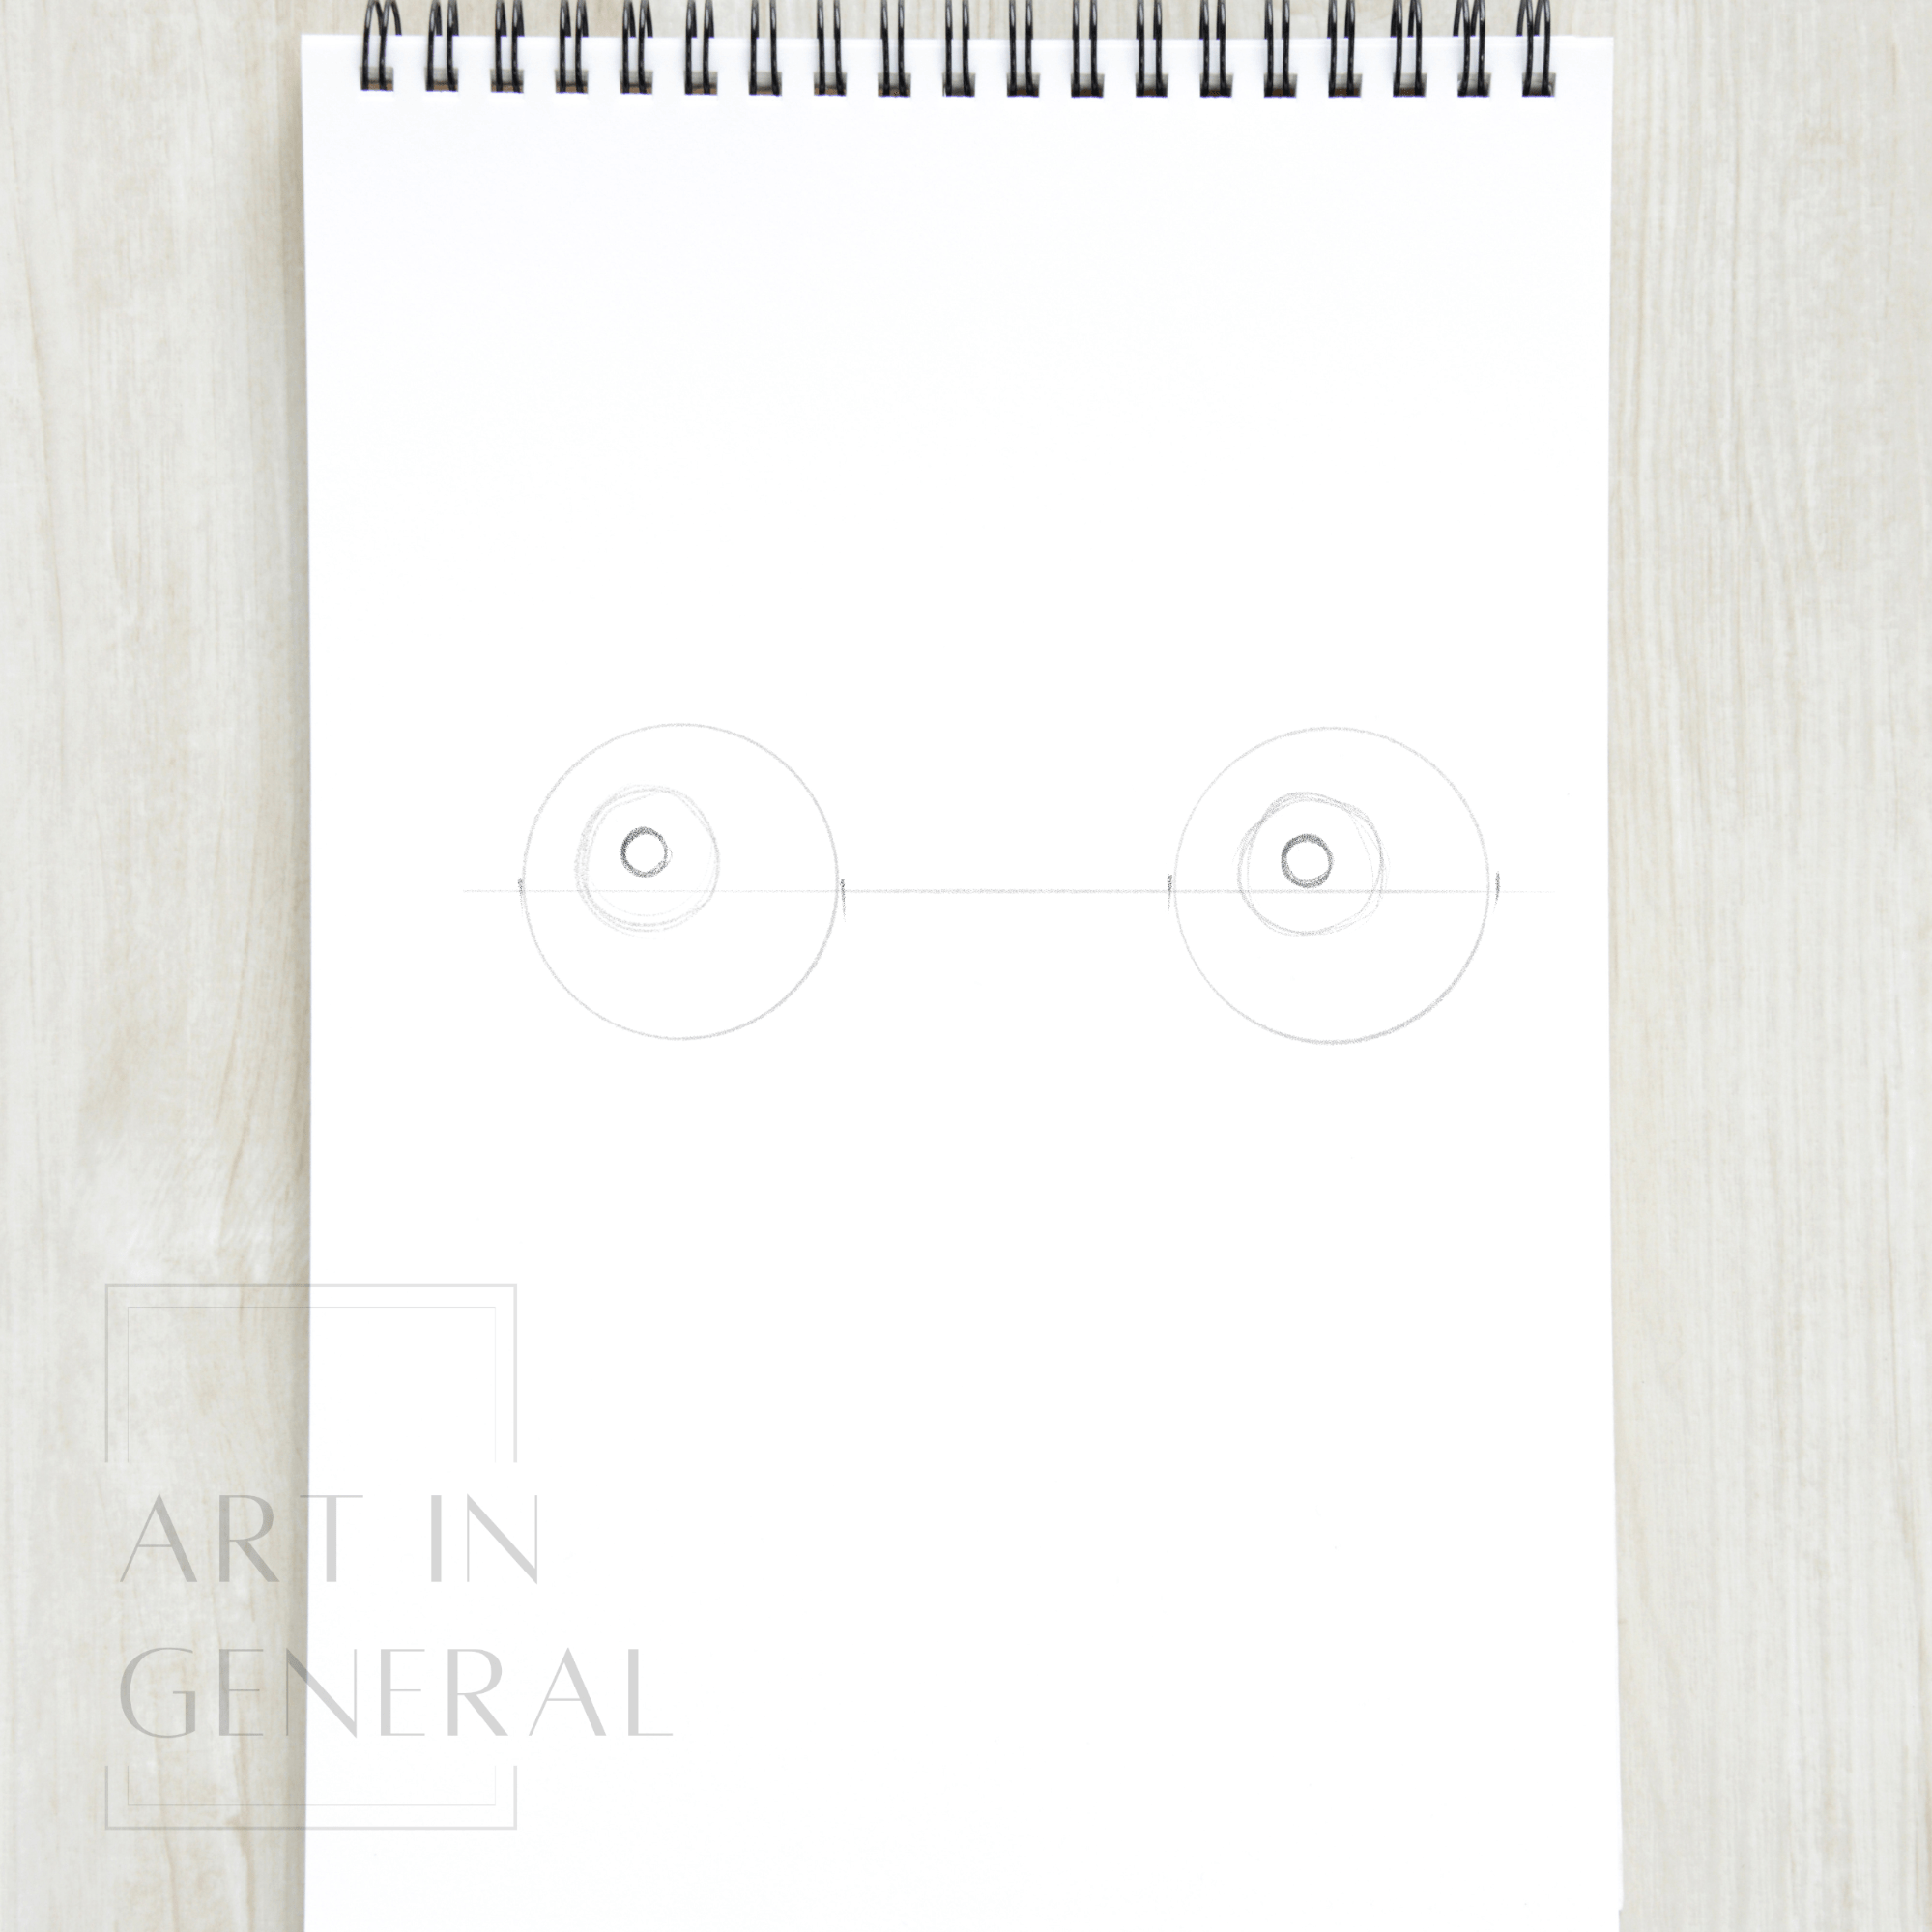
Step 3 — Draw two smaller circles and repeat
Since we don’t want our eyes looking into the nothing, we’re going to draw the irises pointing slightly towards our direction. Try to draw the pupils in the middle of the irises. Use the line as a guide.

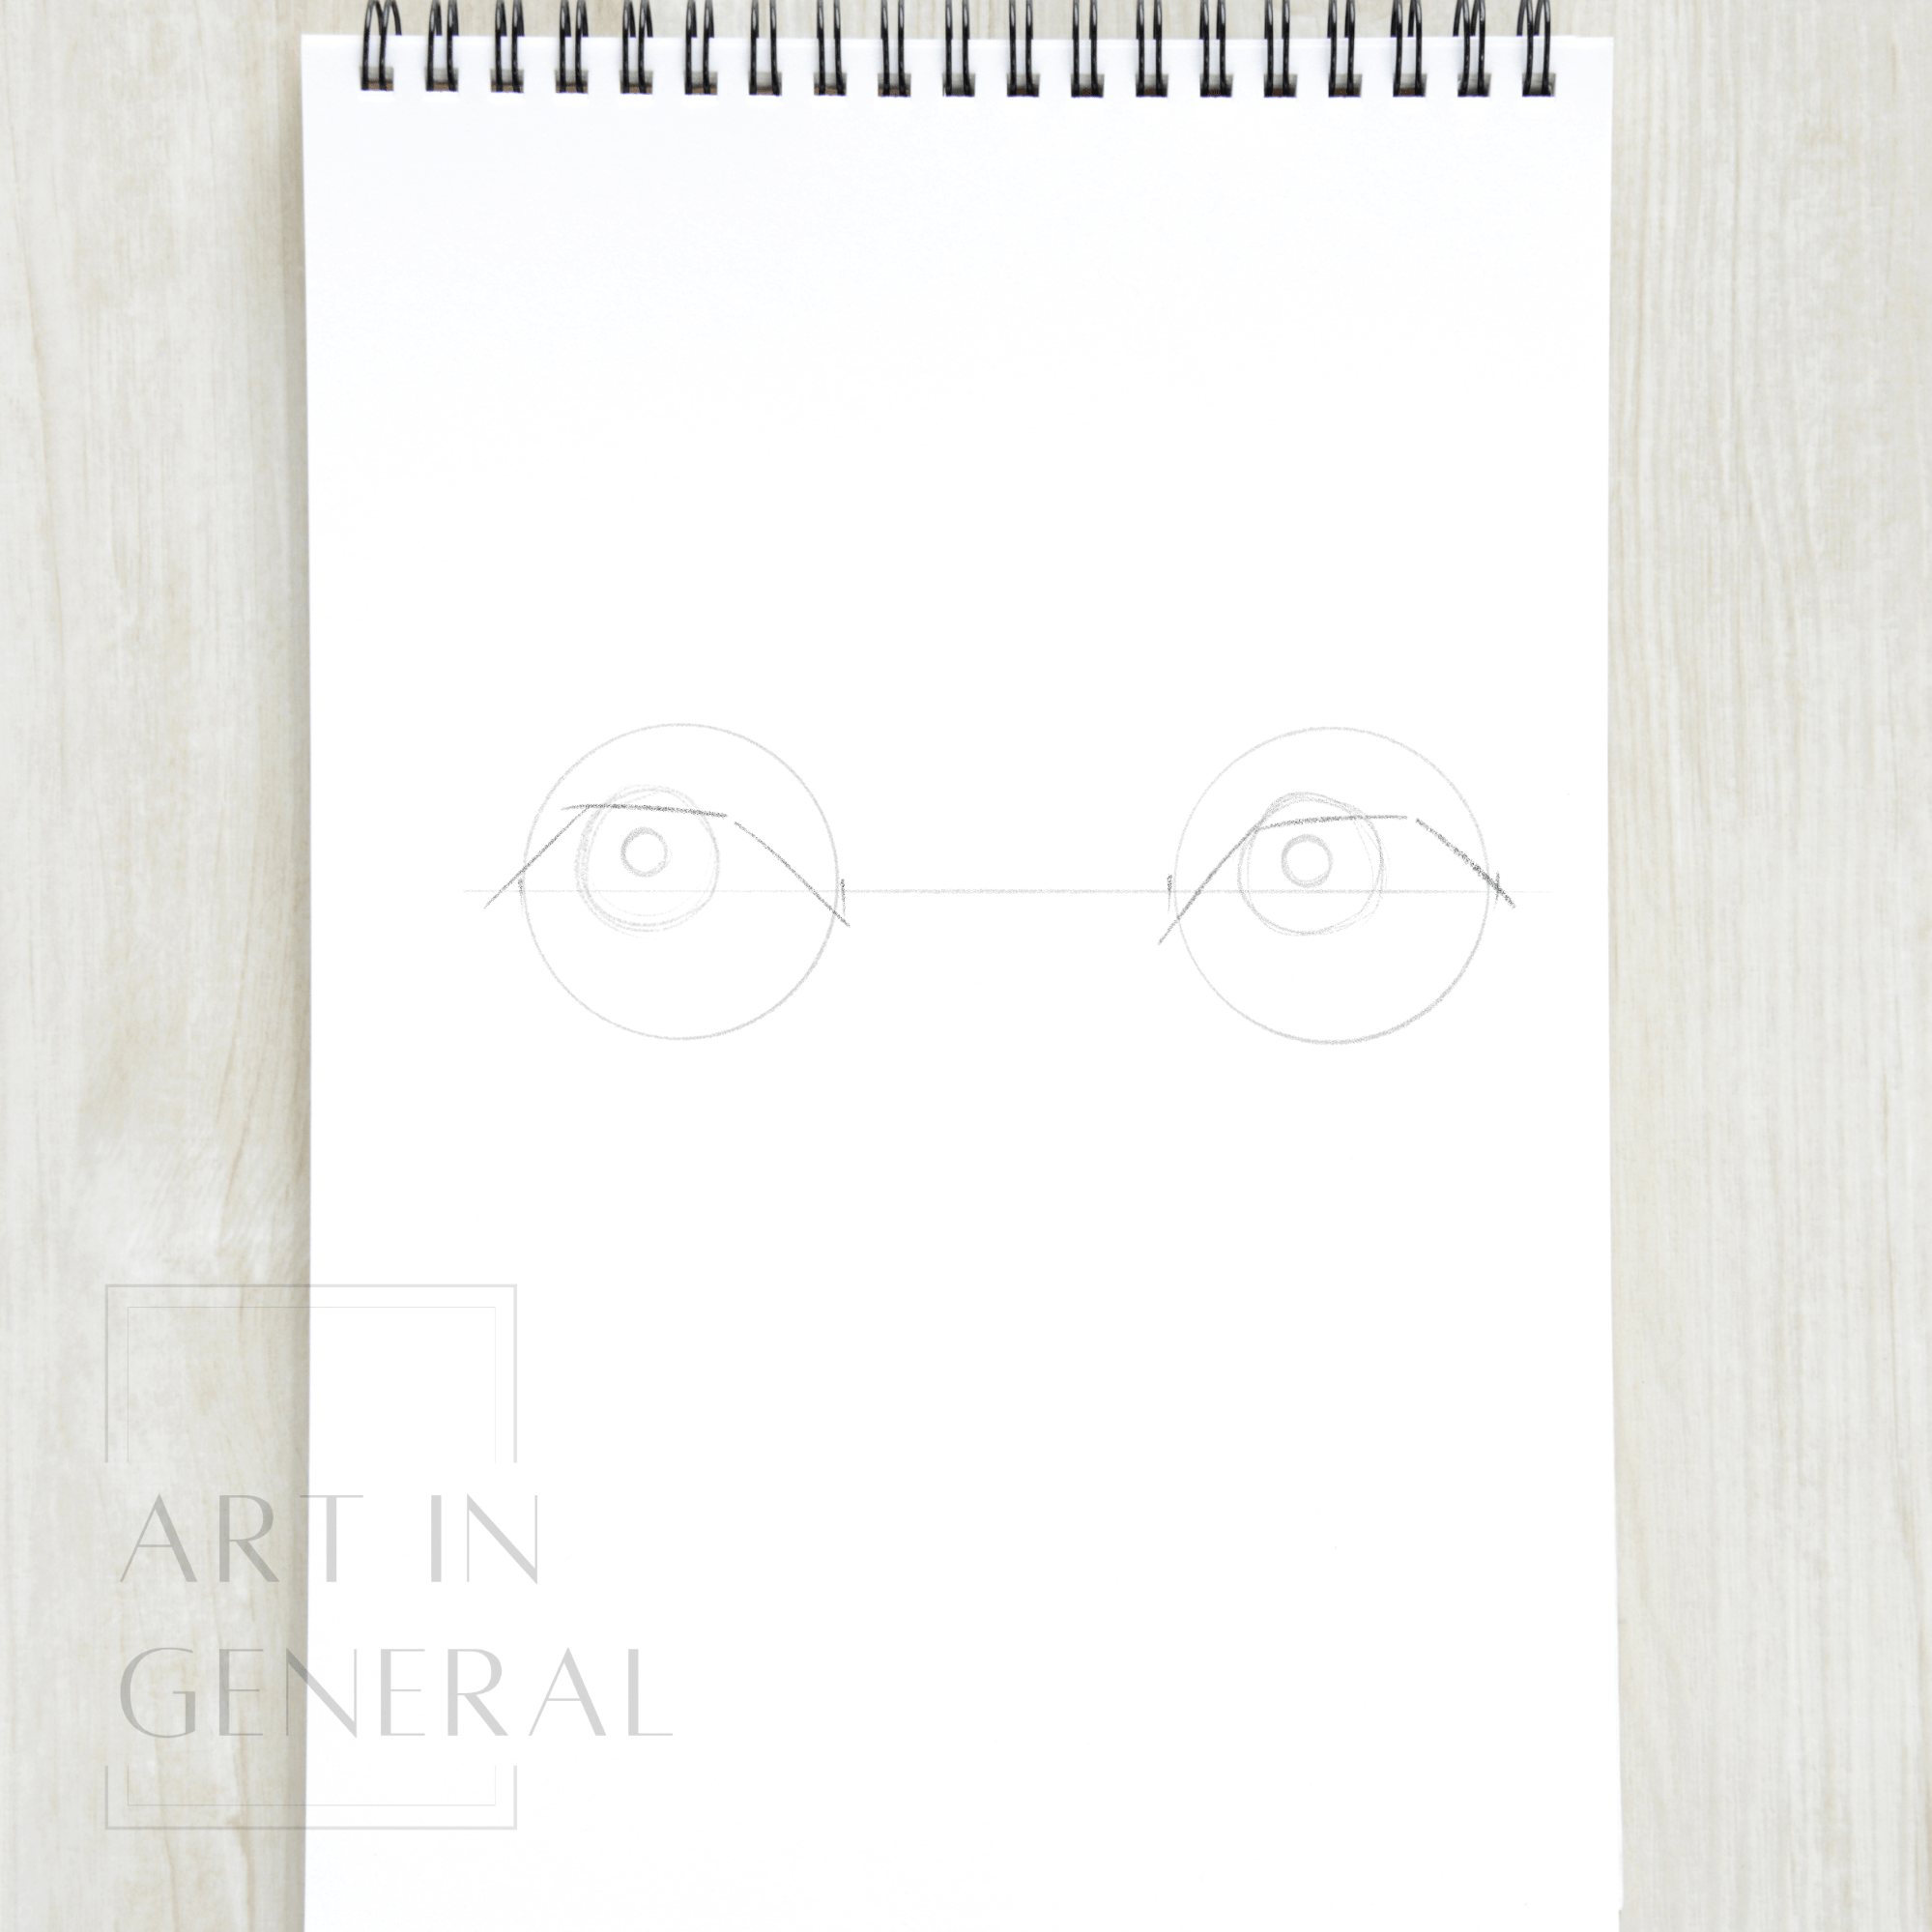
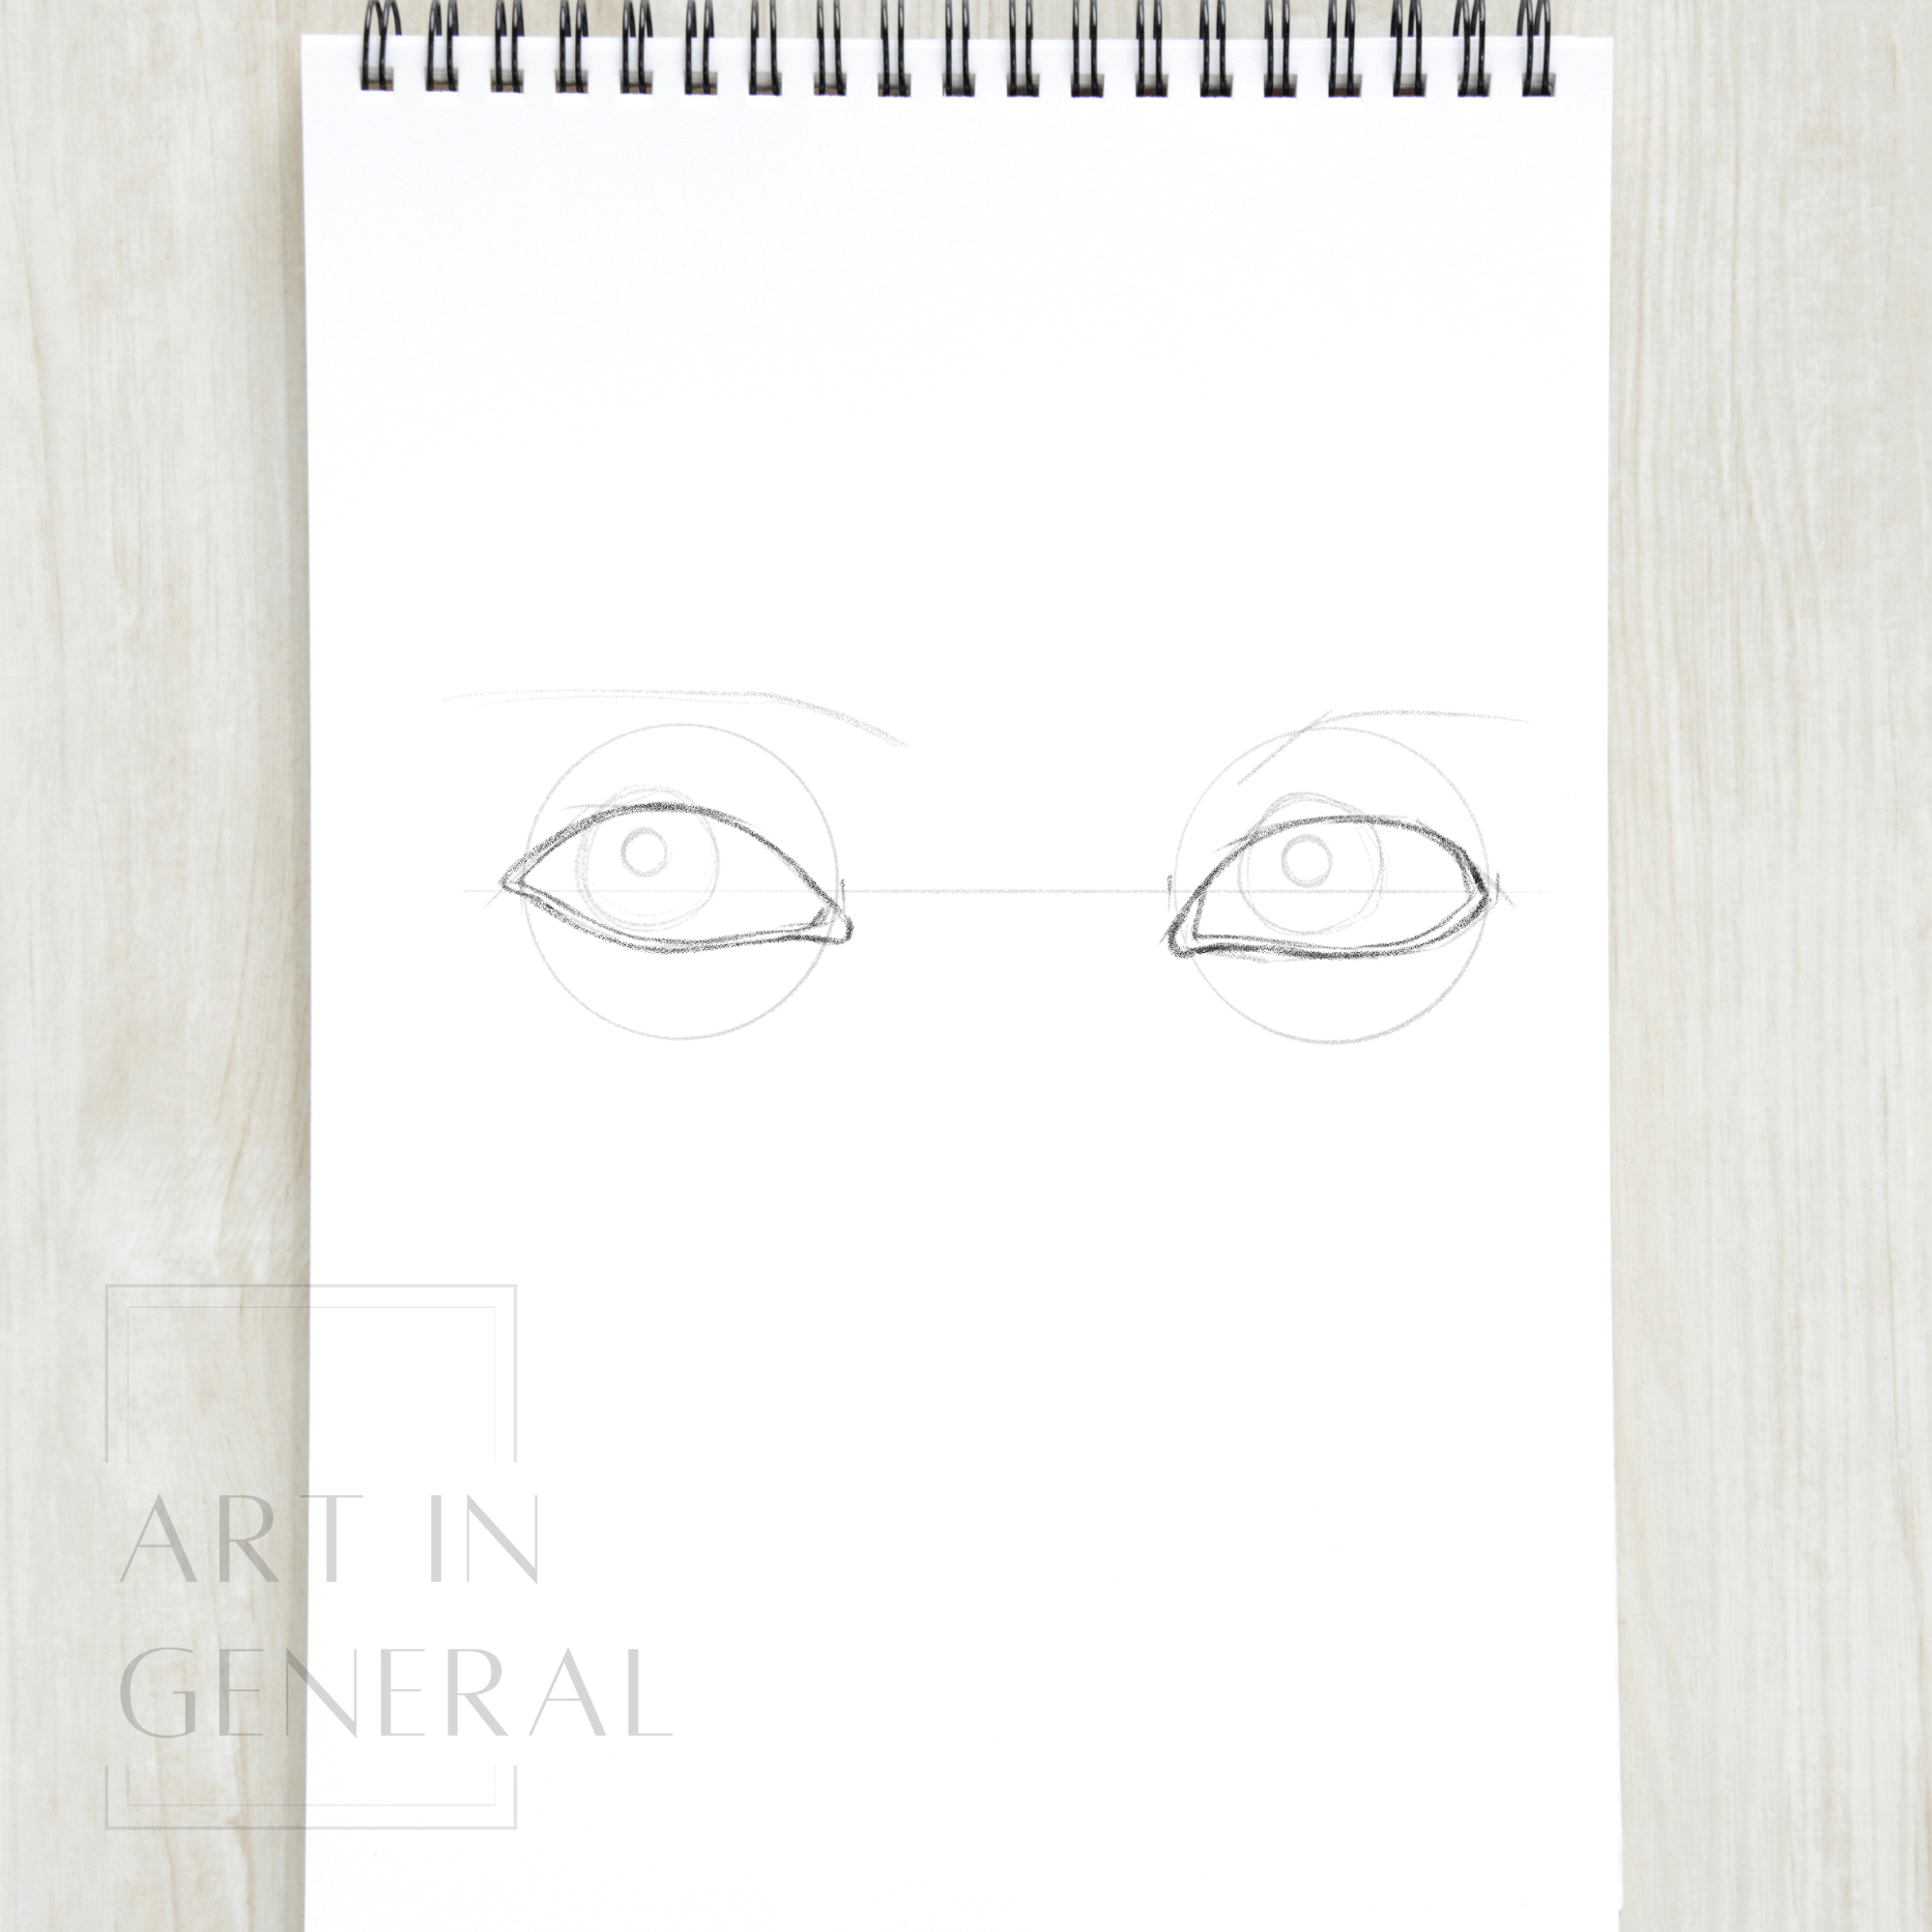
Step 4 — Draw the outline of the eyelids
Using six straight lines, draw the outline of the eyelids using hexagon-like shapes.

Step 5 — Draw the Eyebrow’s shape
Taking into account the position of the eye sphere, hint the eyebrow shape with soft lines.
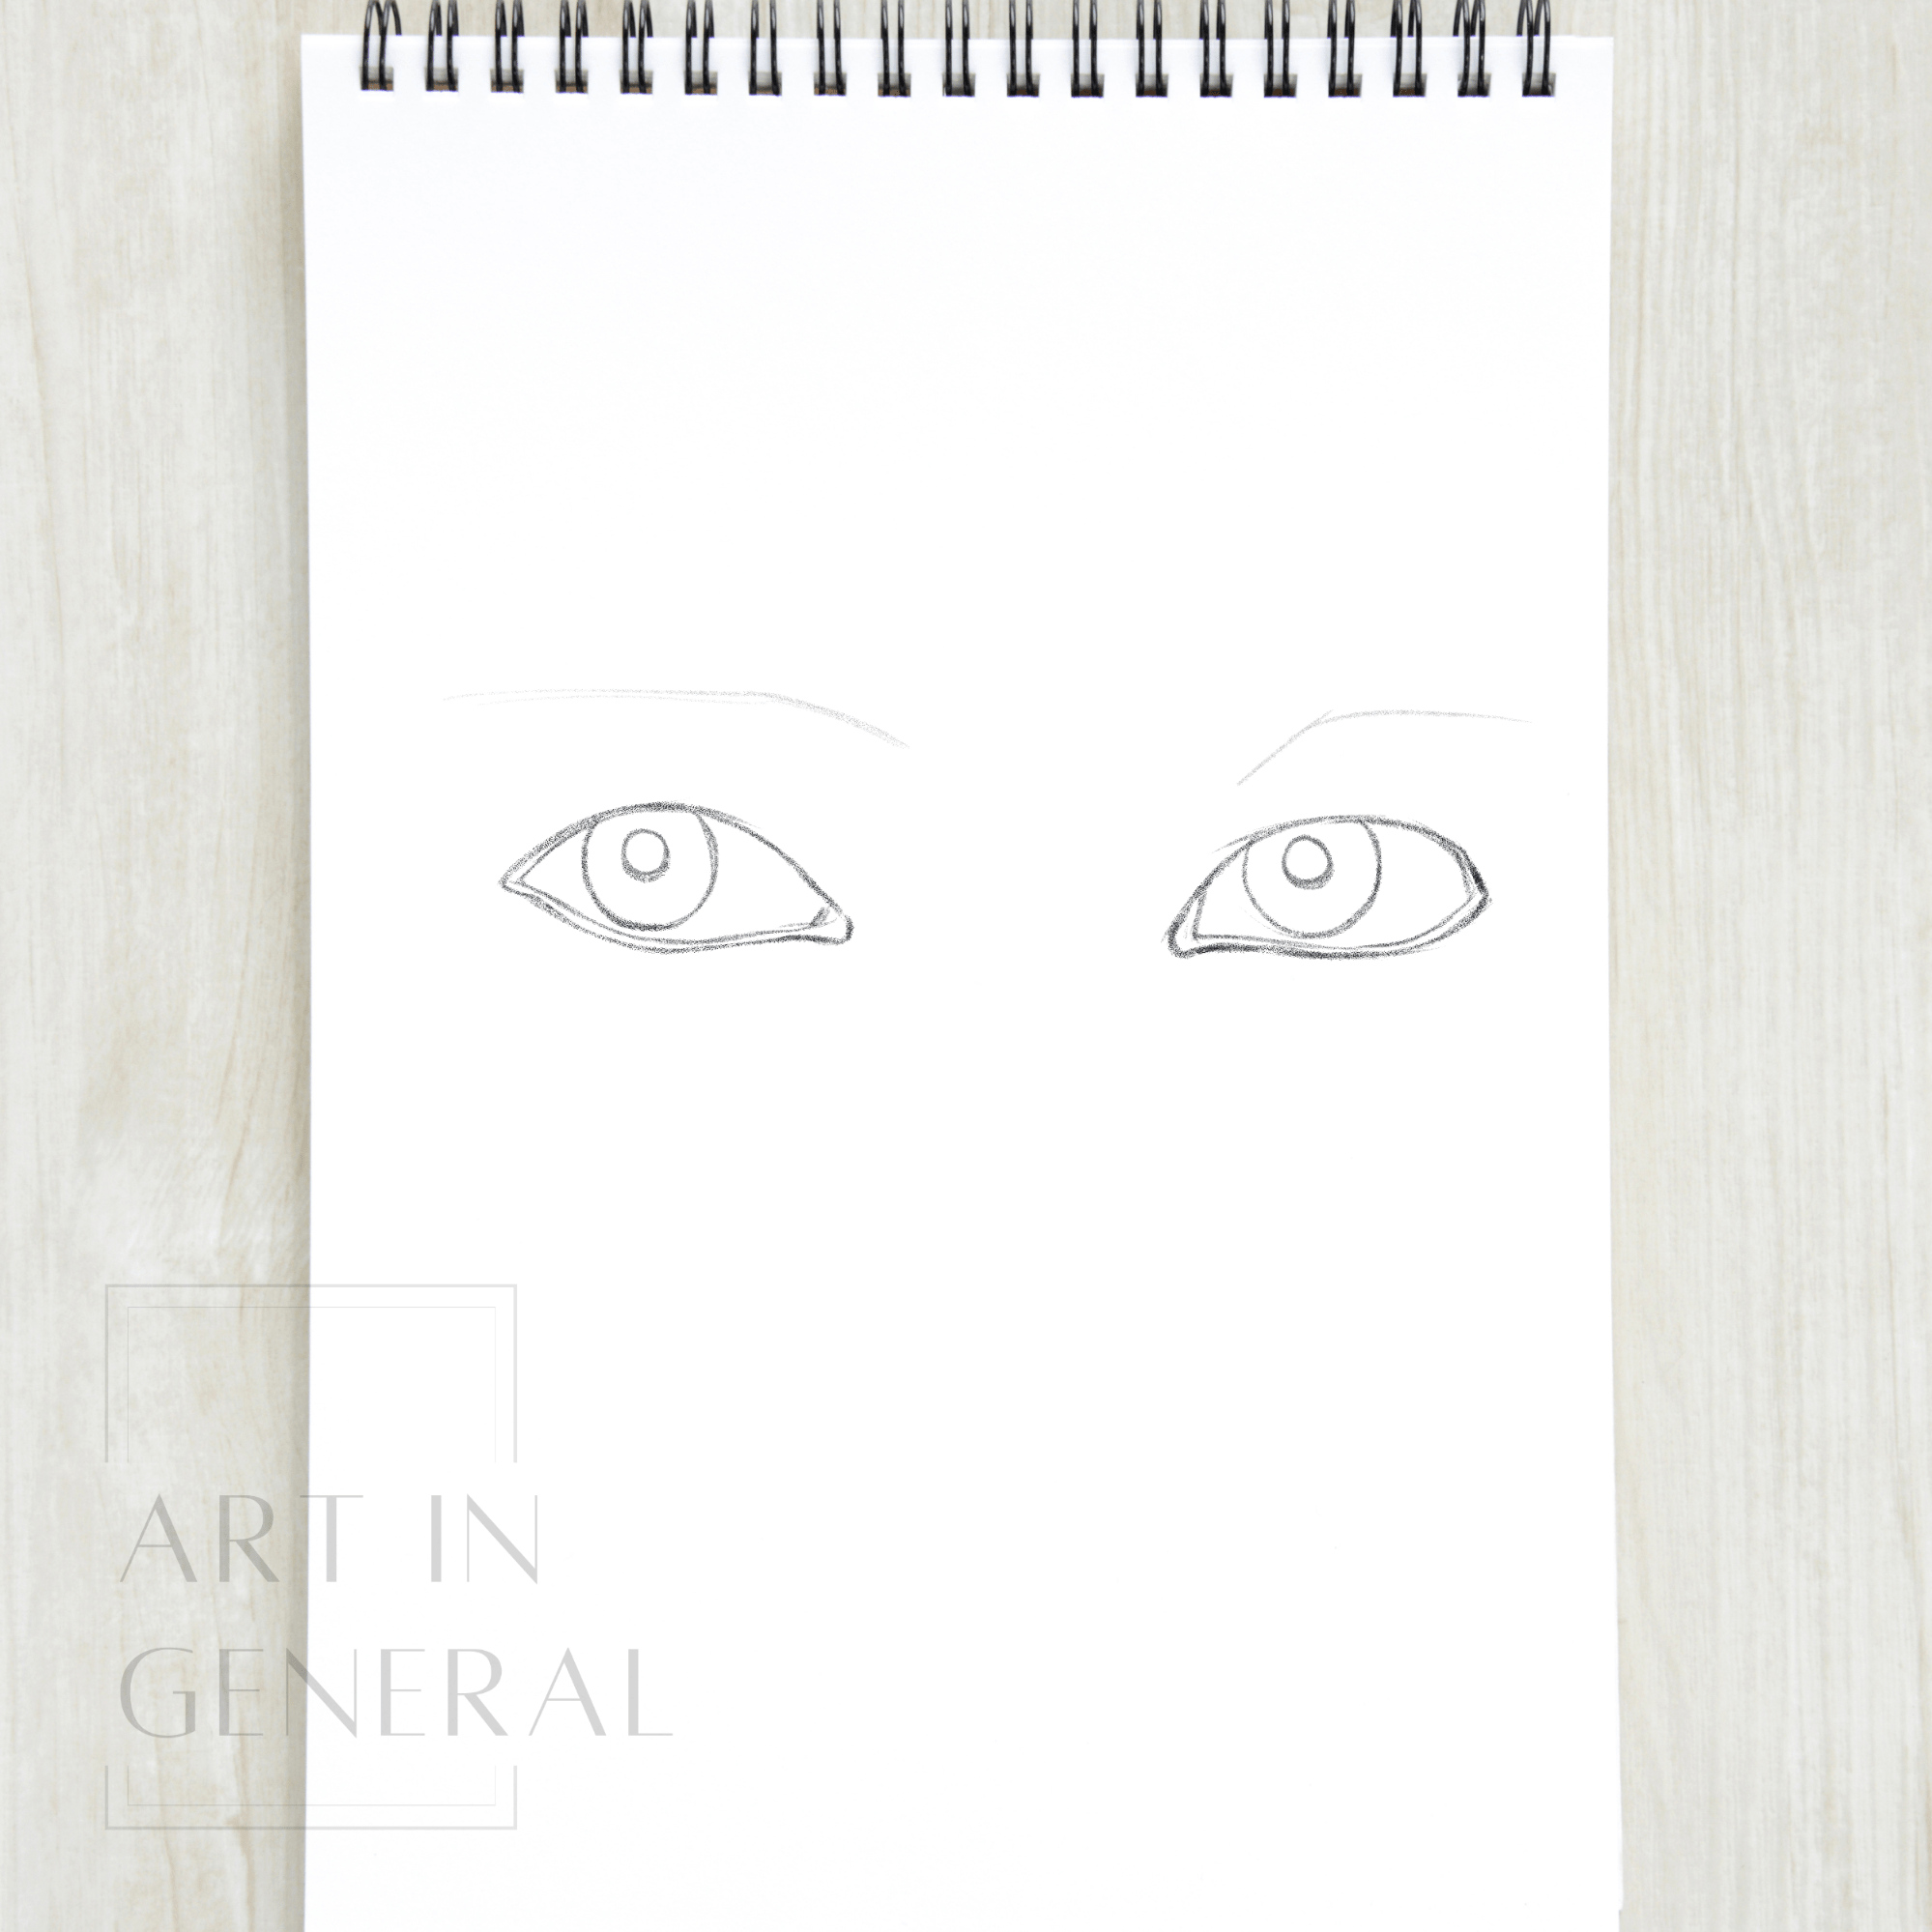
Step 6 — Draw the Eyes
Use your kneaded eraser to softly erase your sketch and outline the shape of the eyes, don’t forget the waterline and tear duct.
Step 7 — Draw the Iris, Pupil, and Upper Eyelid
Outline the iris and Pupil and with a soft curved line, draw the upper eyelid too.
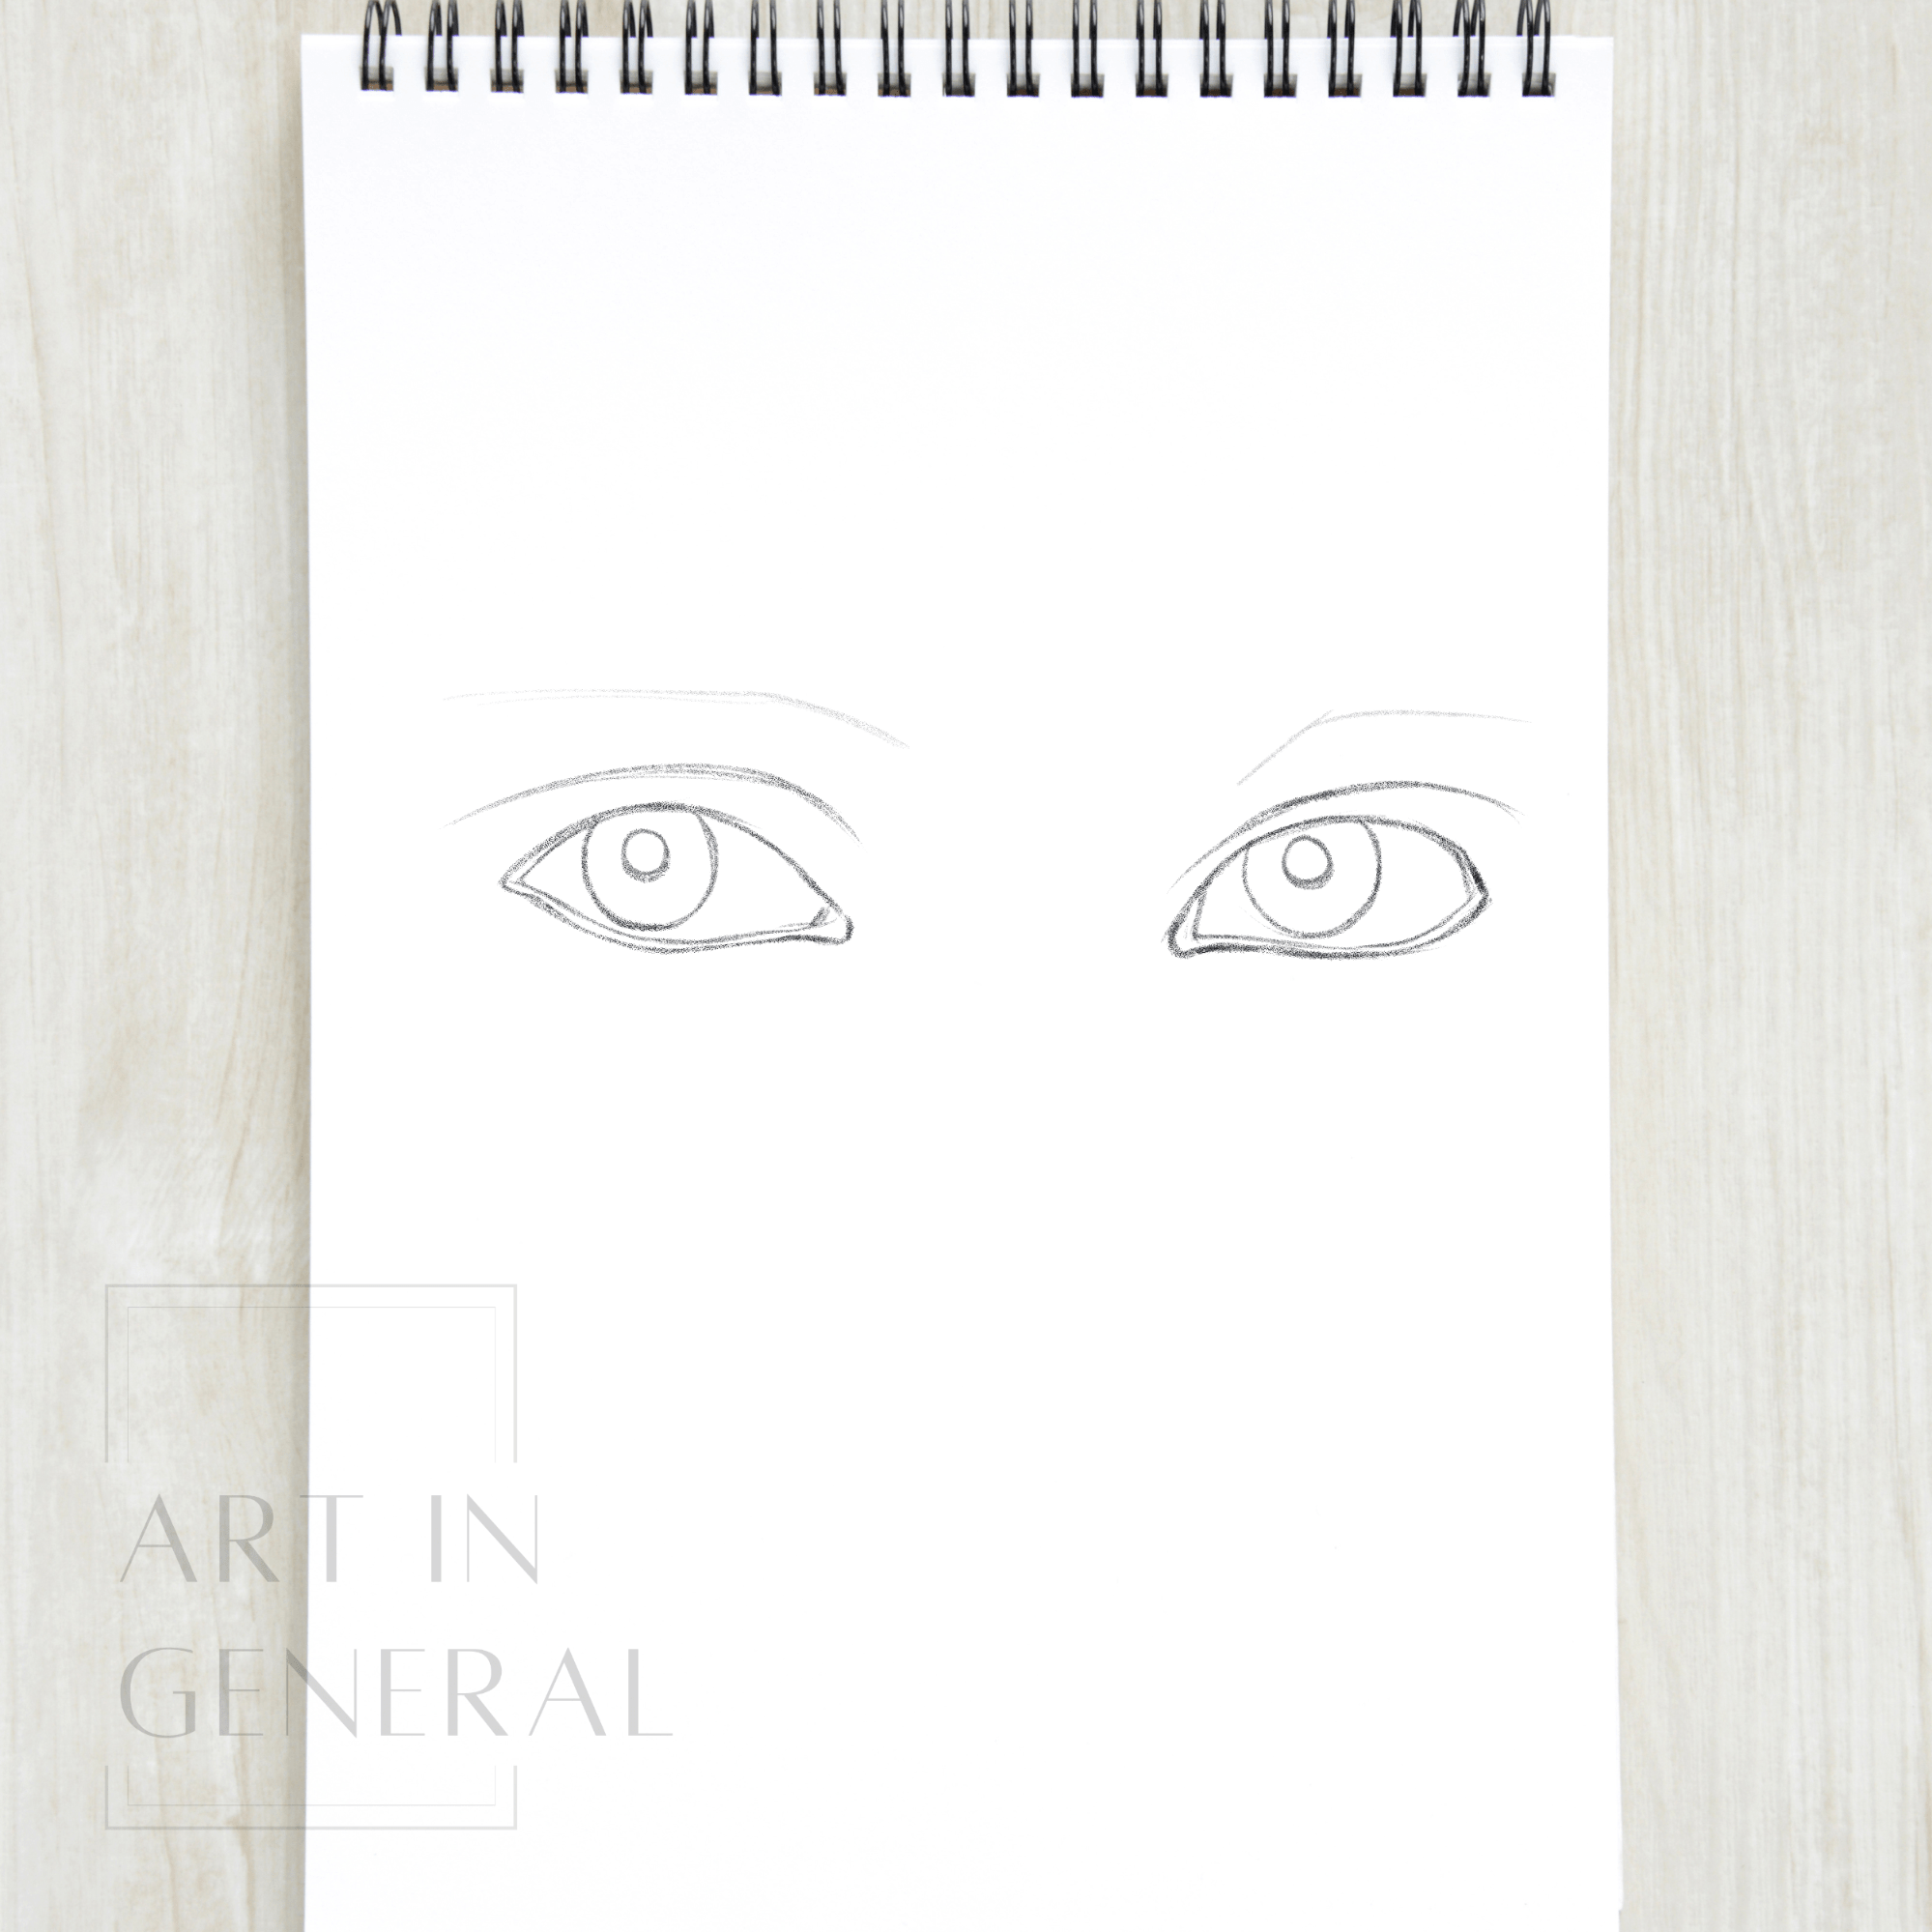
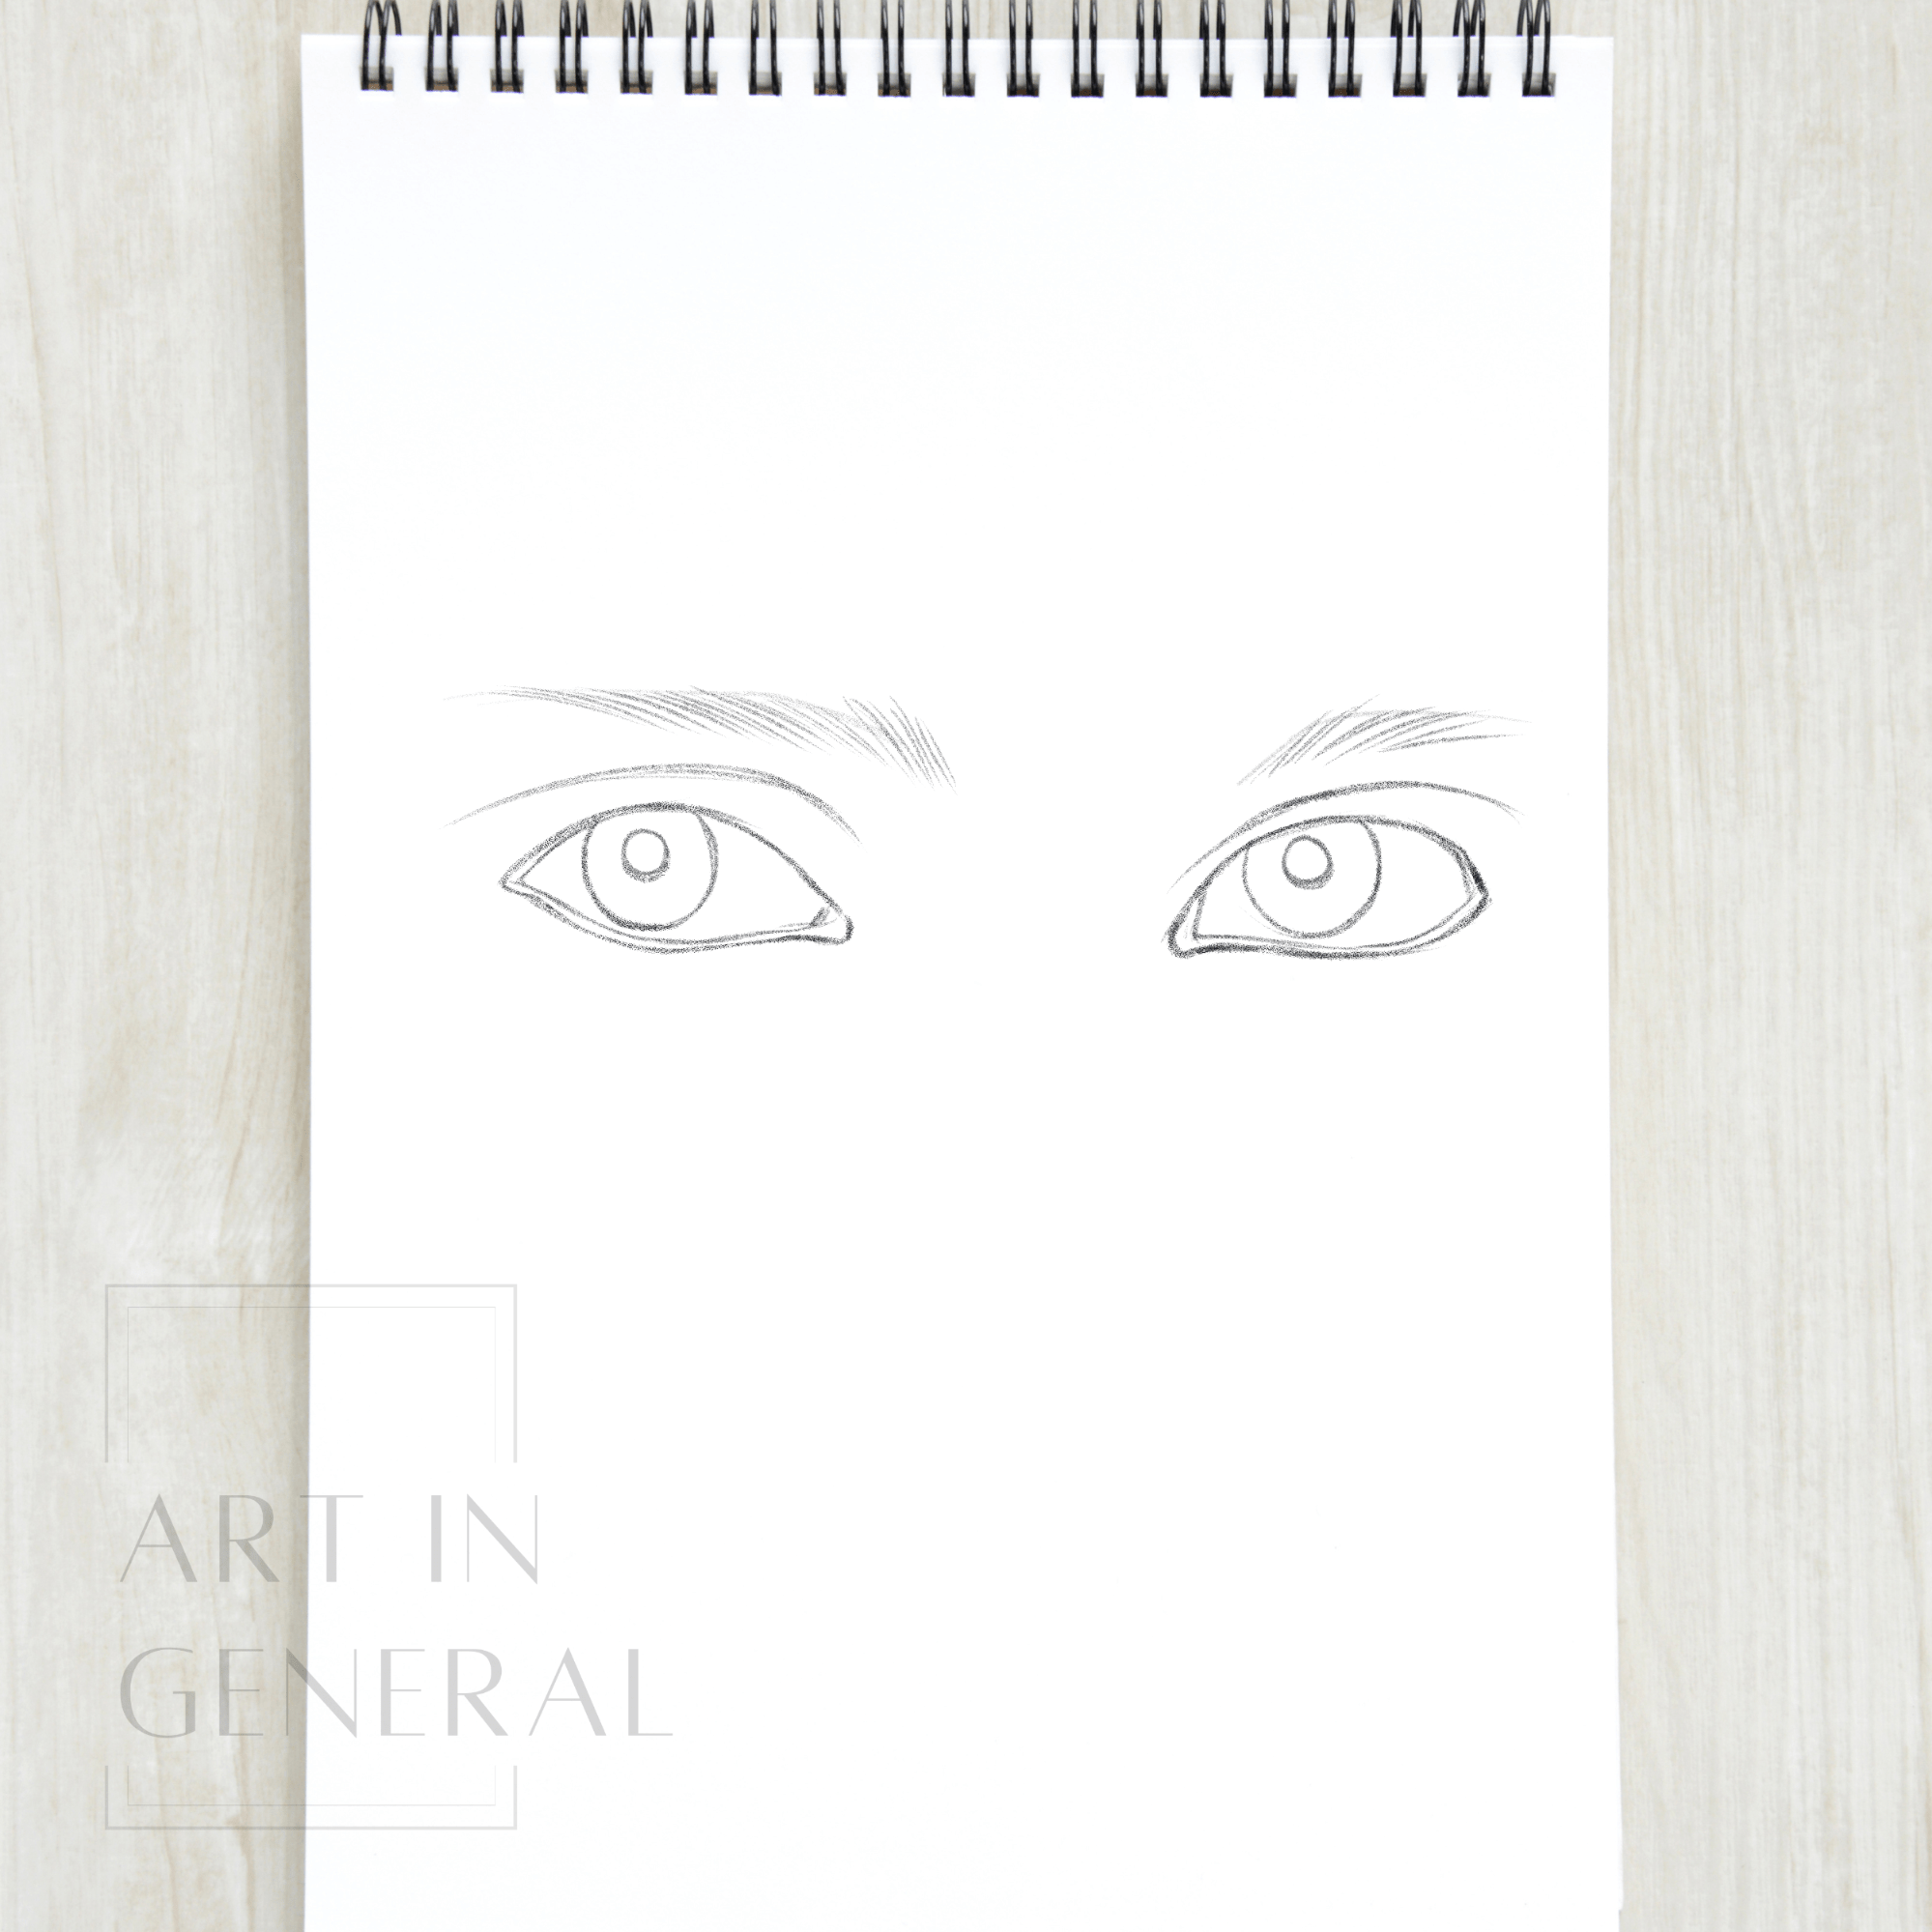
Step 8 — Draw the Eyebrows
Following the direction of the line we drew in step 5 and going inwards, draw multiple hair-like lines for the eyebrows. For a more realistic look, draw a second row of hair going in the other direction to make them look fuller.
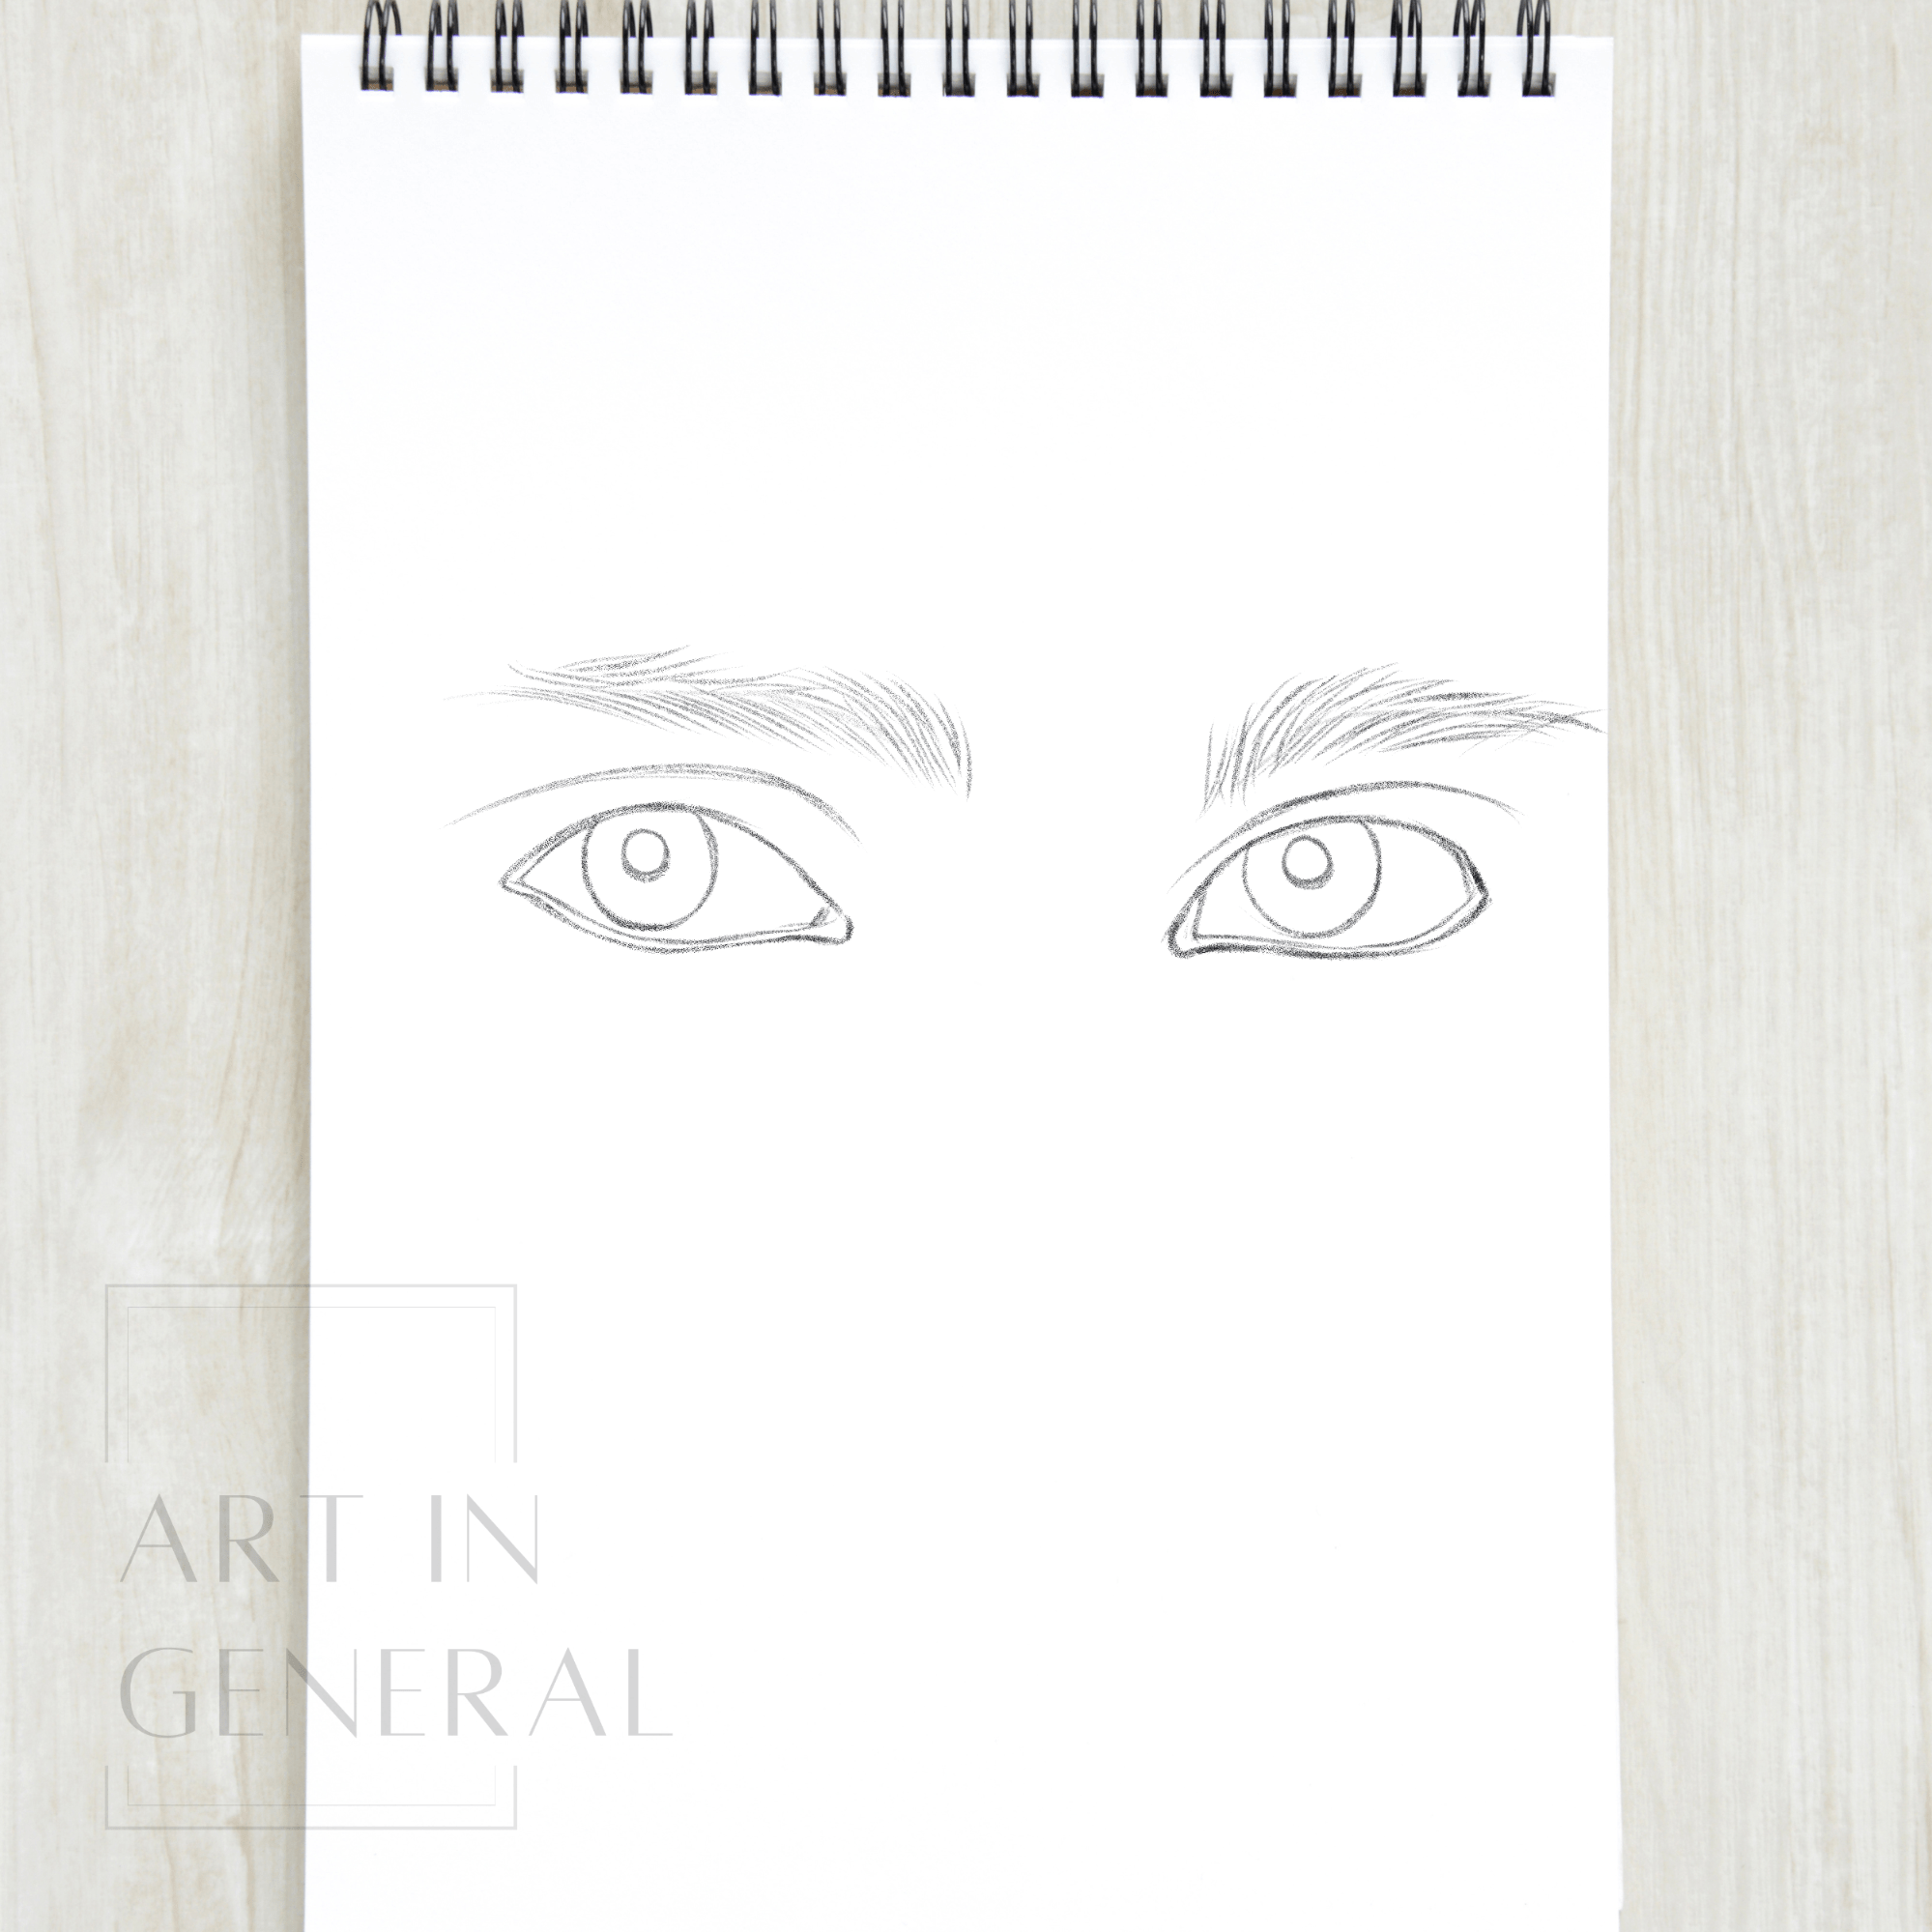
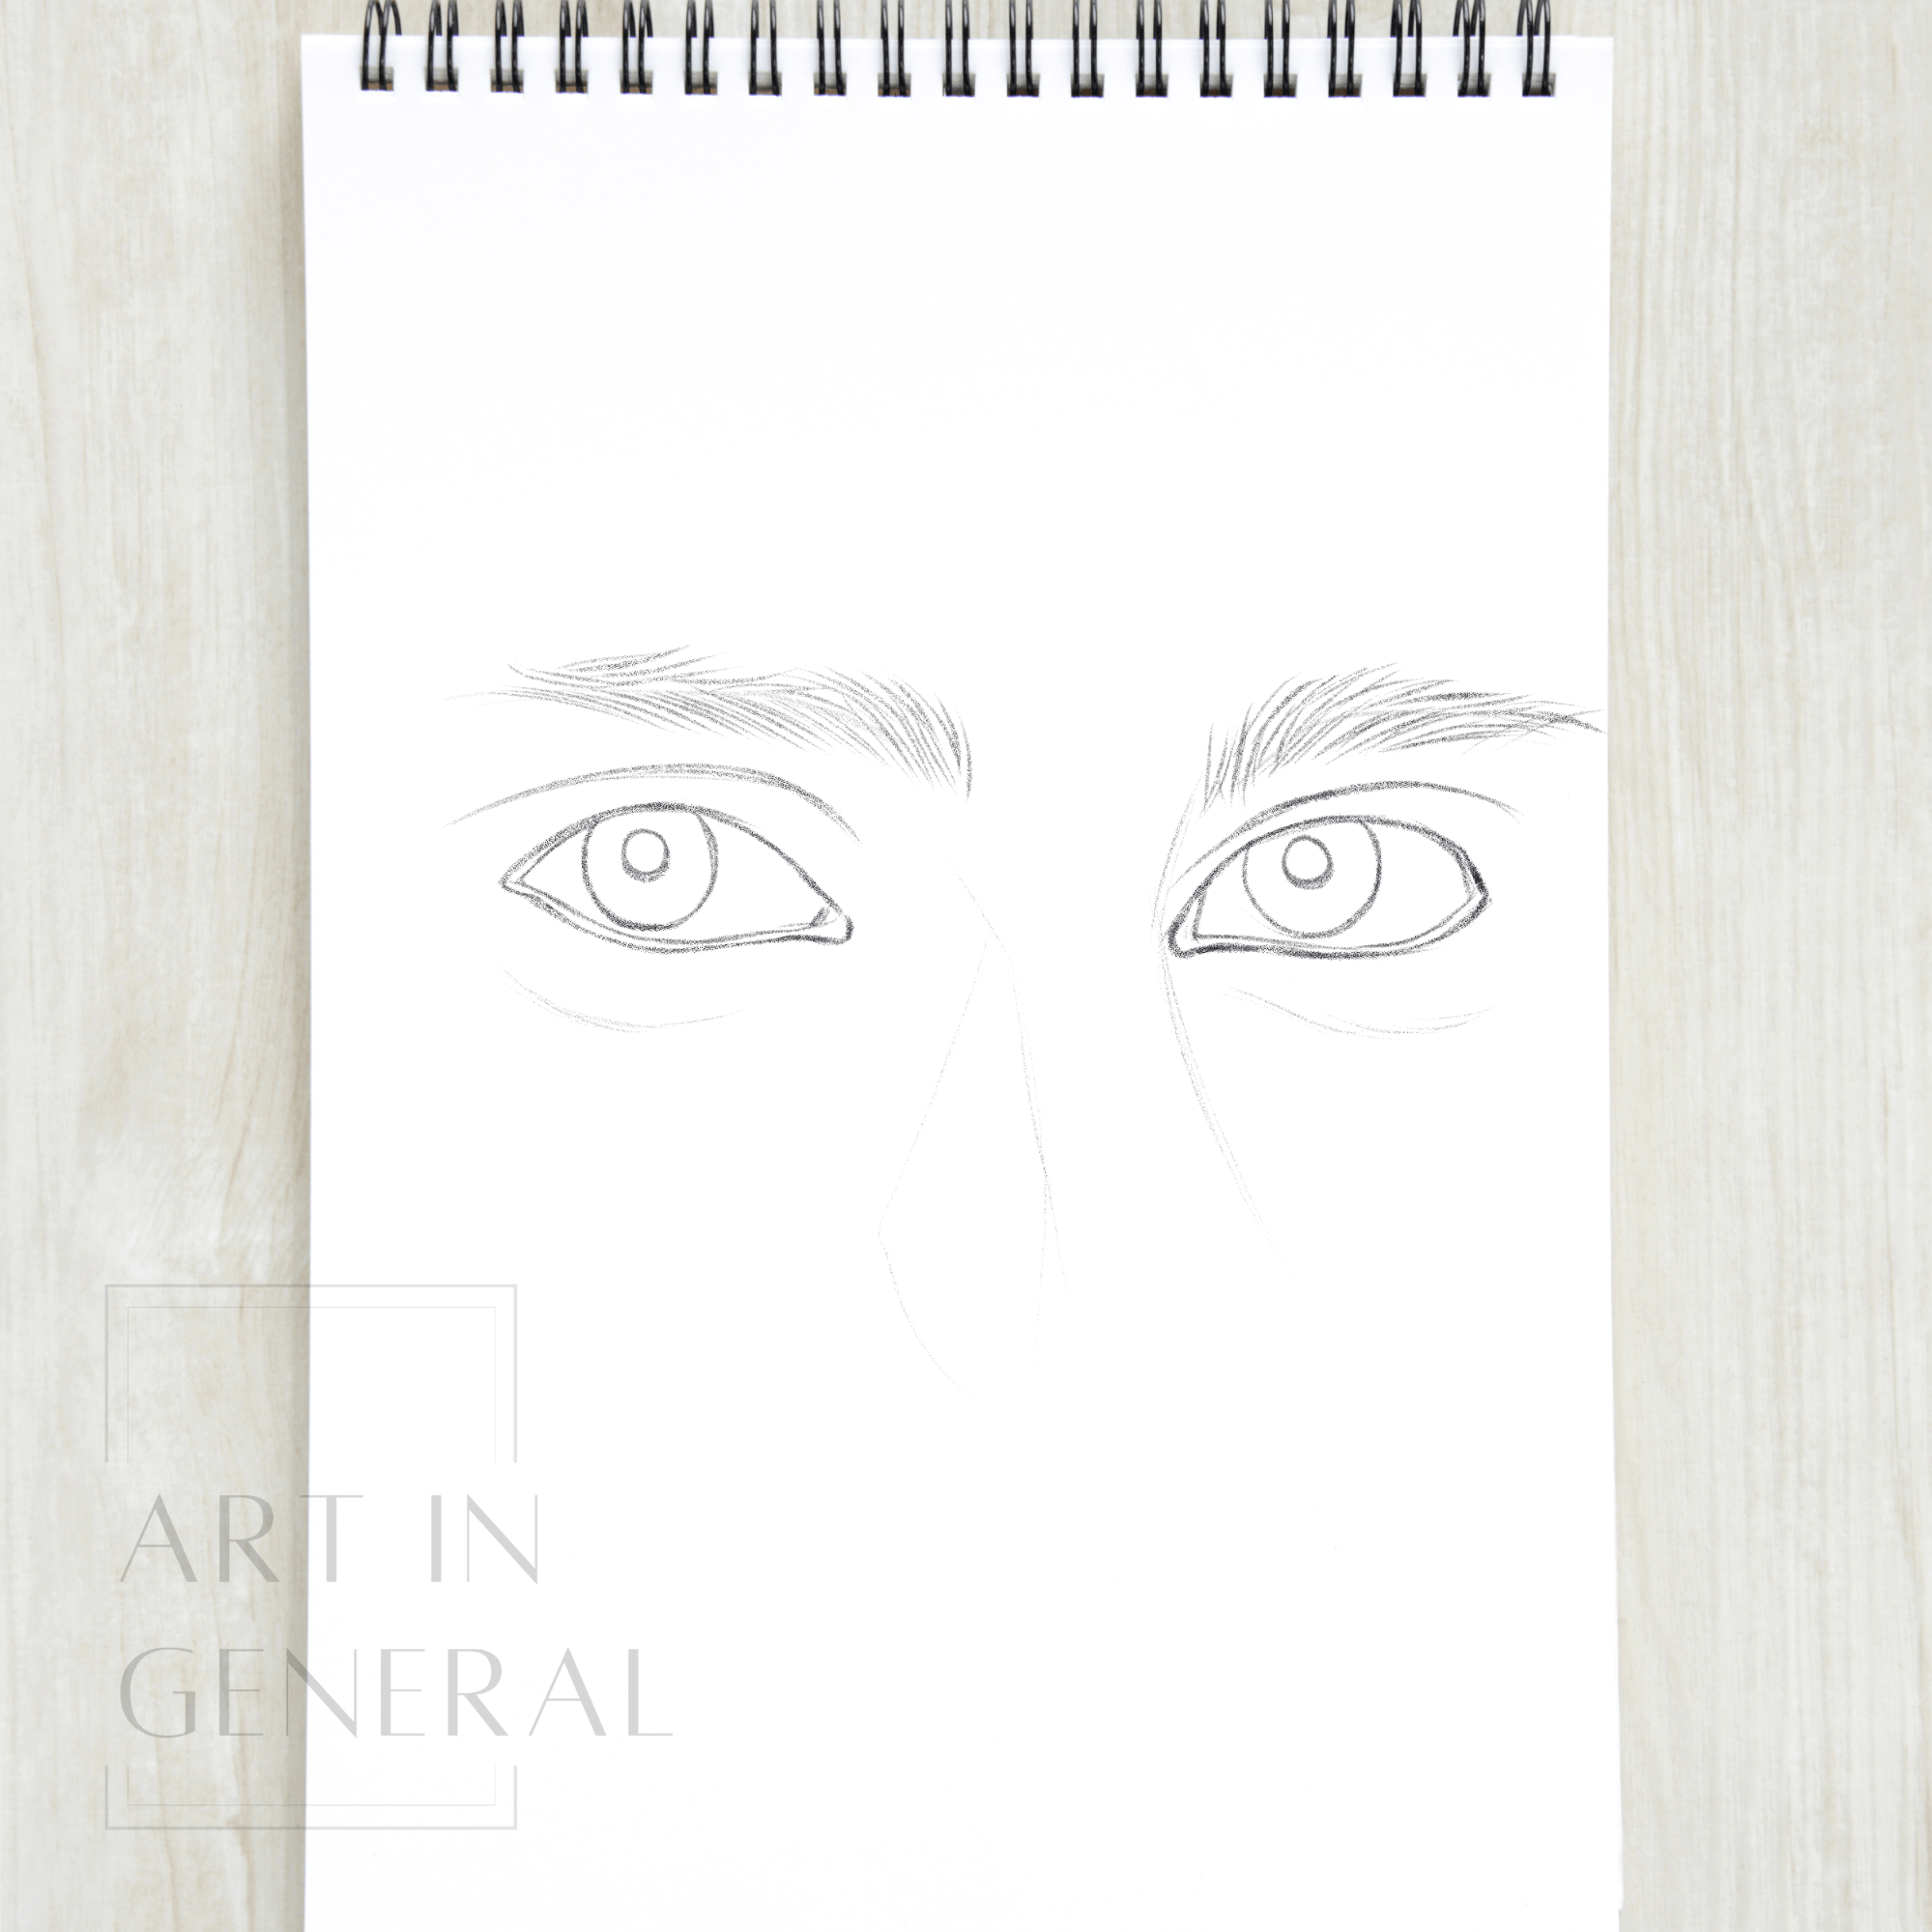
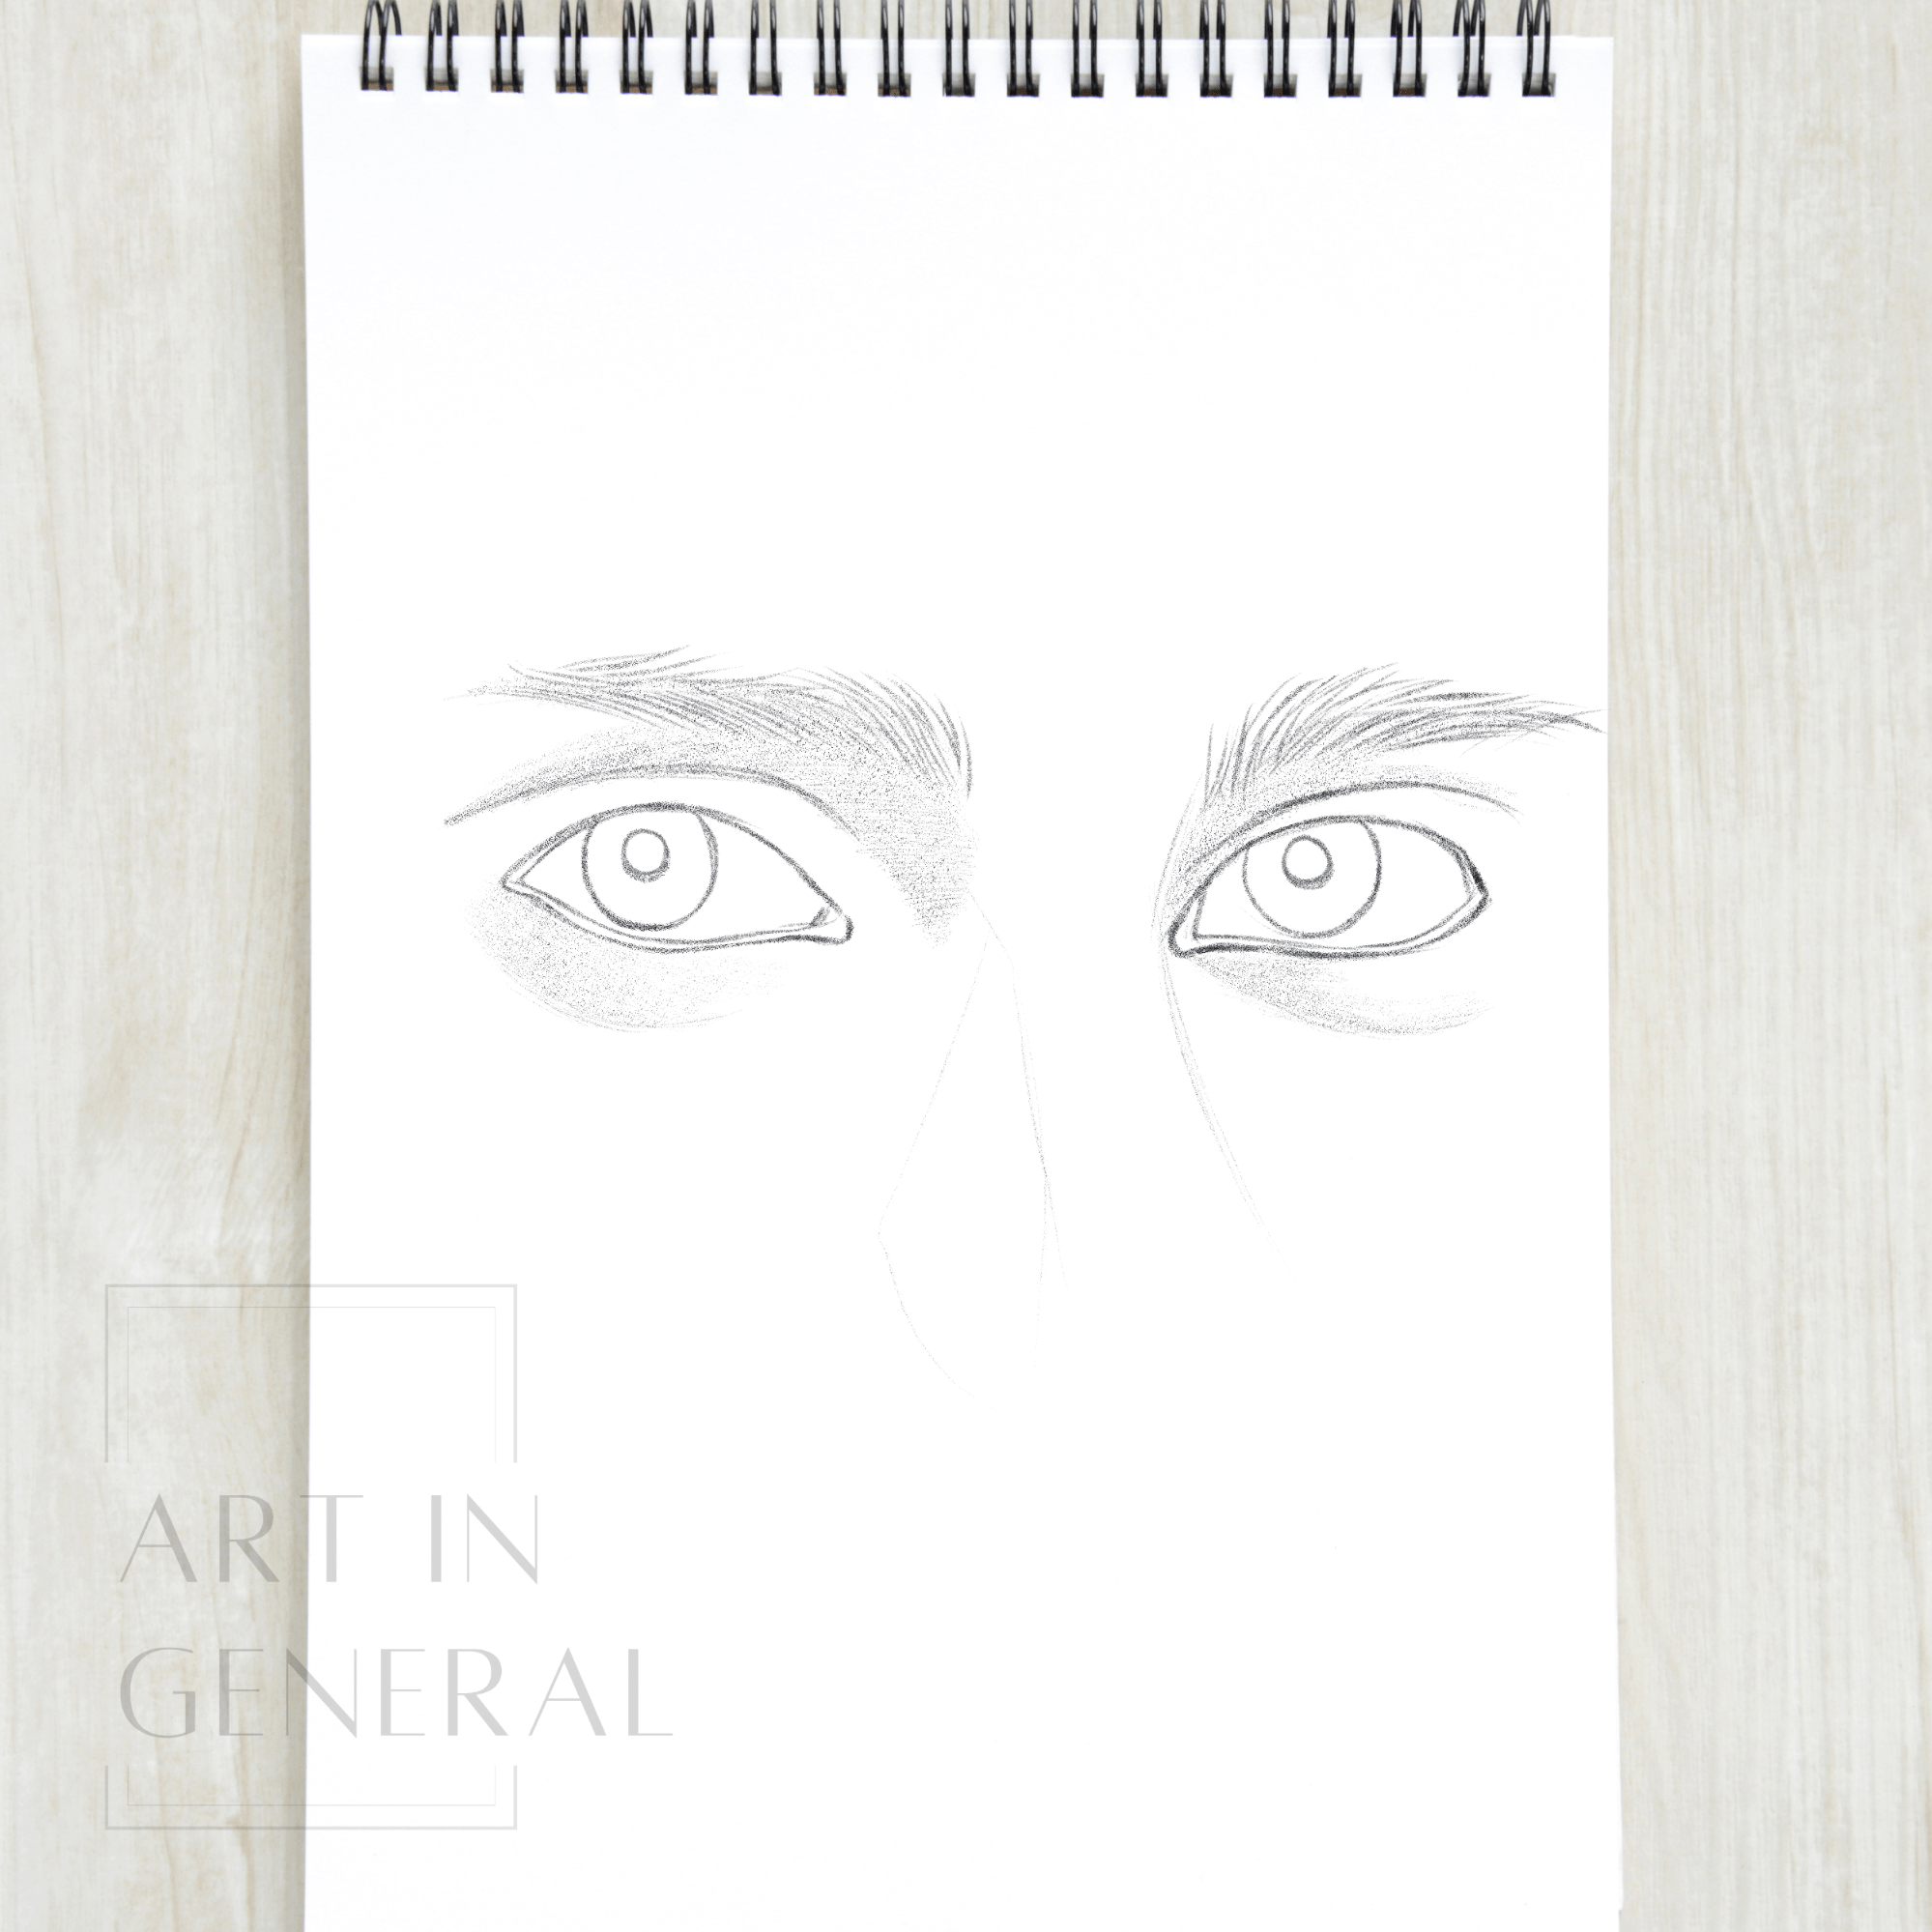
Step 9 — Draw the Lower Eyelid
Remember the facial structure and the under-the-skin bone structure and softly hint the lower eyelid with your pencil as well as the nose.
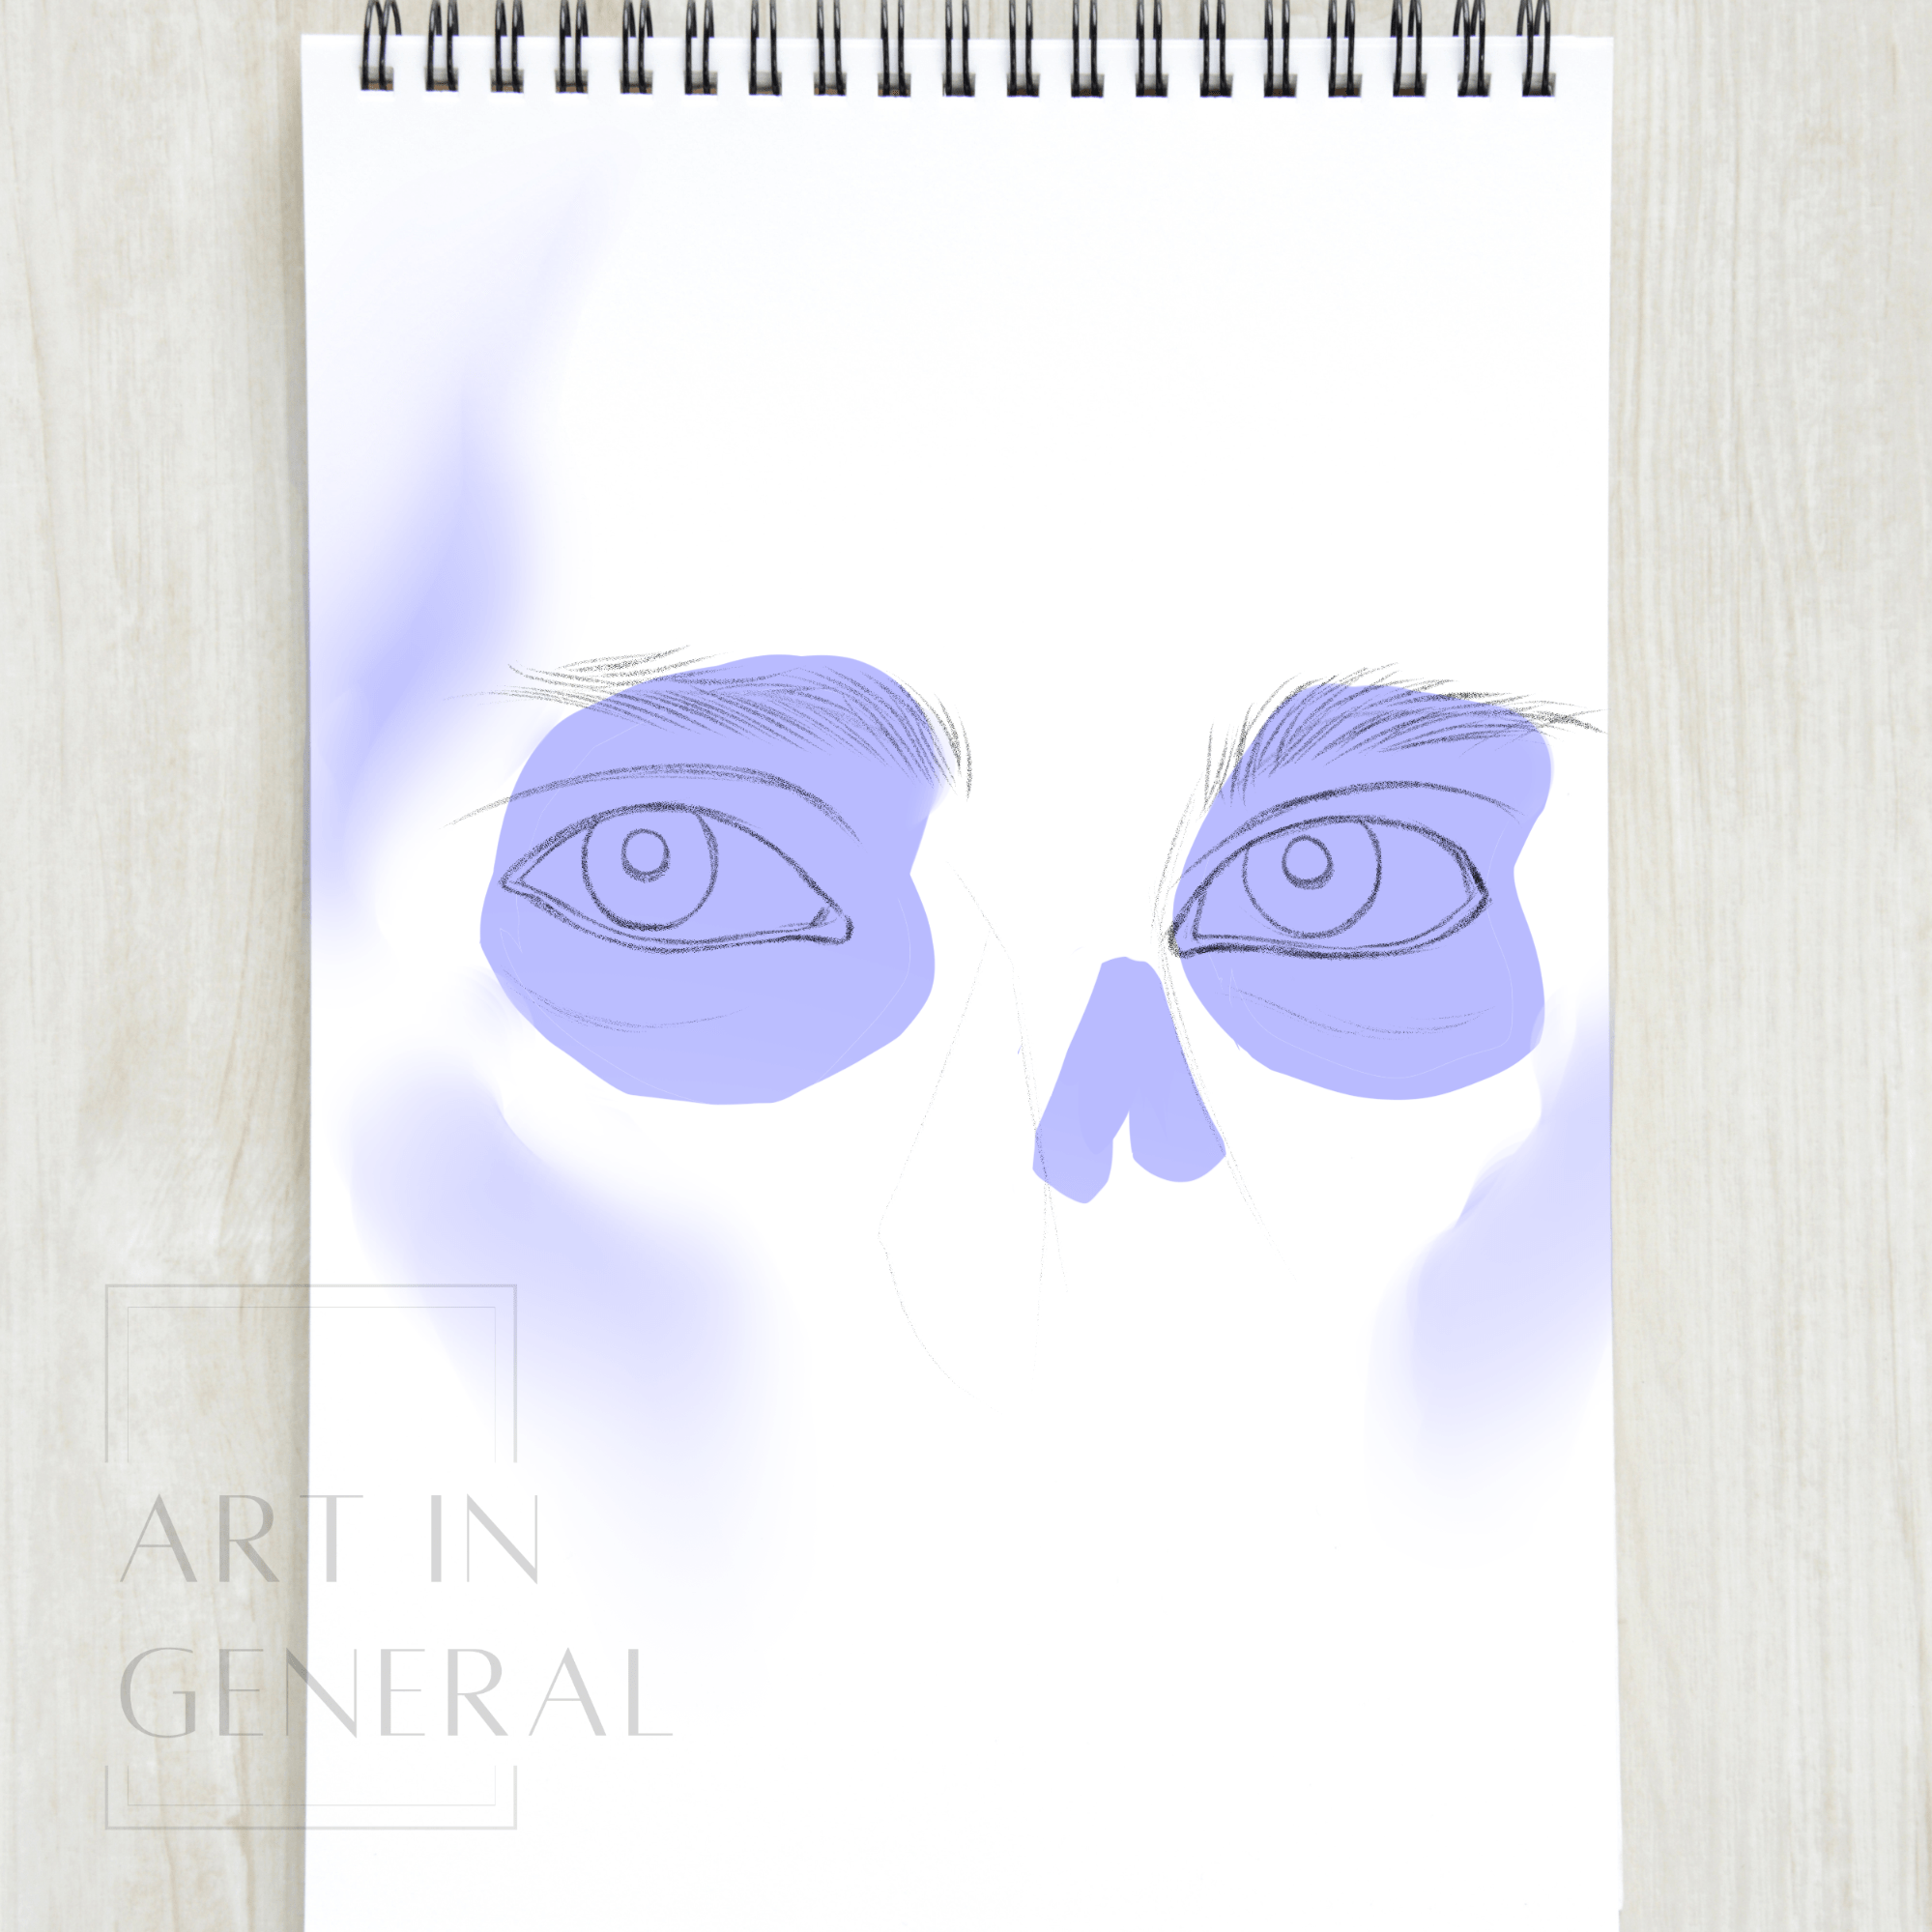
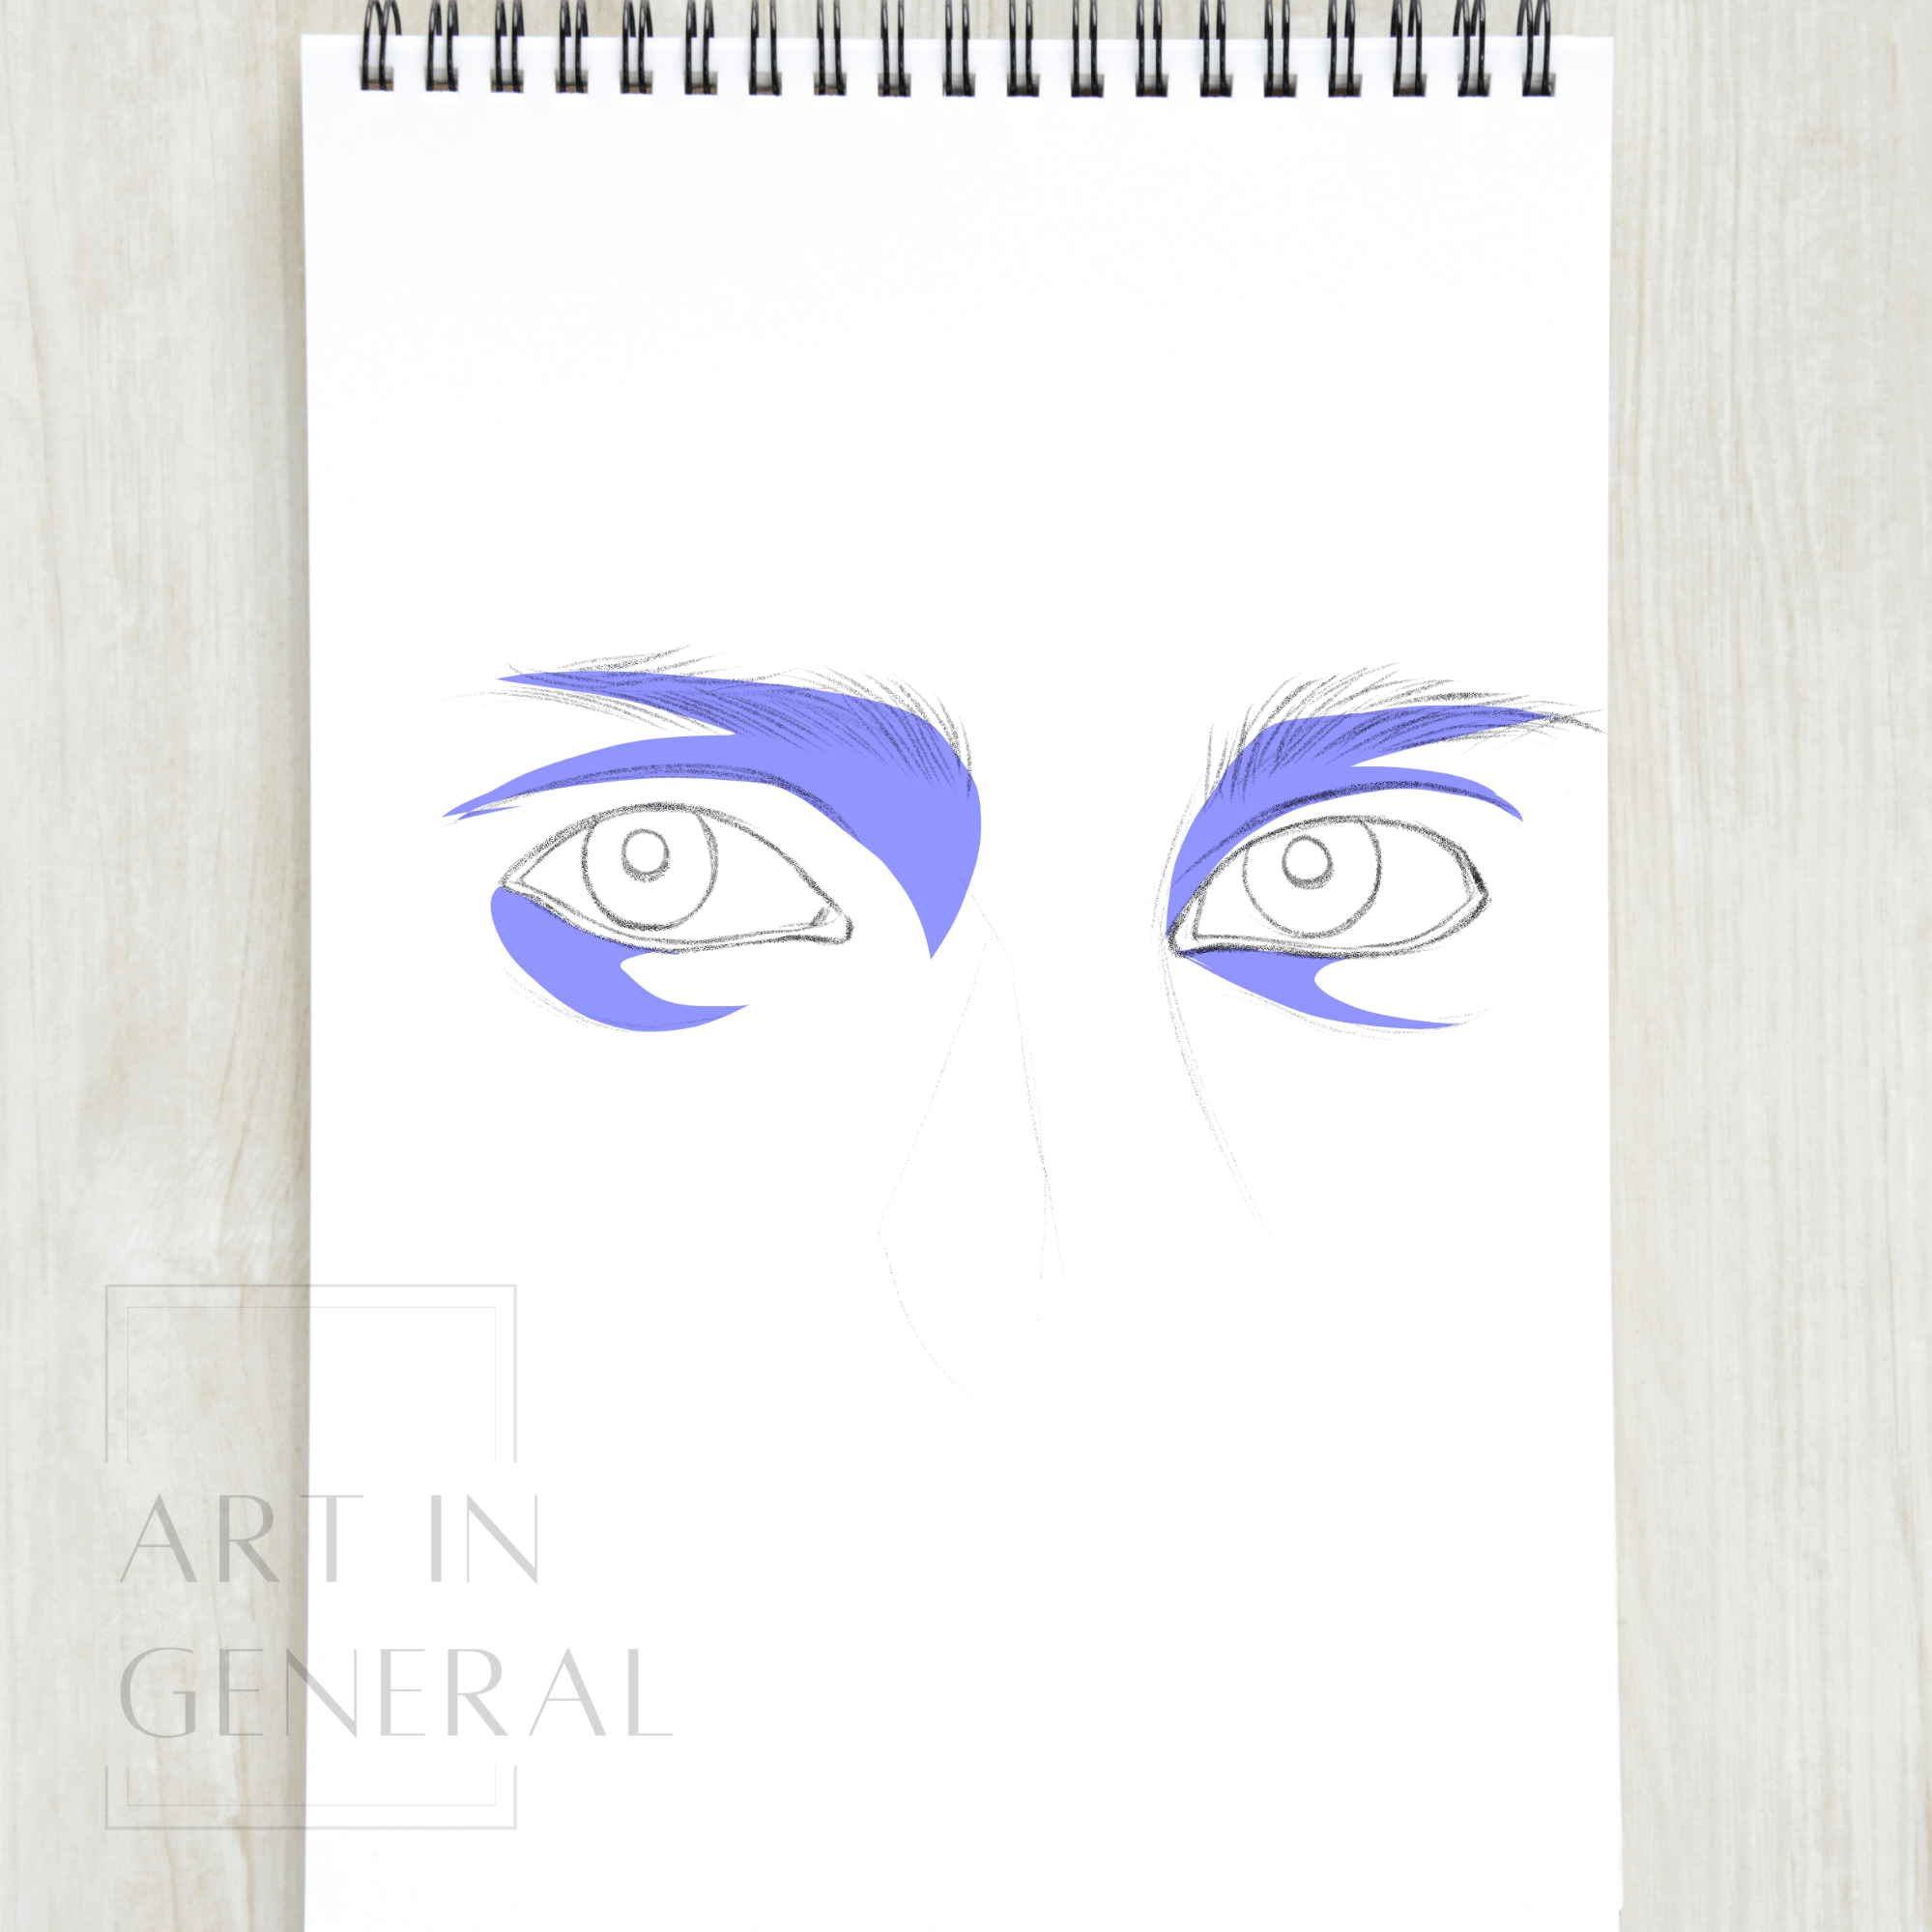
Step 10 — Shade Around the Eyes
Shade the area around the eyes first, this will make shading the eyes much easier since the starting value will not be pure white.
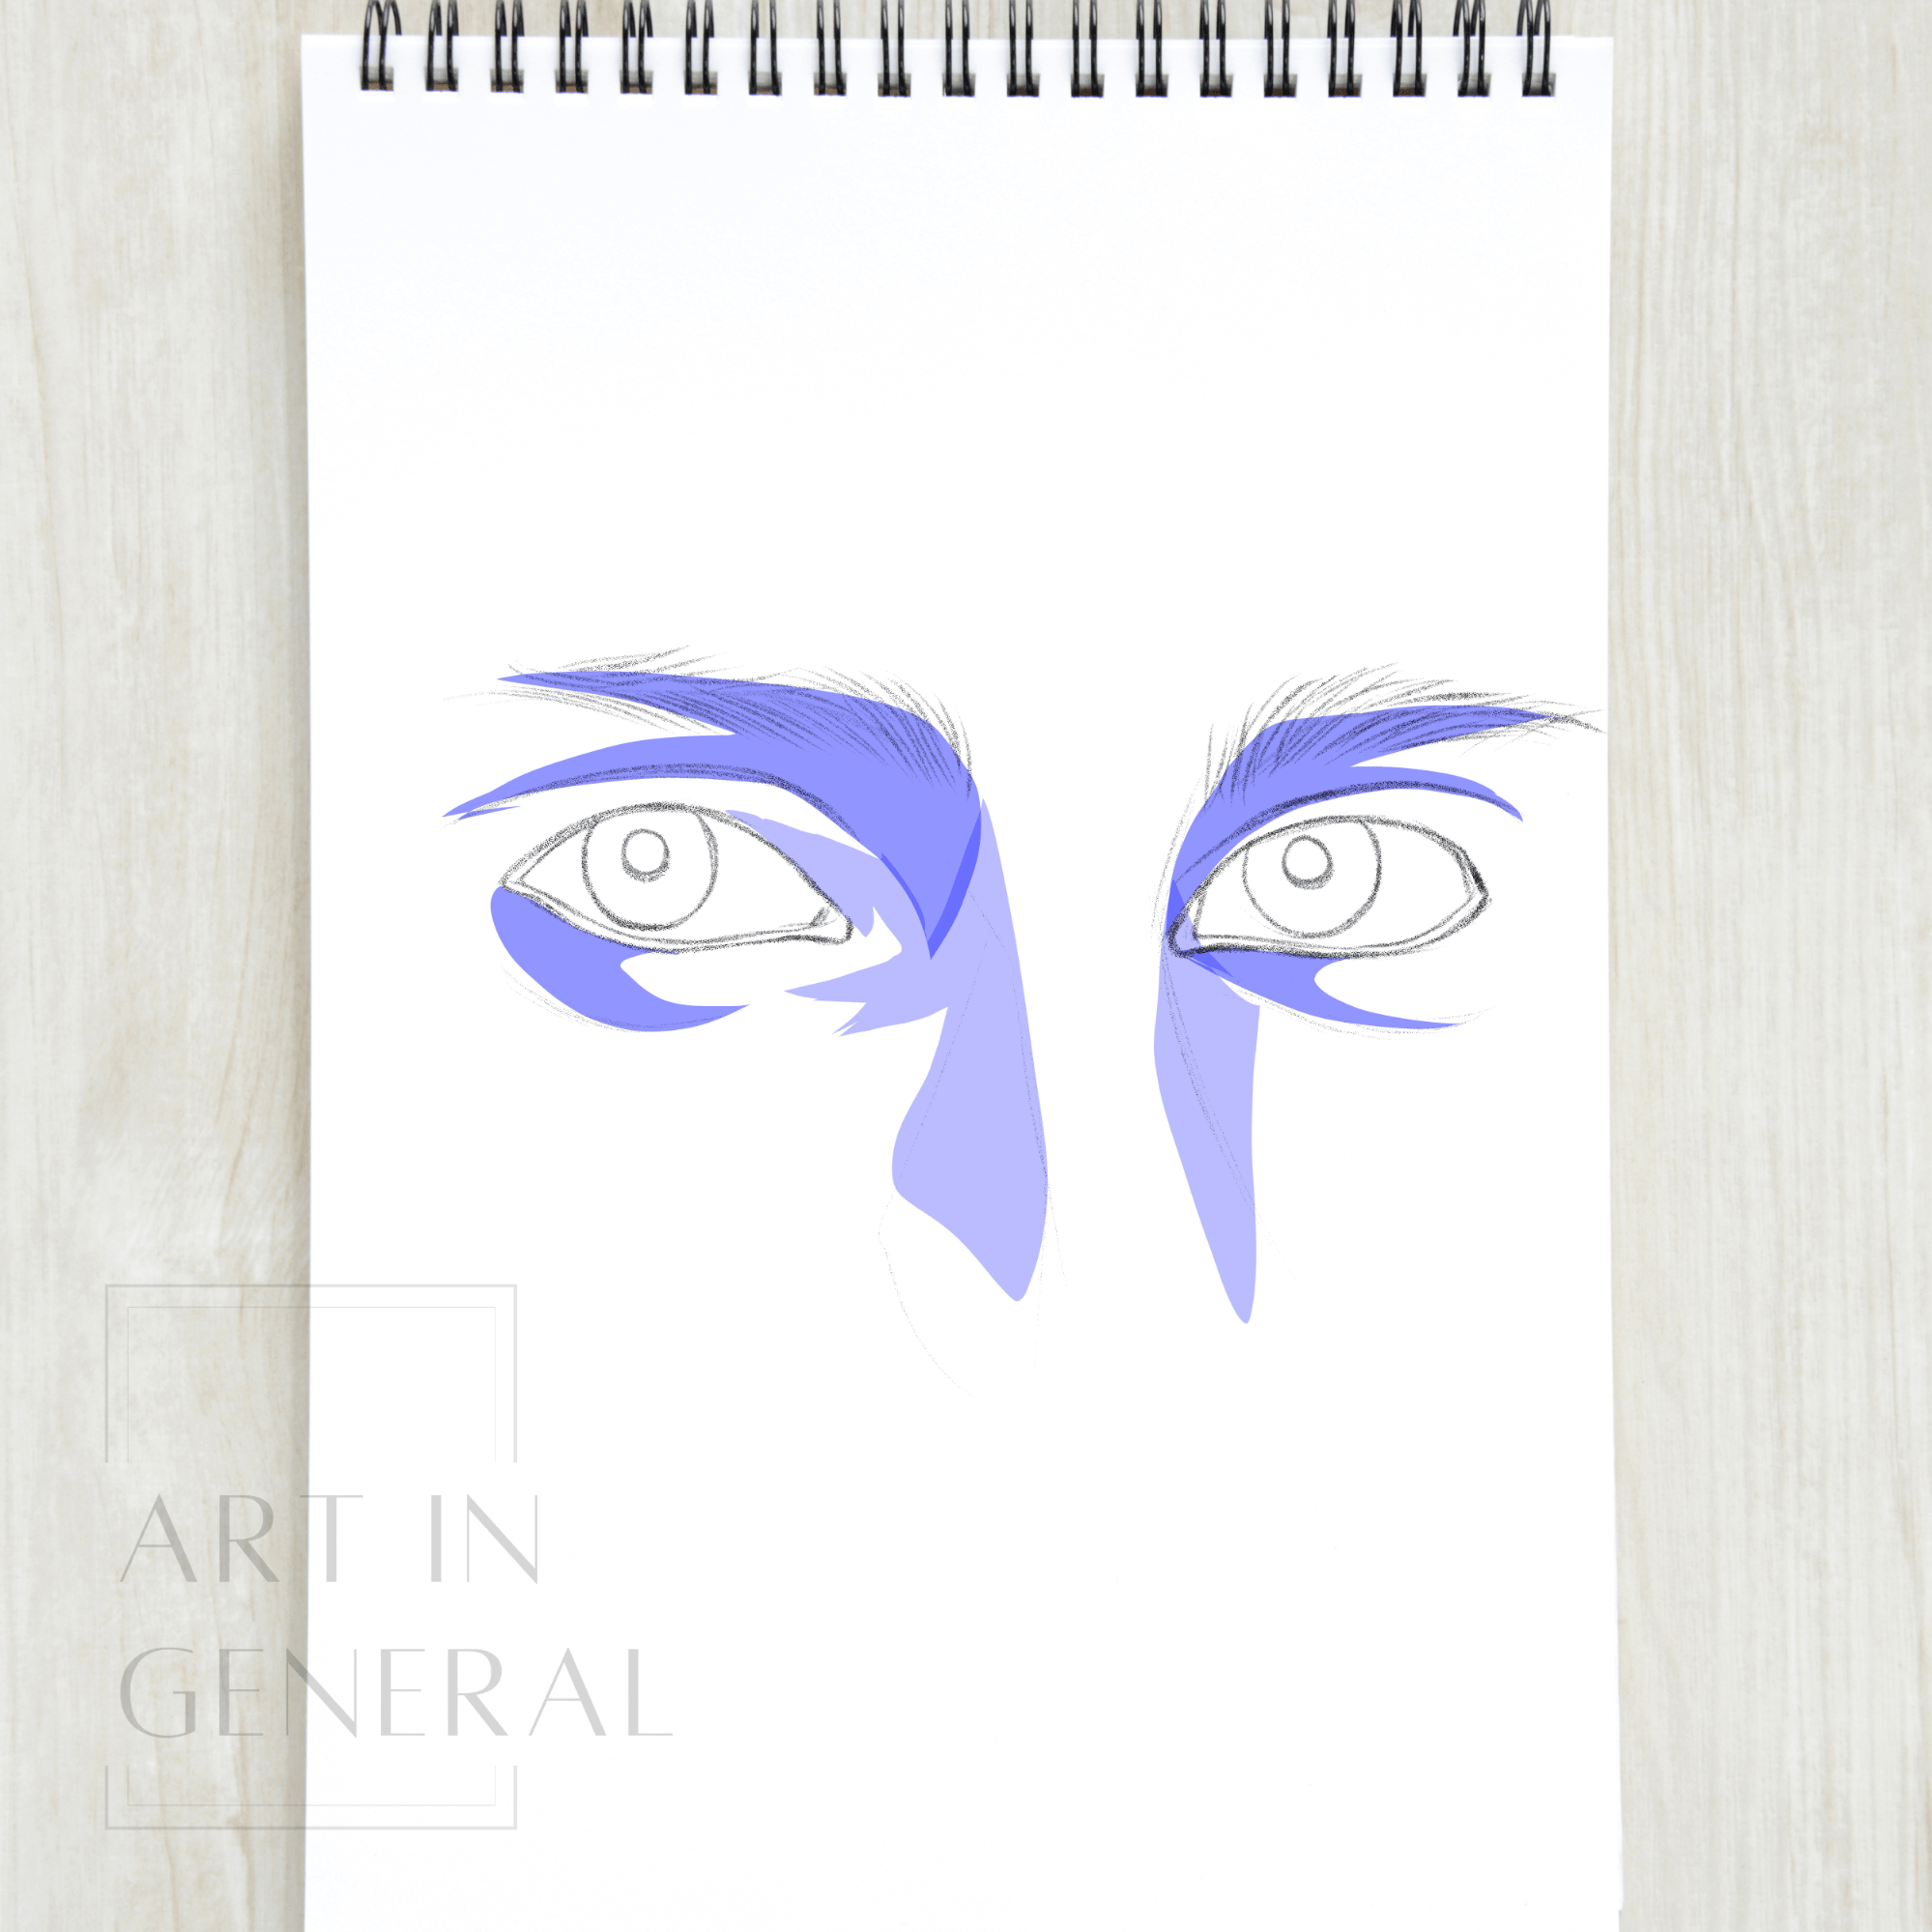
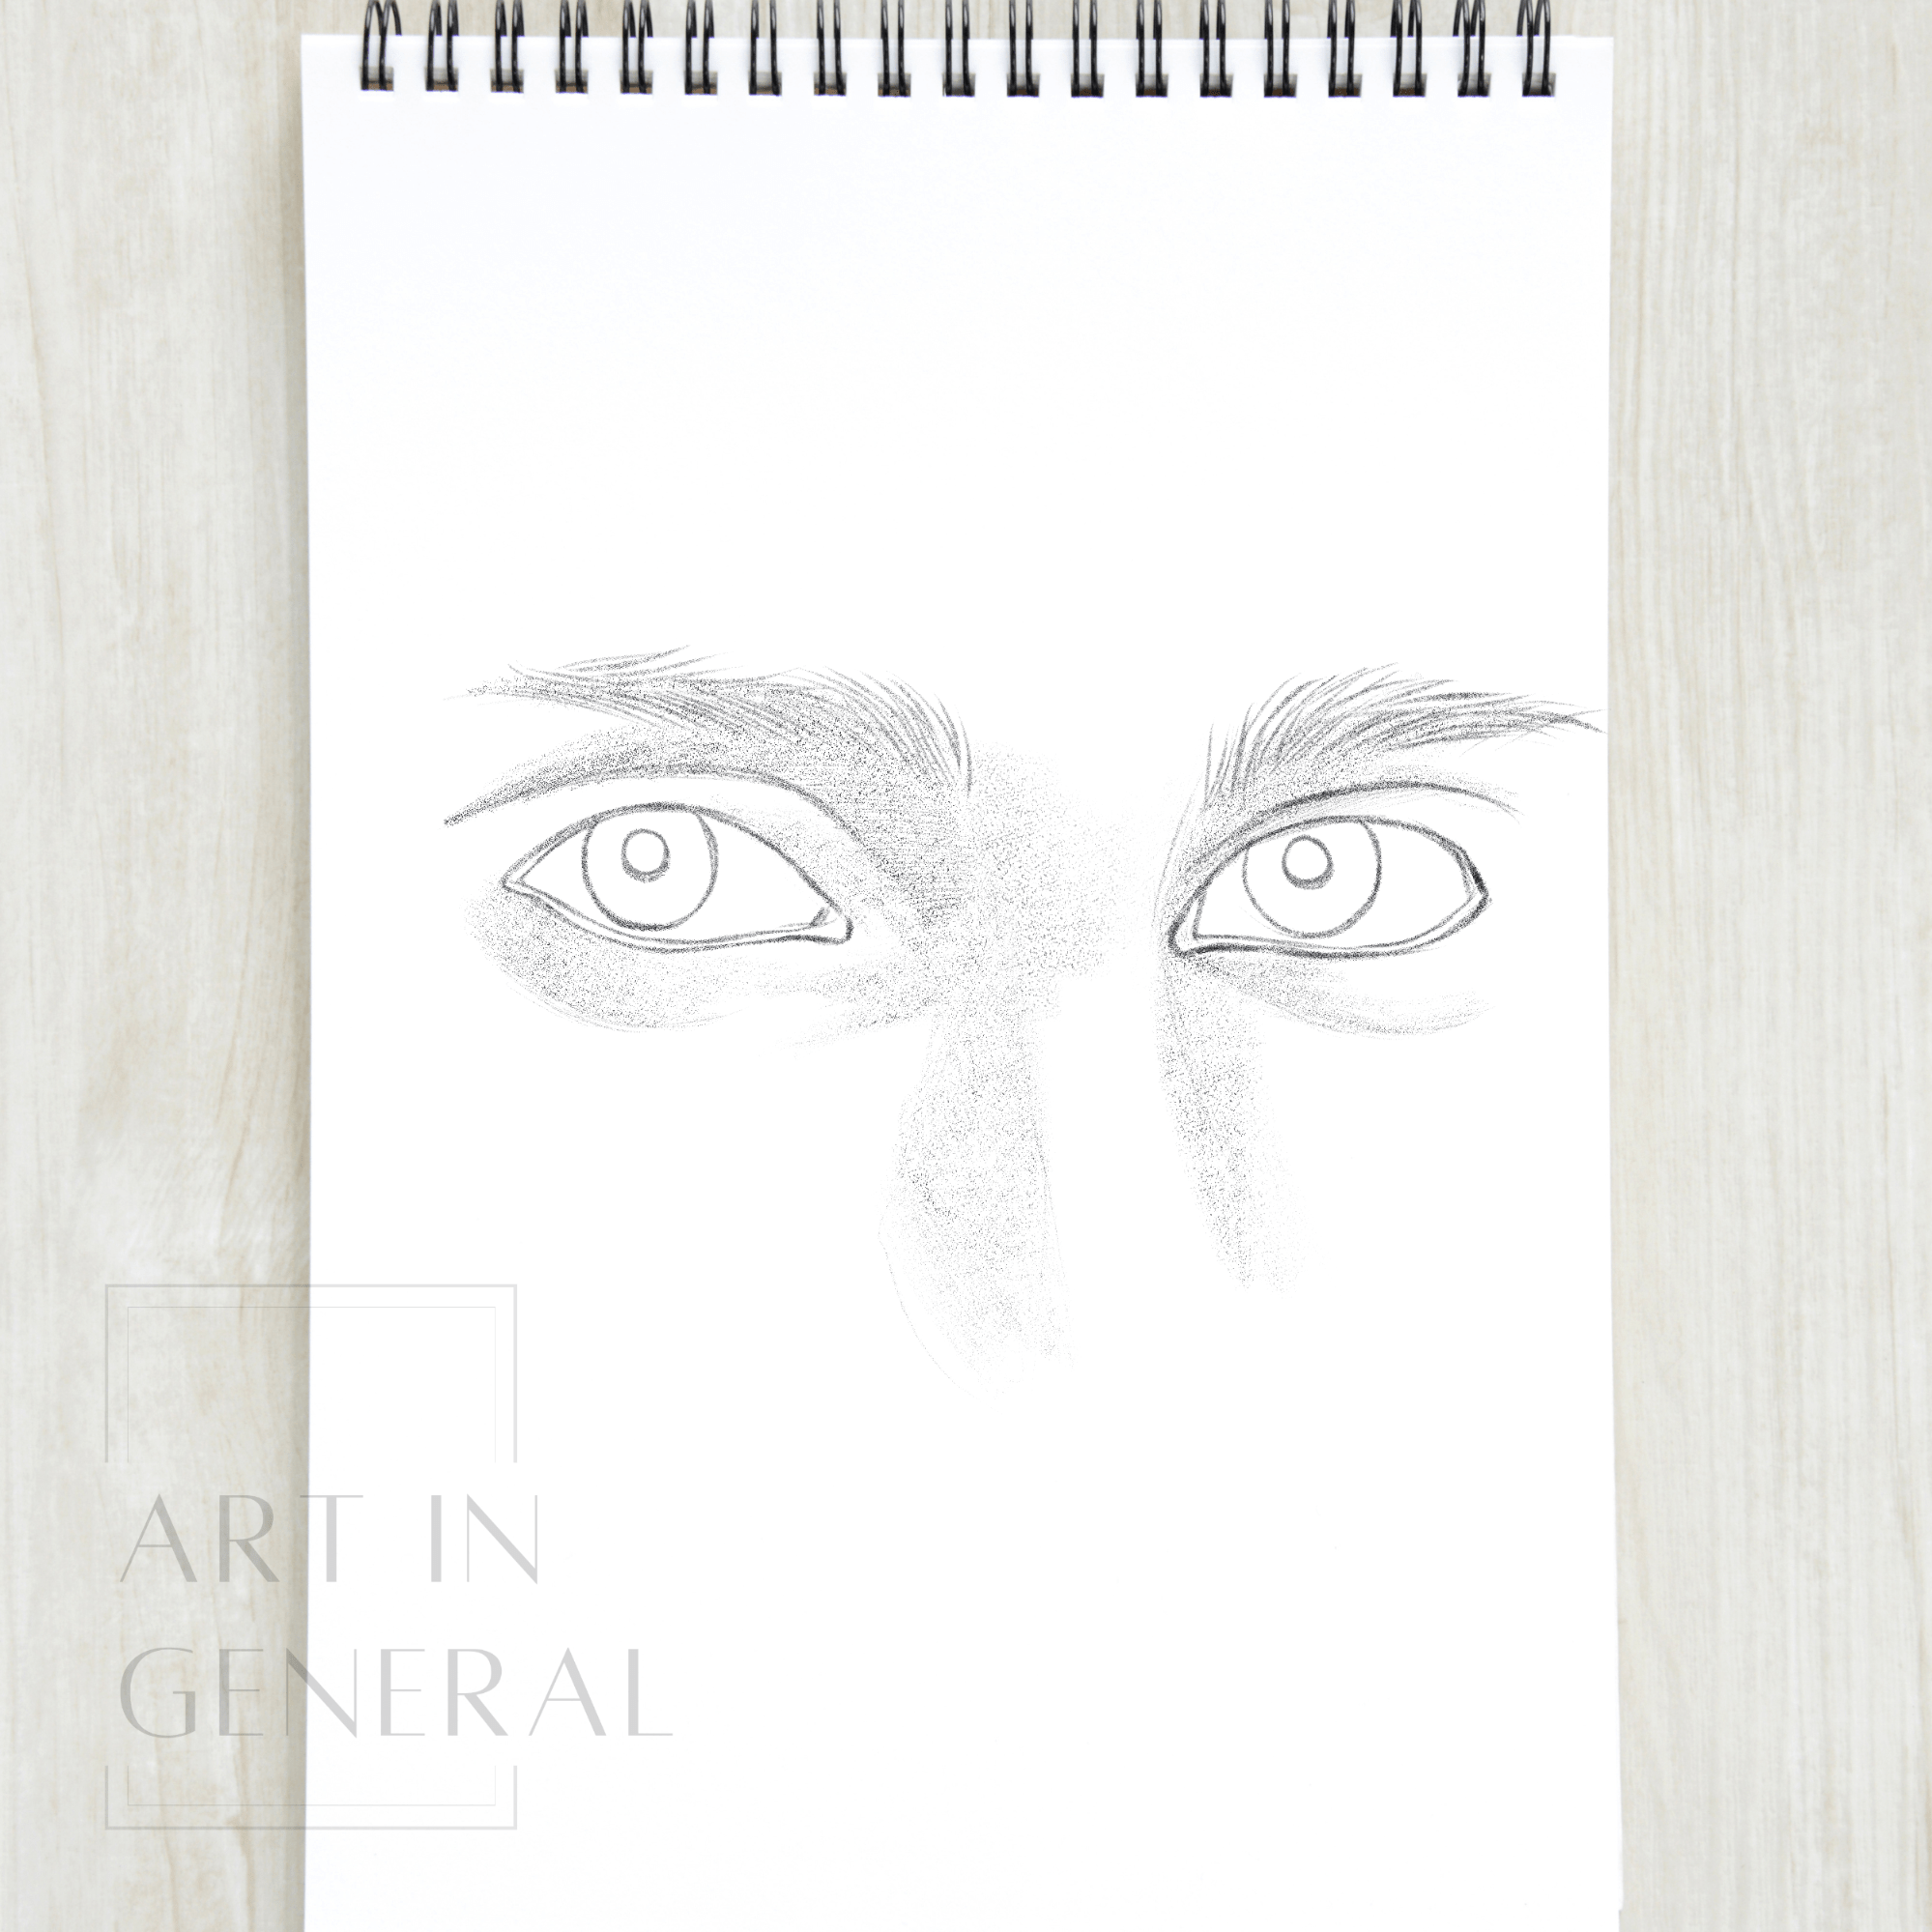
Step 11 — Shade Around the Nose
Shade the area around the nose too, use the diagram below if you’re having trouble finding it.
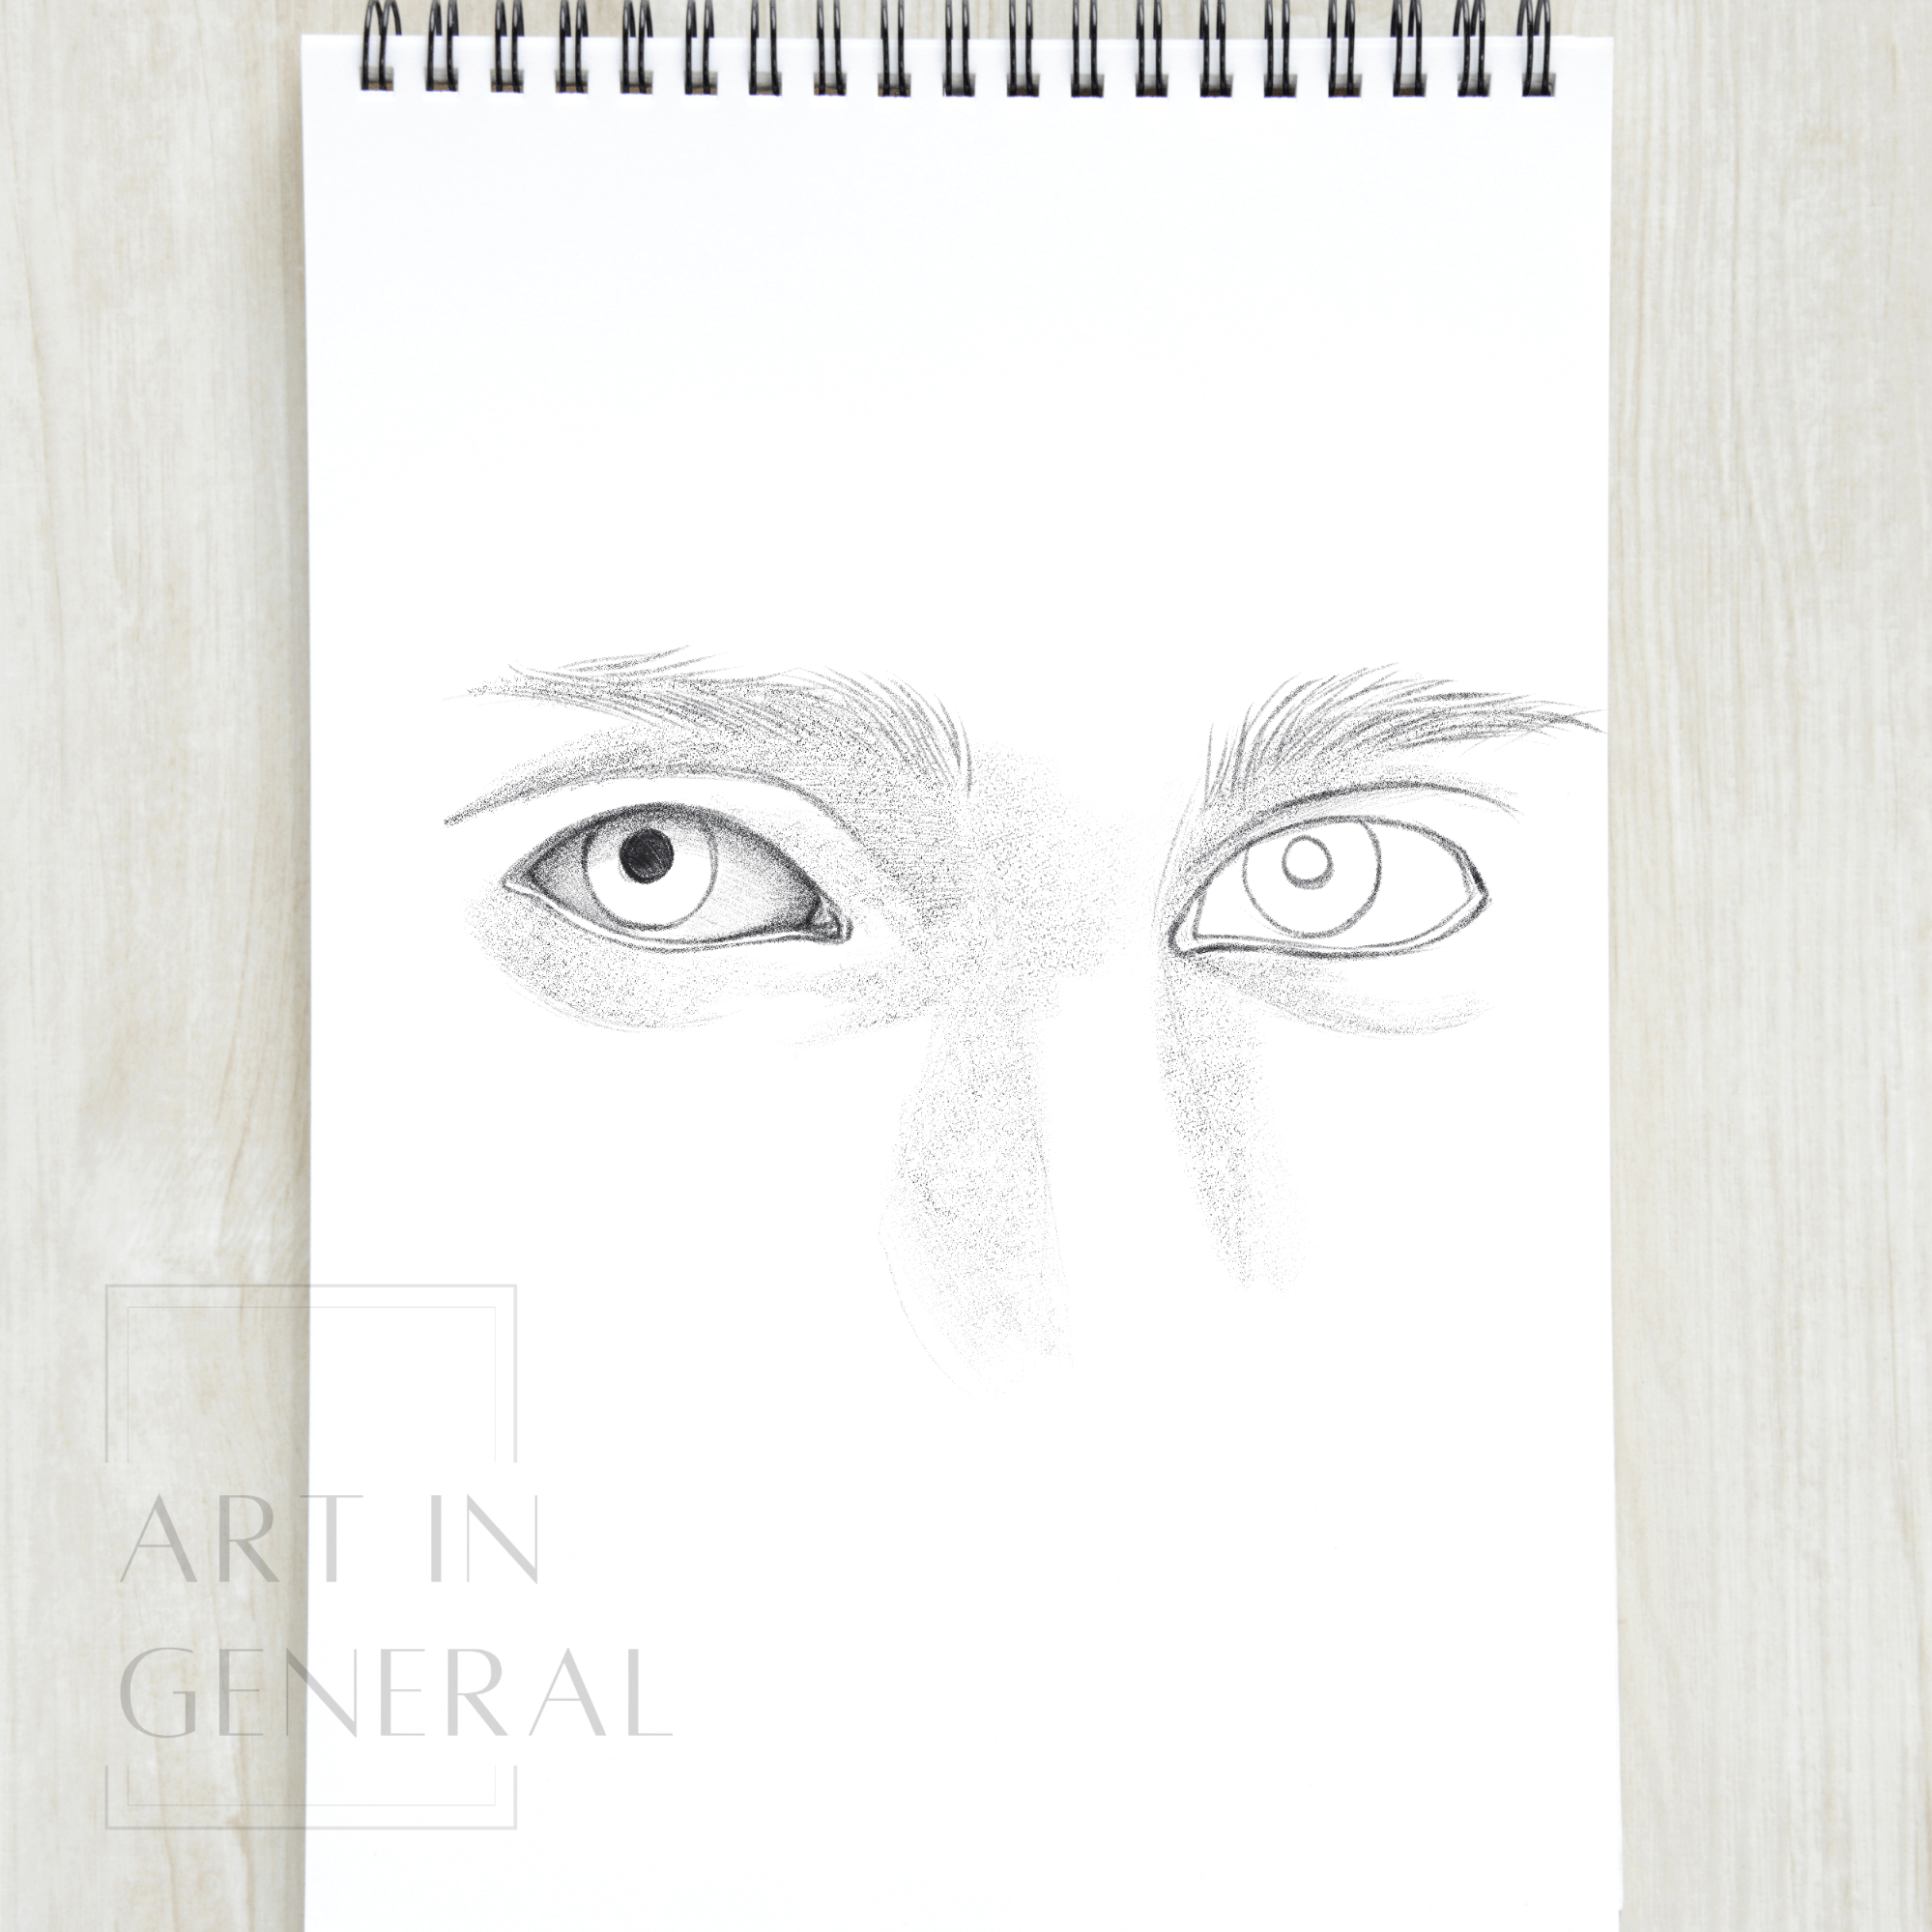
Step 12 — Start Shading the Eye
Start shadin the eye, begin by filling the pupil and giving the sphere volume.
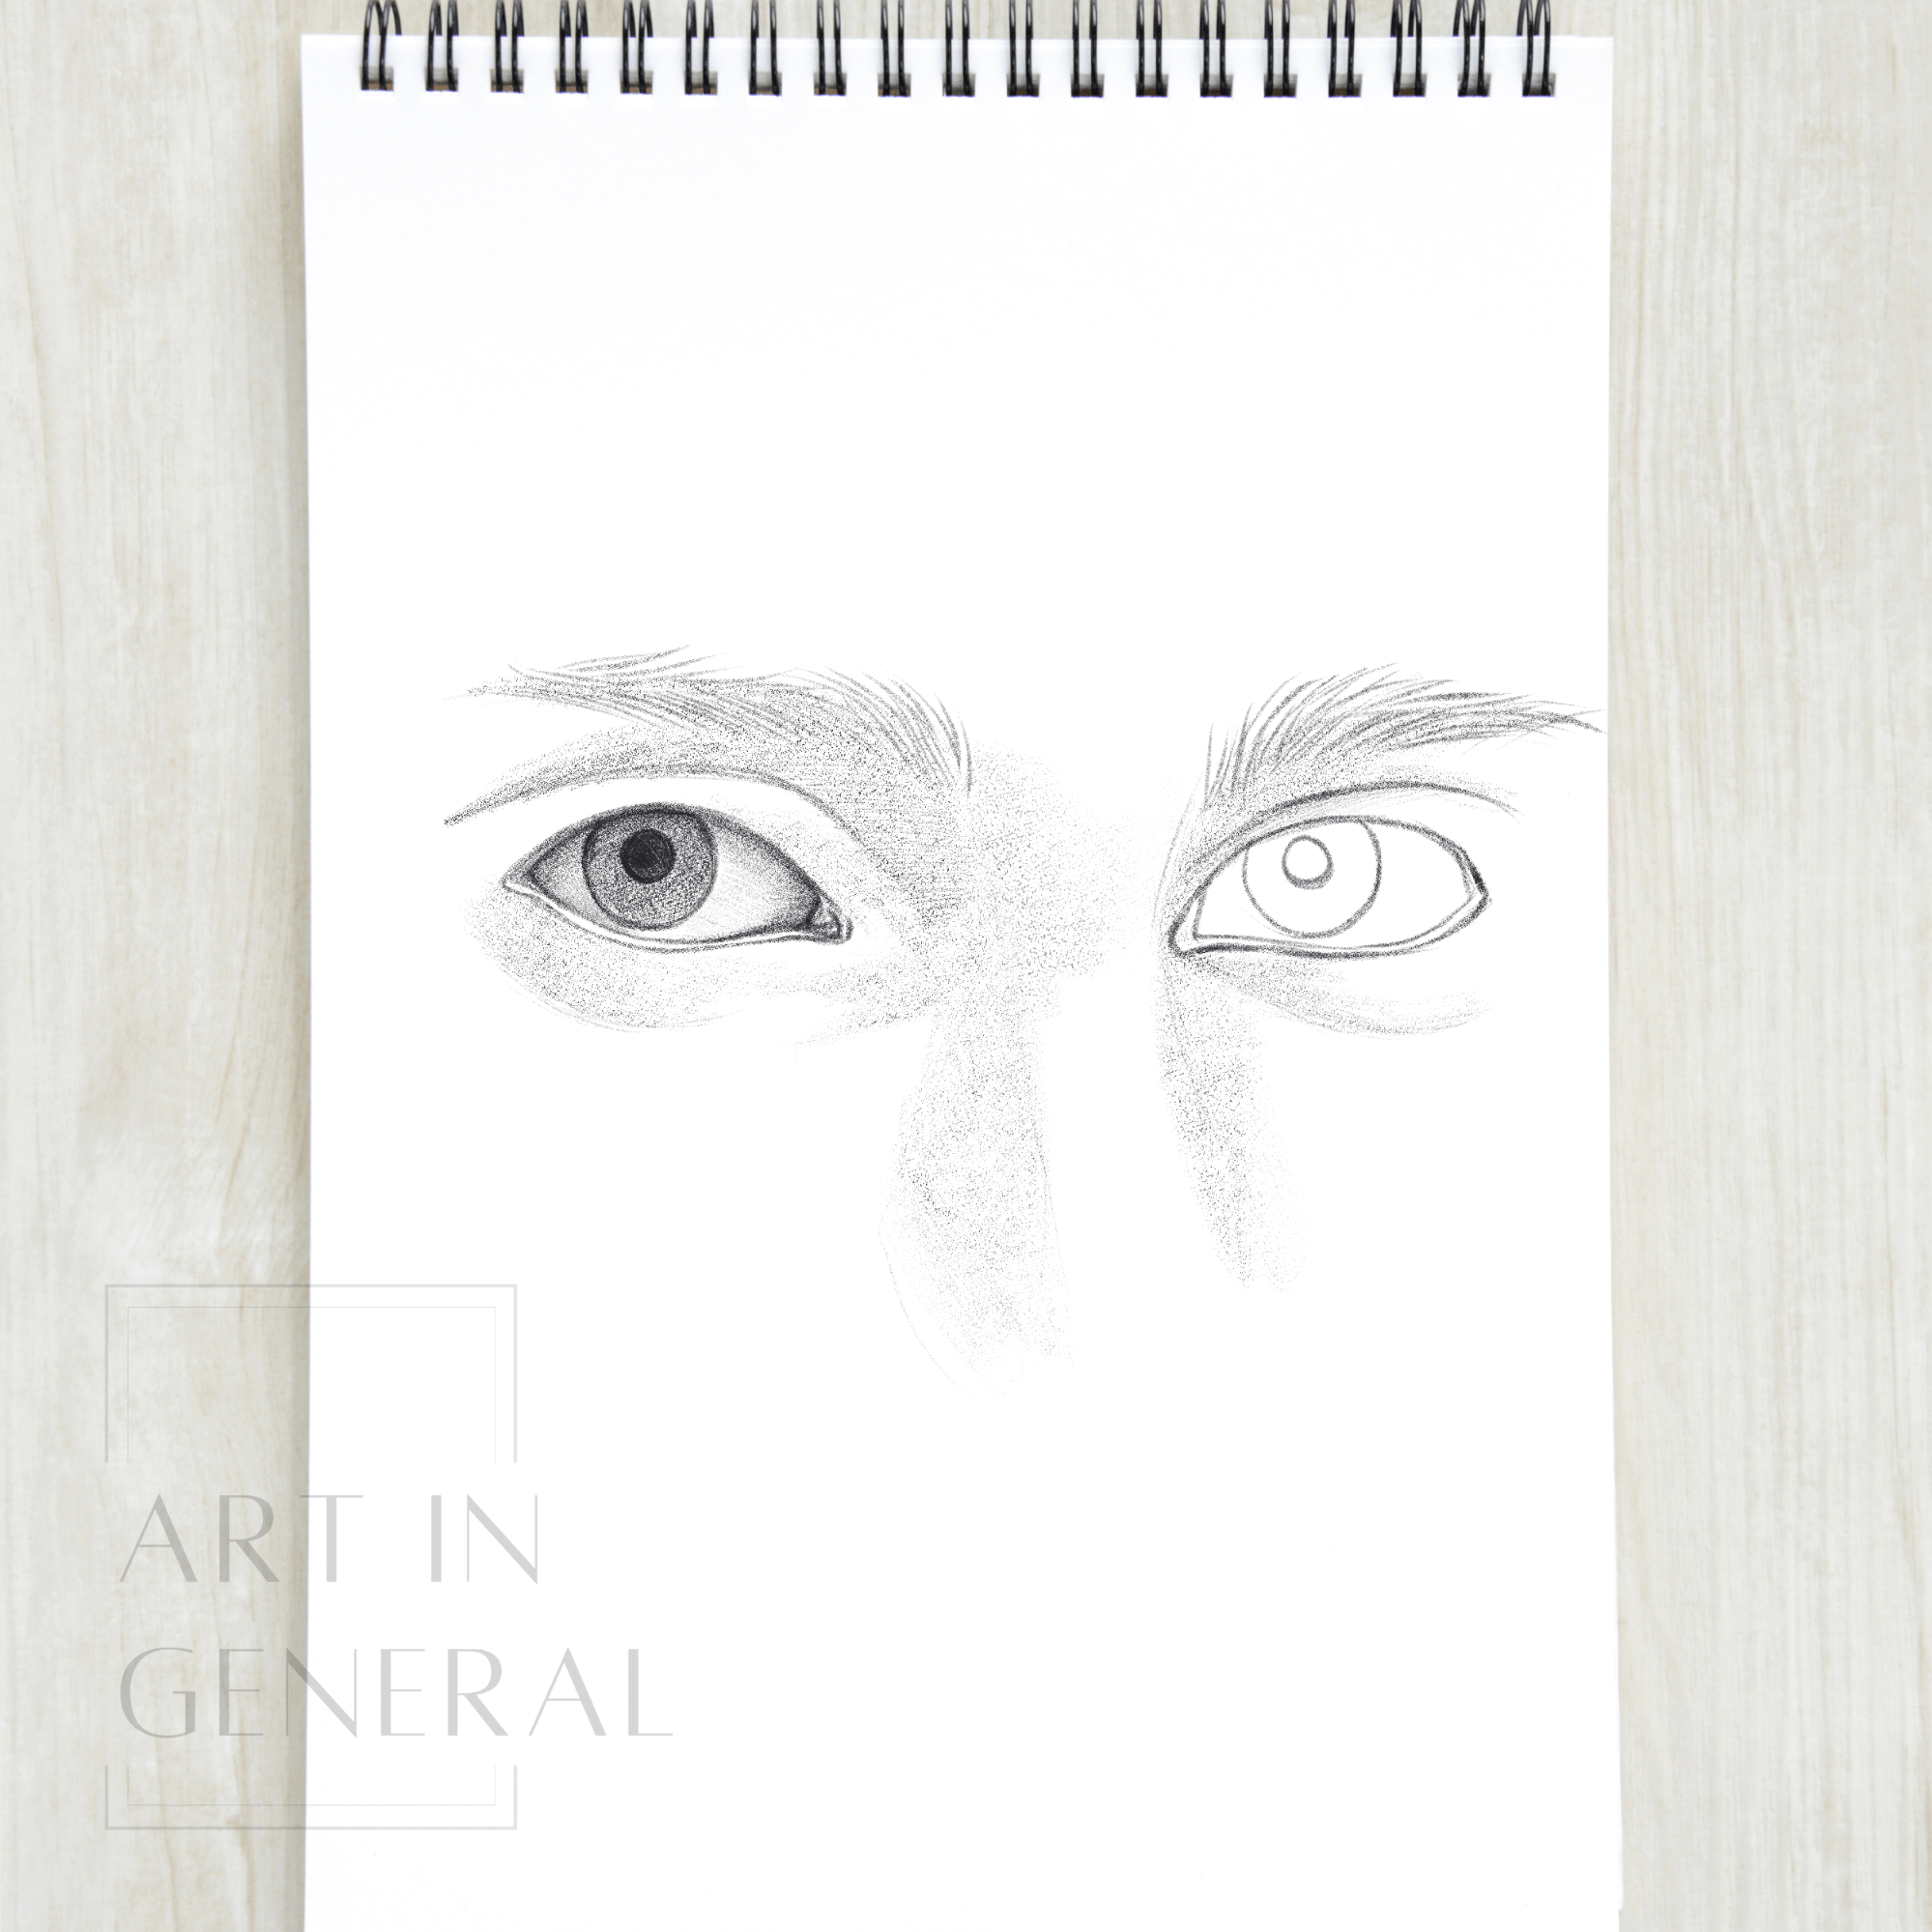
Step 13 — Shade the Iris
Give the iris a starting value, then draw irregular triangle-like shapes and fill them in with a darker shade of graphite.
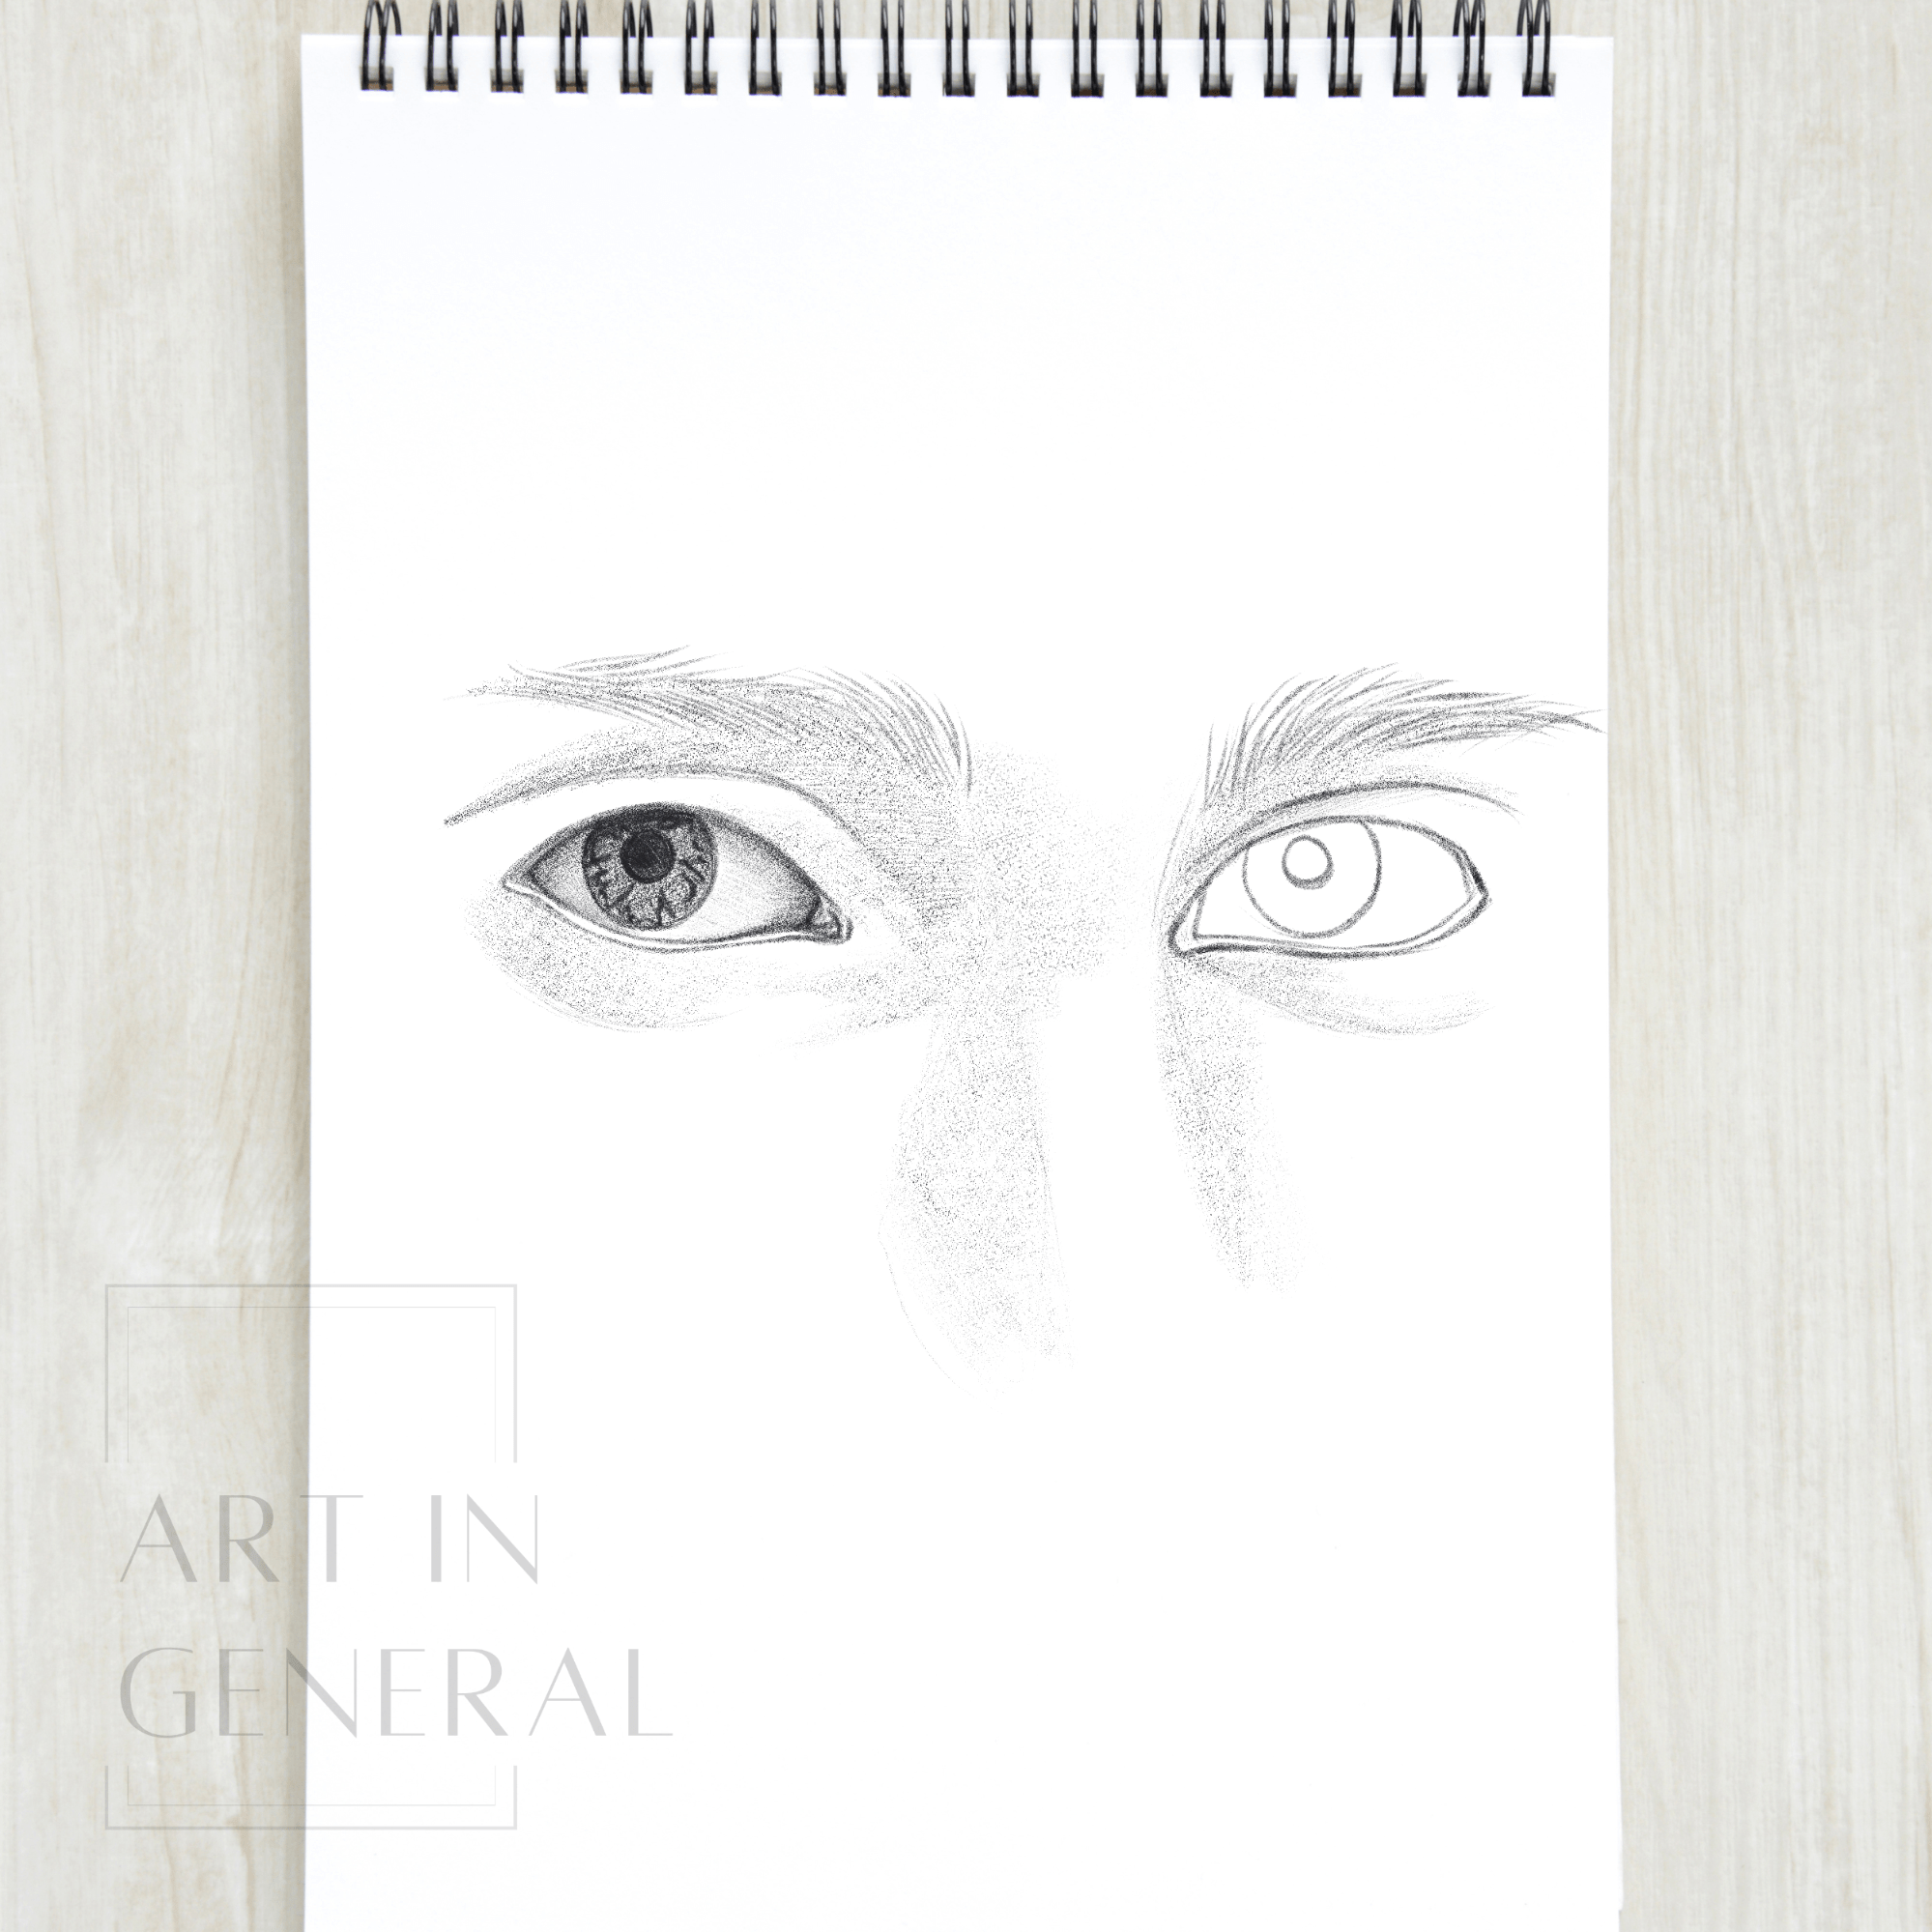
Step 14 — Add Contrast to the Eye
Shade the eye more, add contrast and depth, especially to the upper part since that’s where the light hits the least.

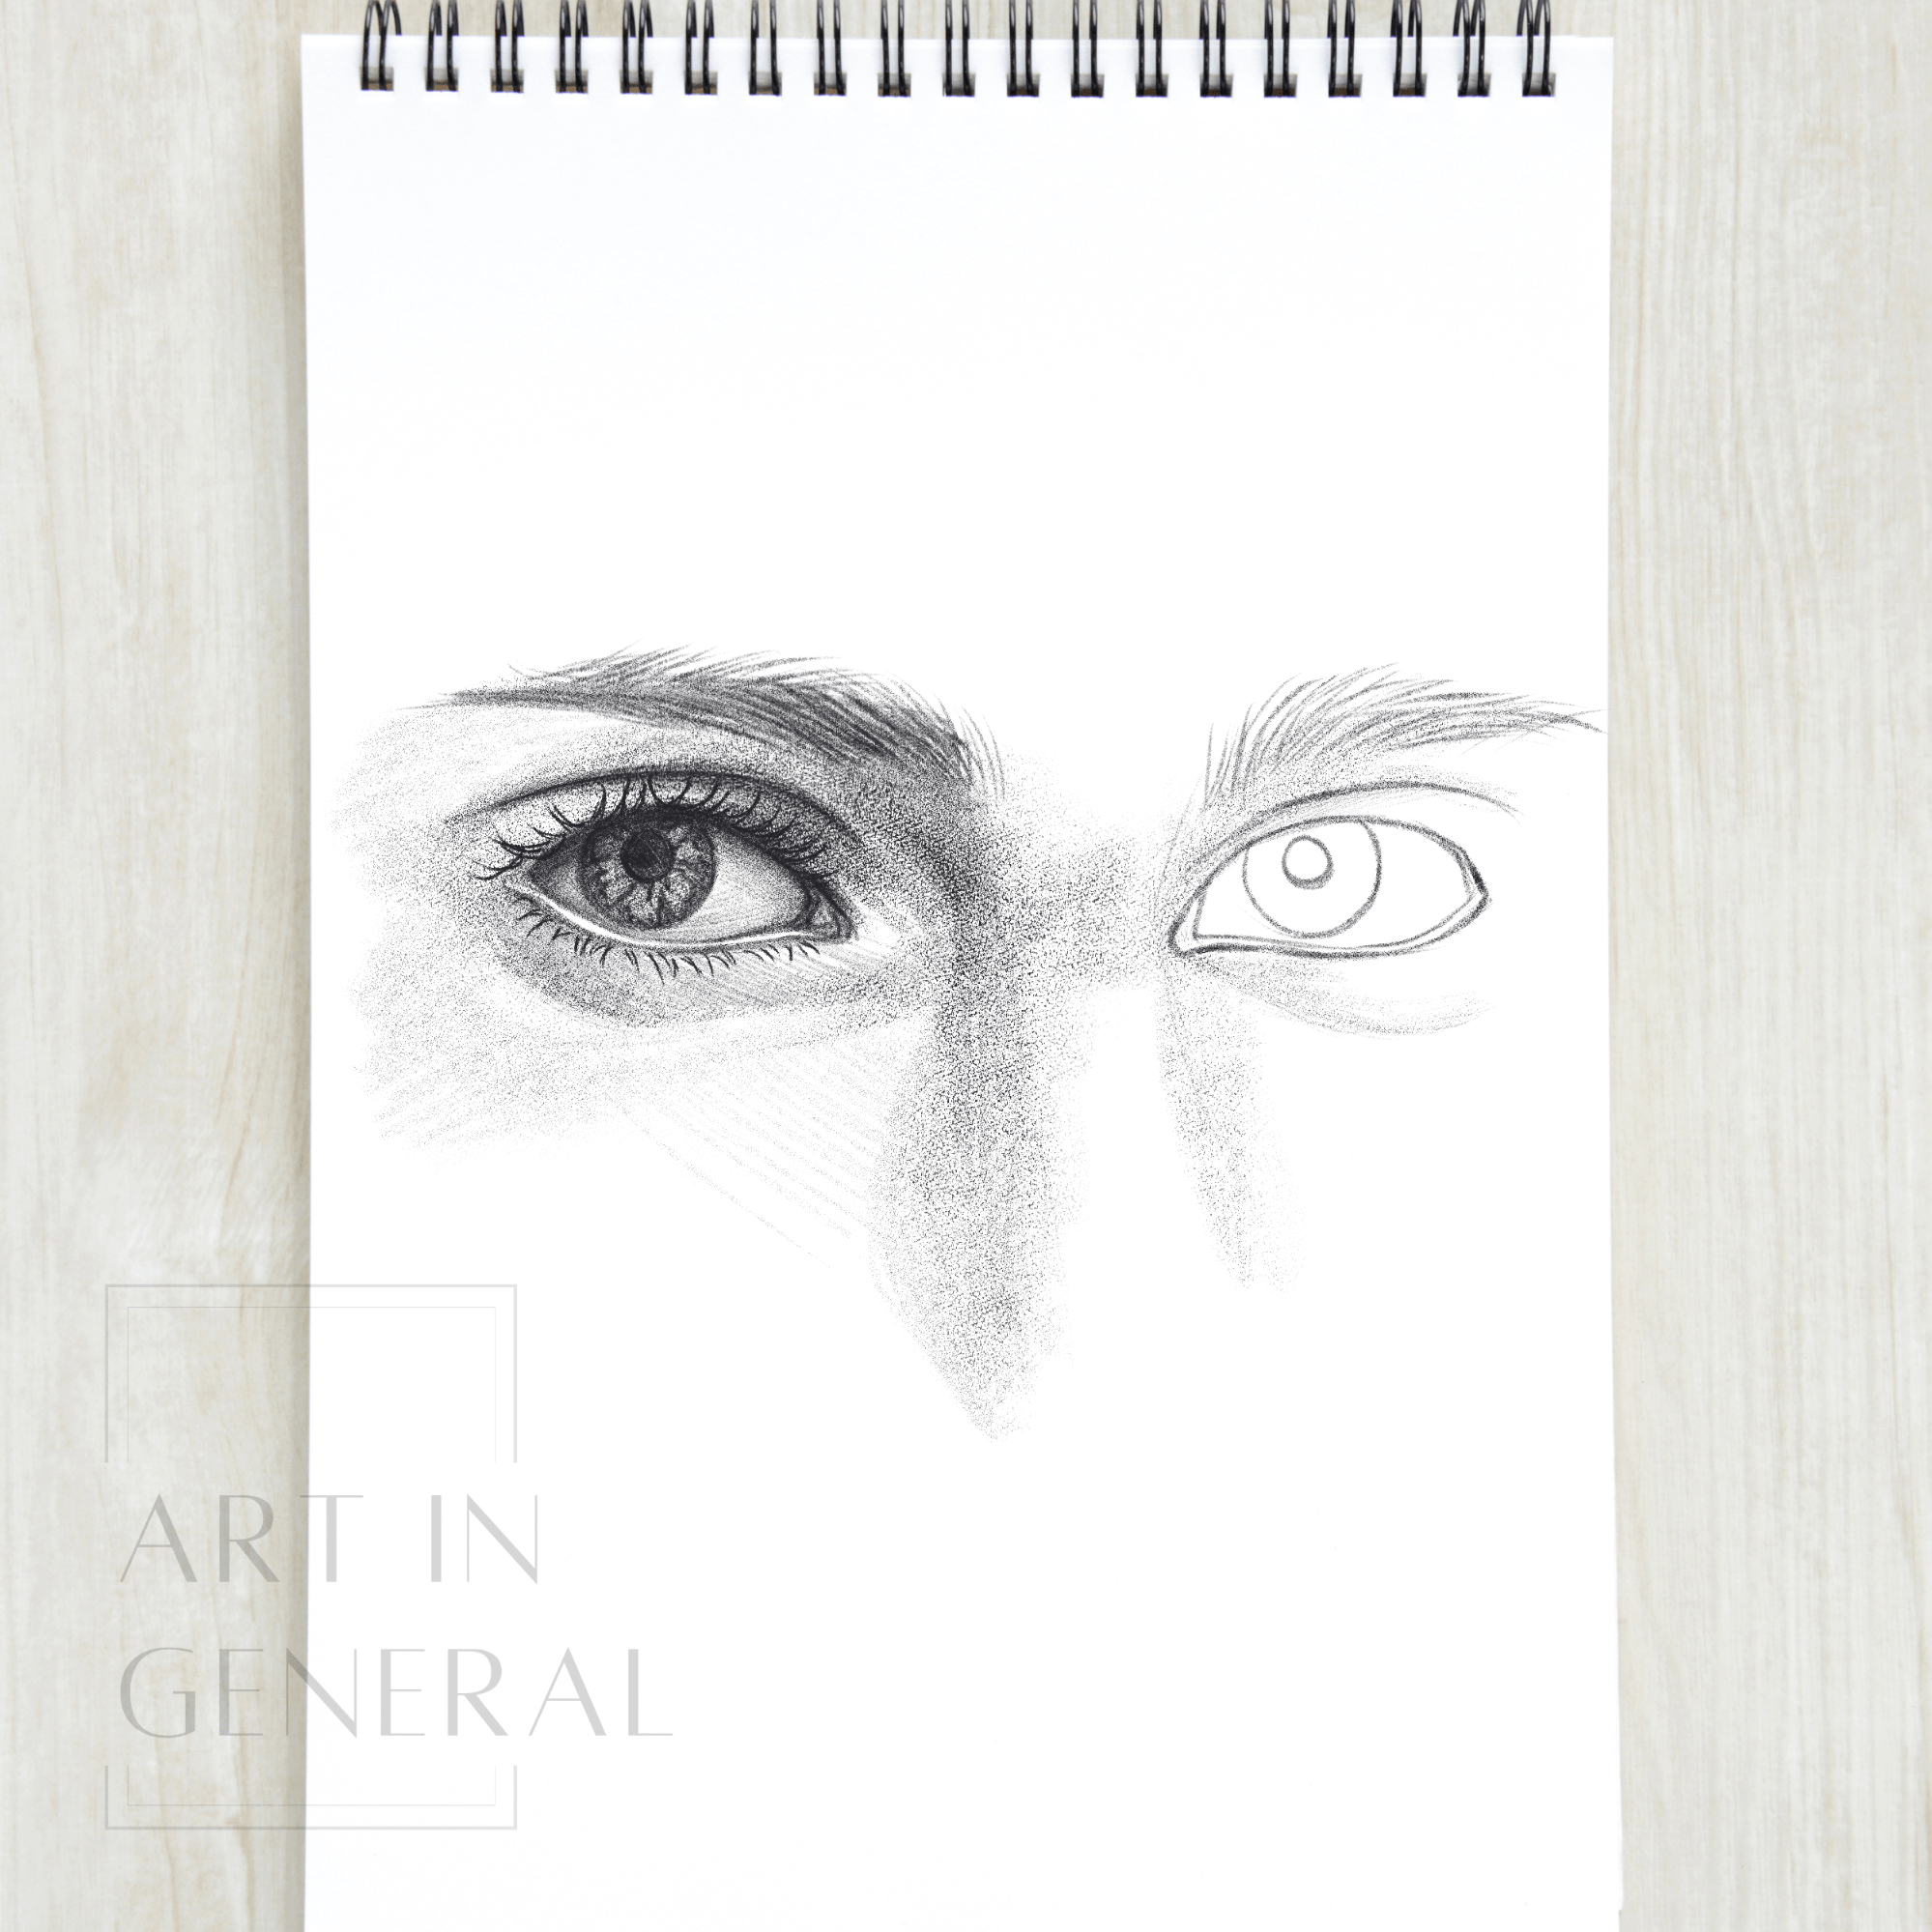
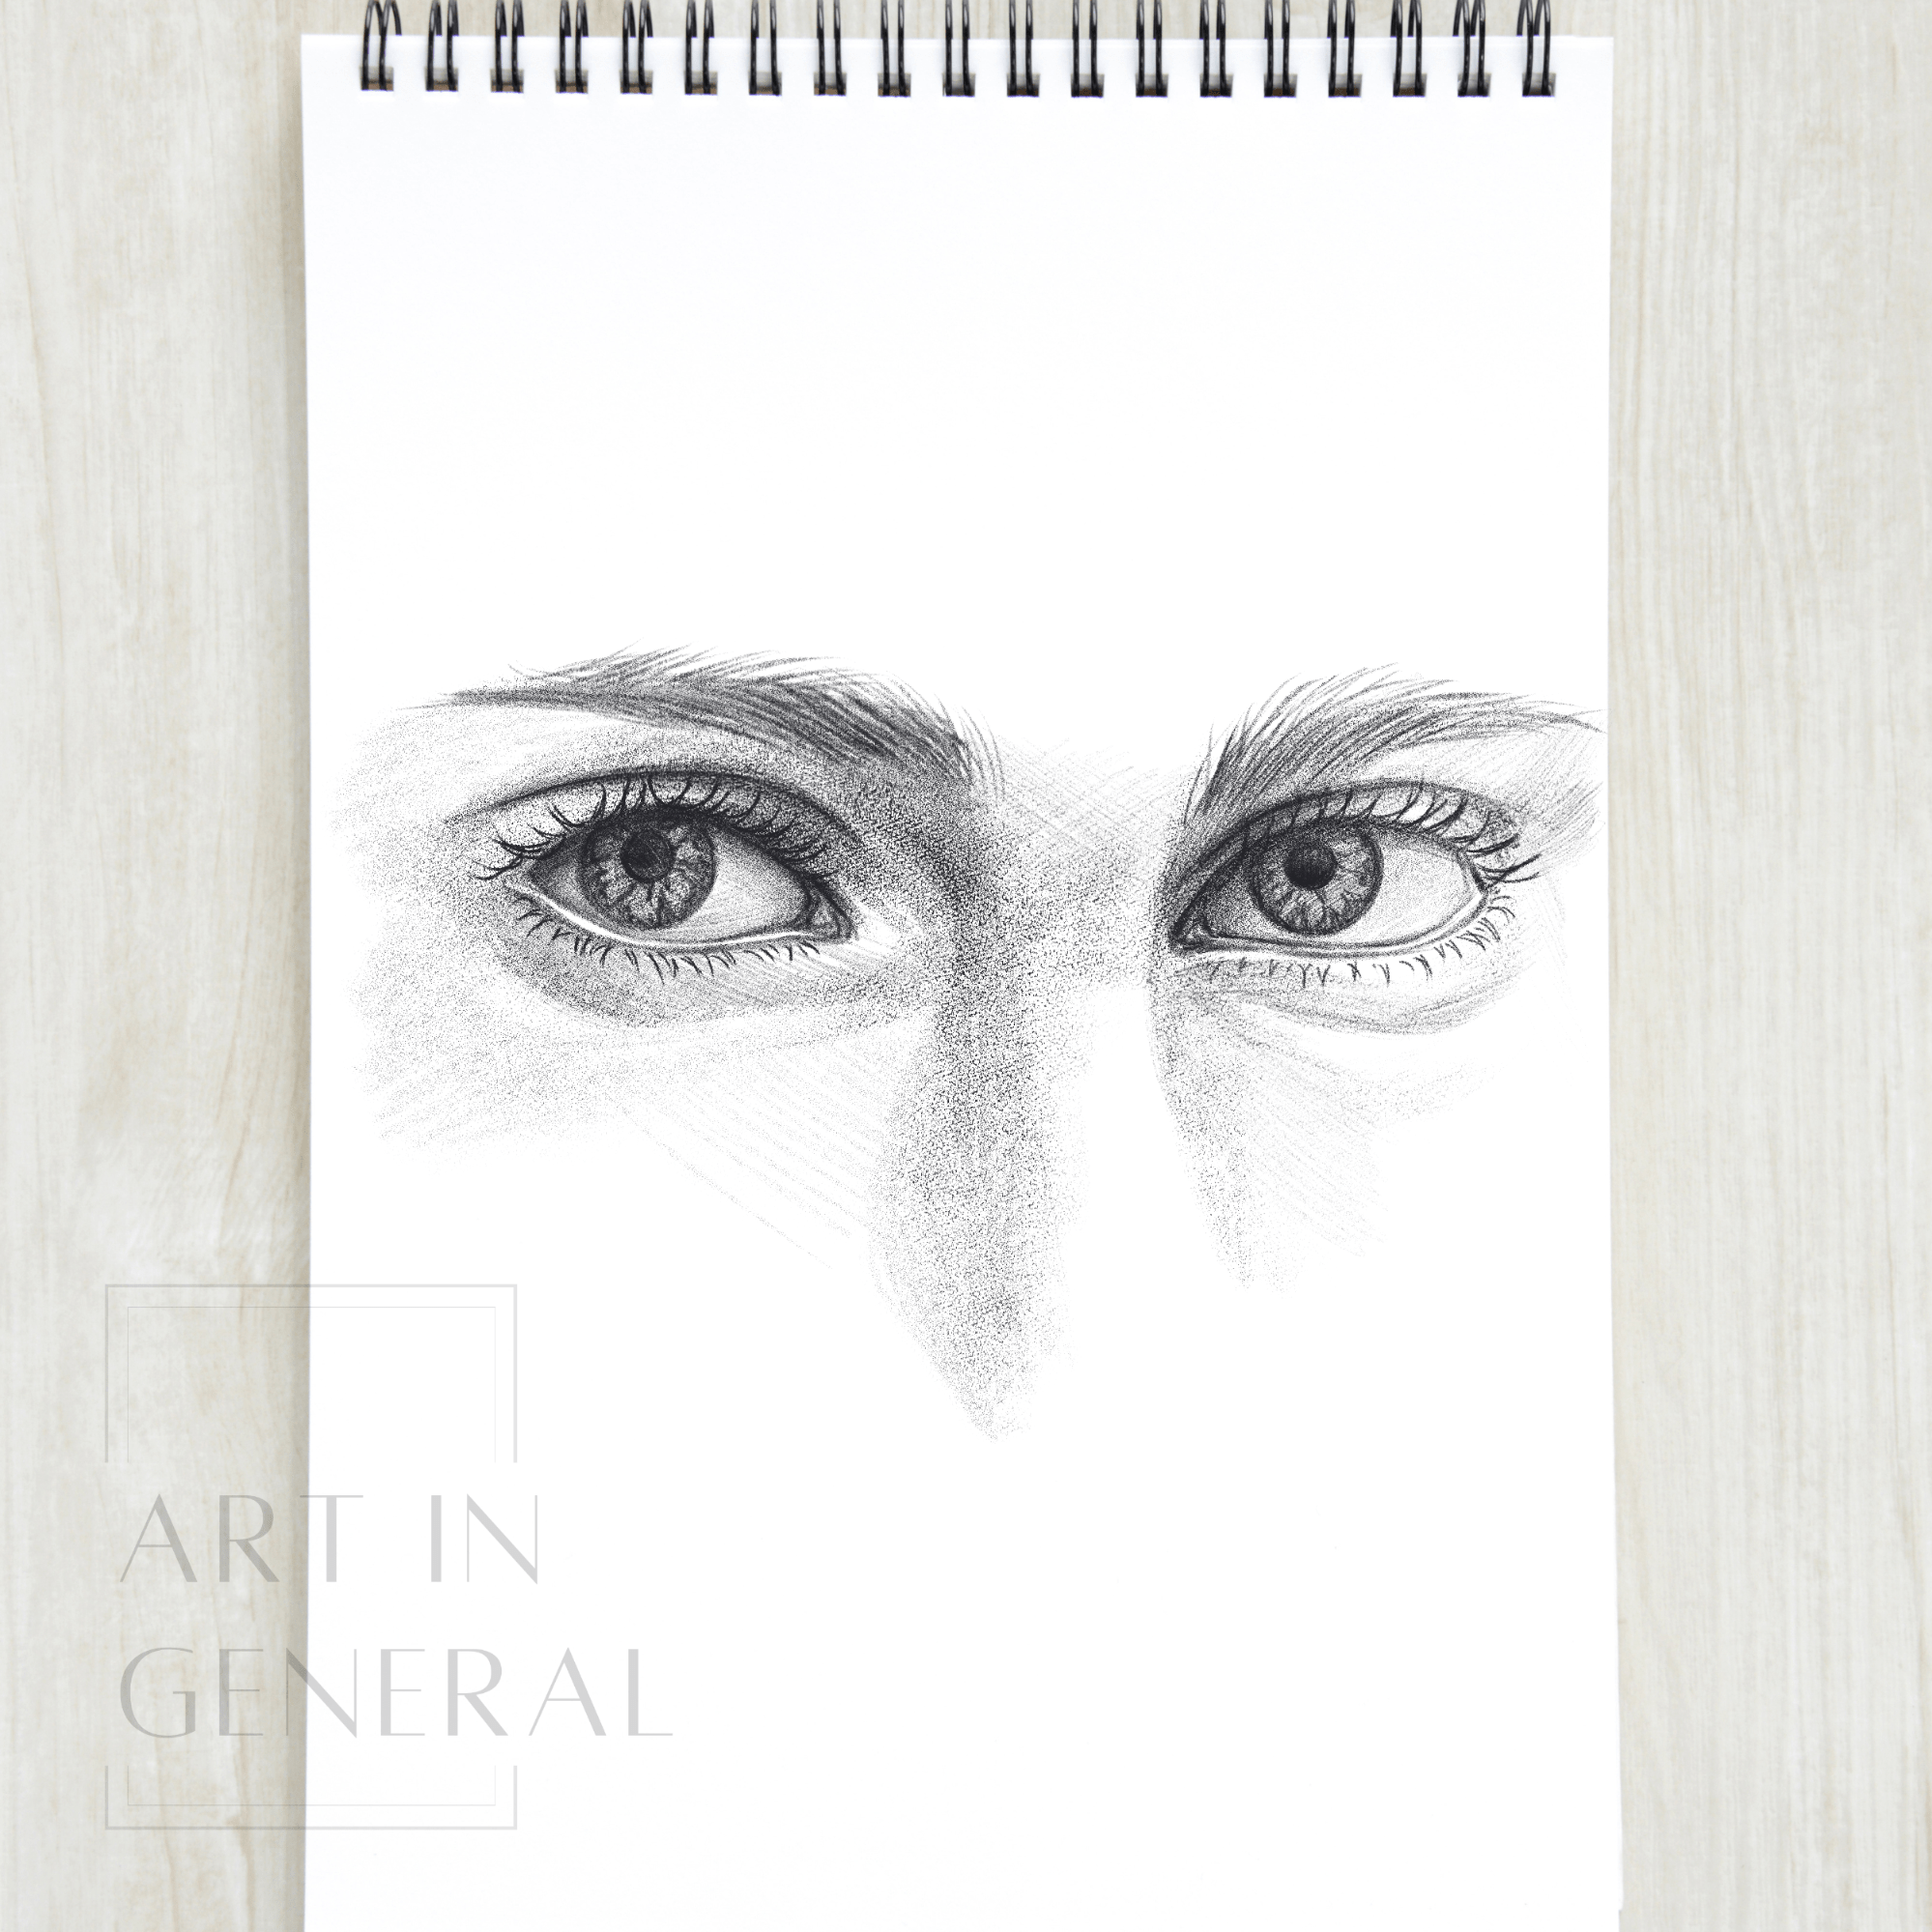
Step 15 — Match the Values and Add the Eyelashes
Match the eye’s values and shade around accordingly, also, don’t forget to add the eyelashes.

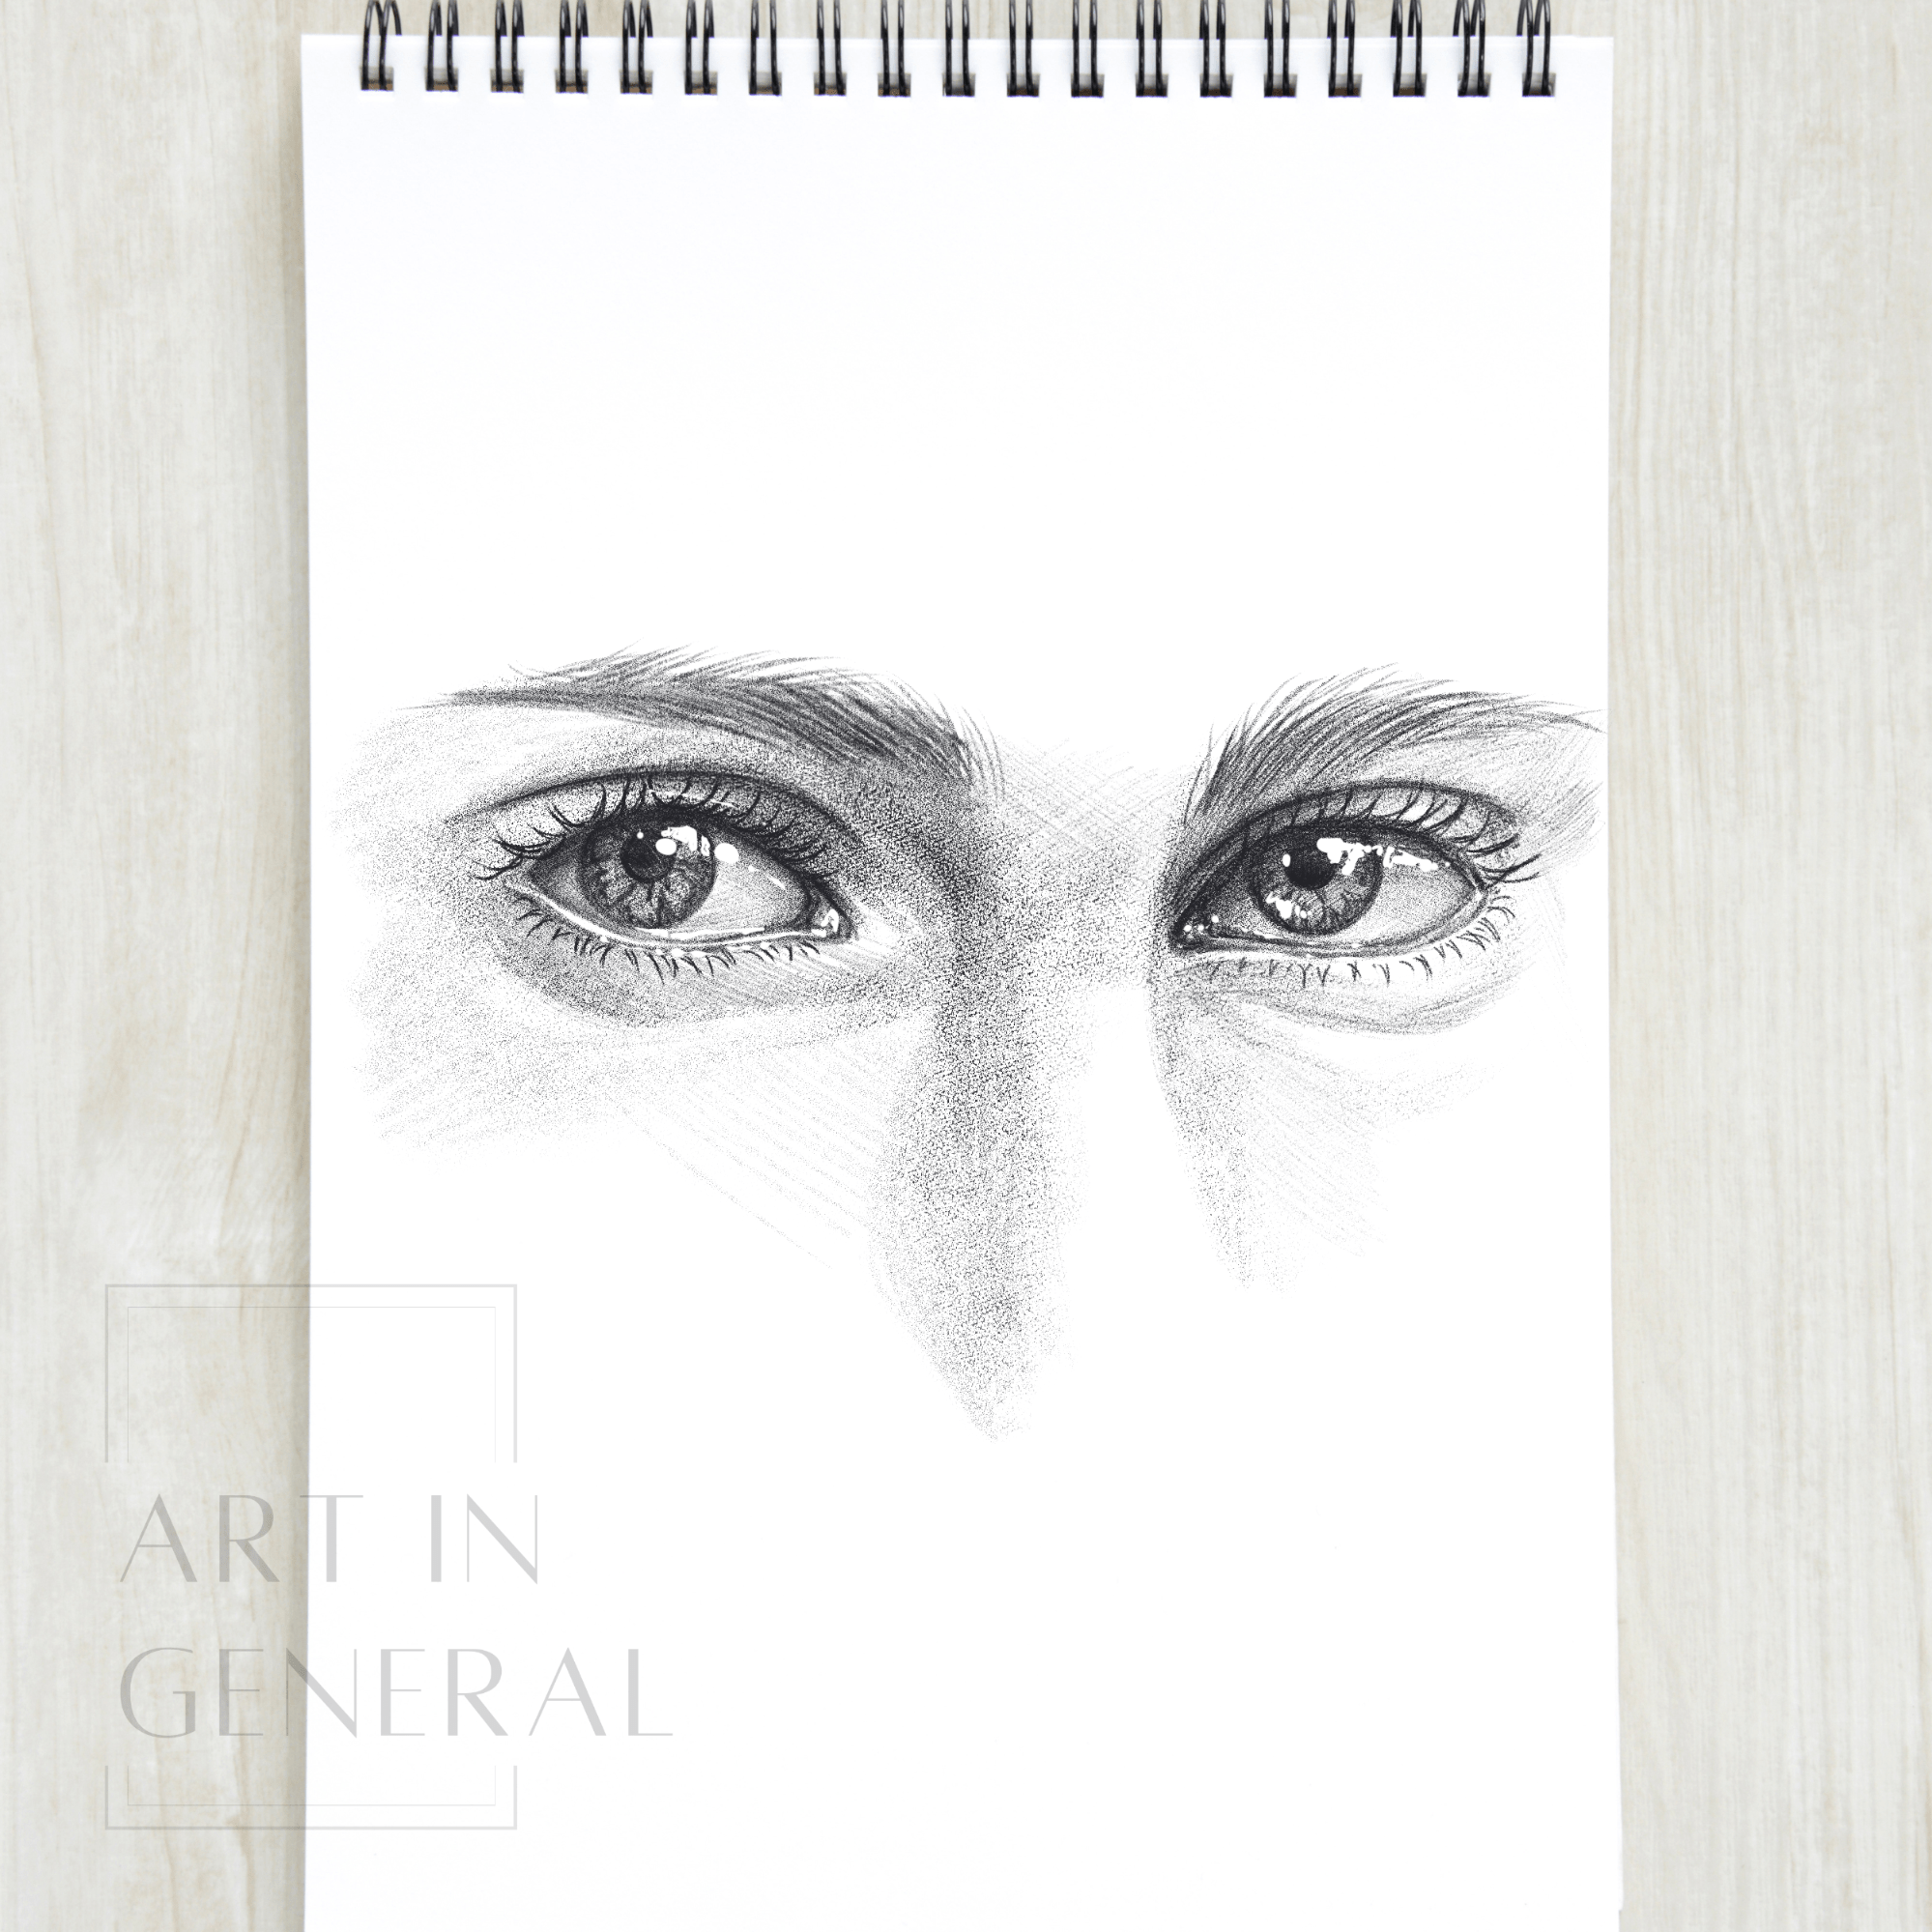
Step 16 — Repeat and Add Highlights
Repeat the last 4 steps for the other eye as well and with titanium white paint add some highlights to add life to your eyes.


Leave a Reply